
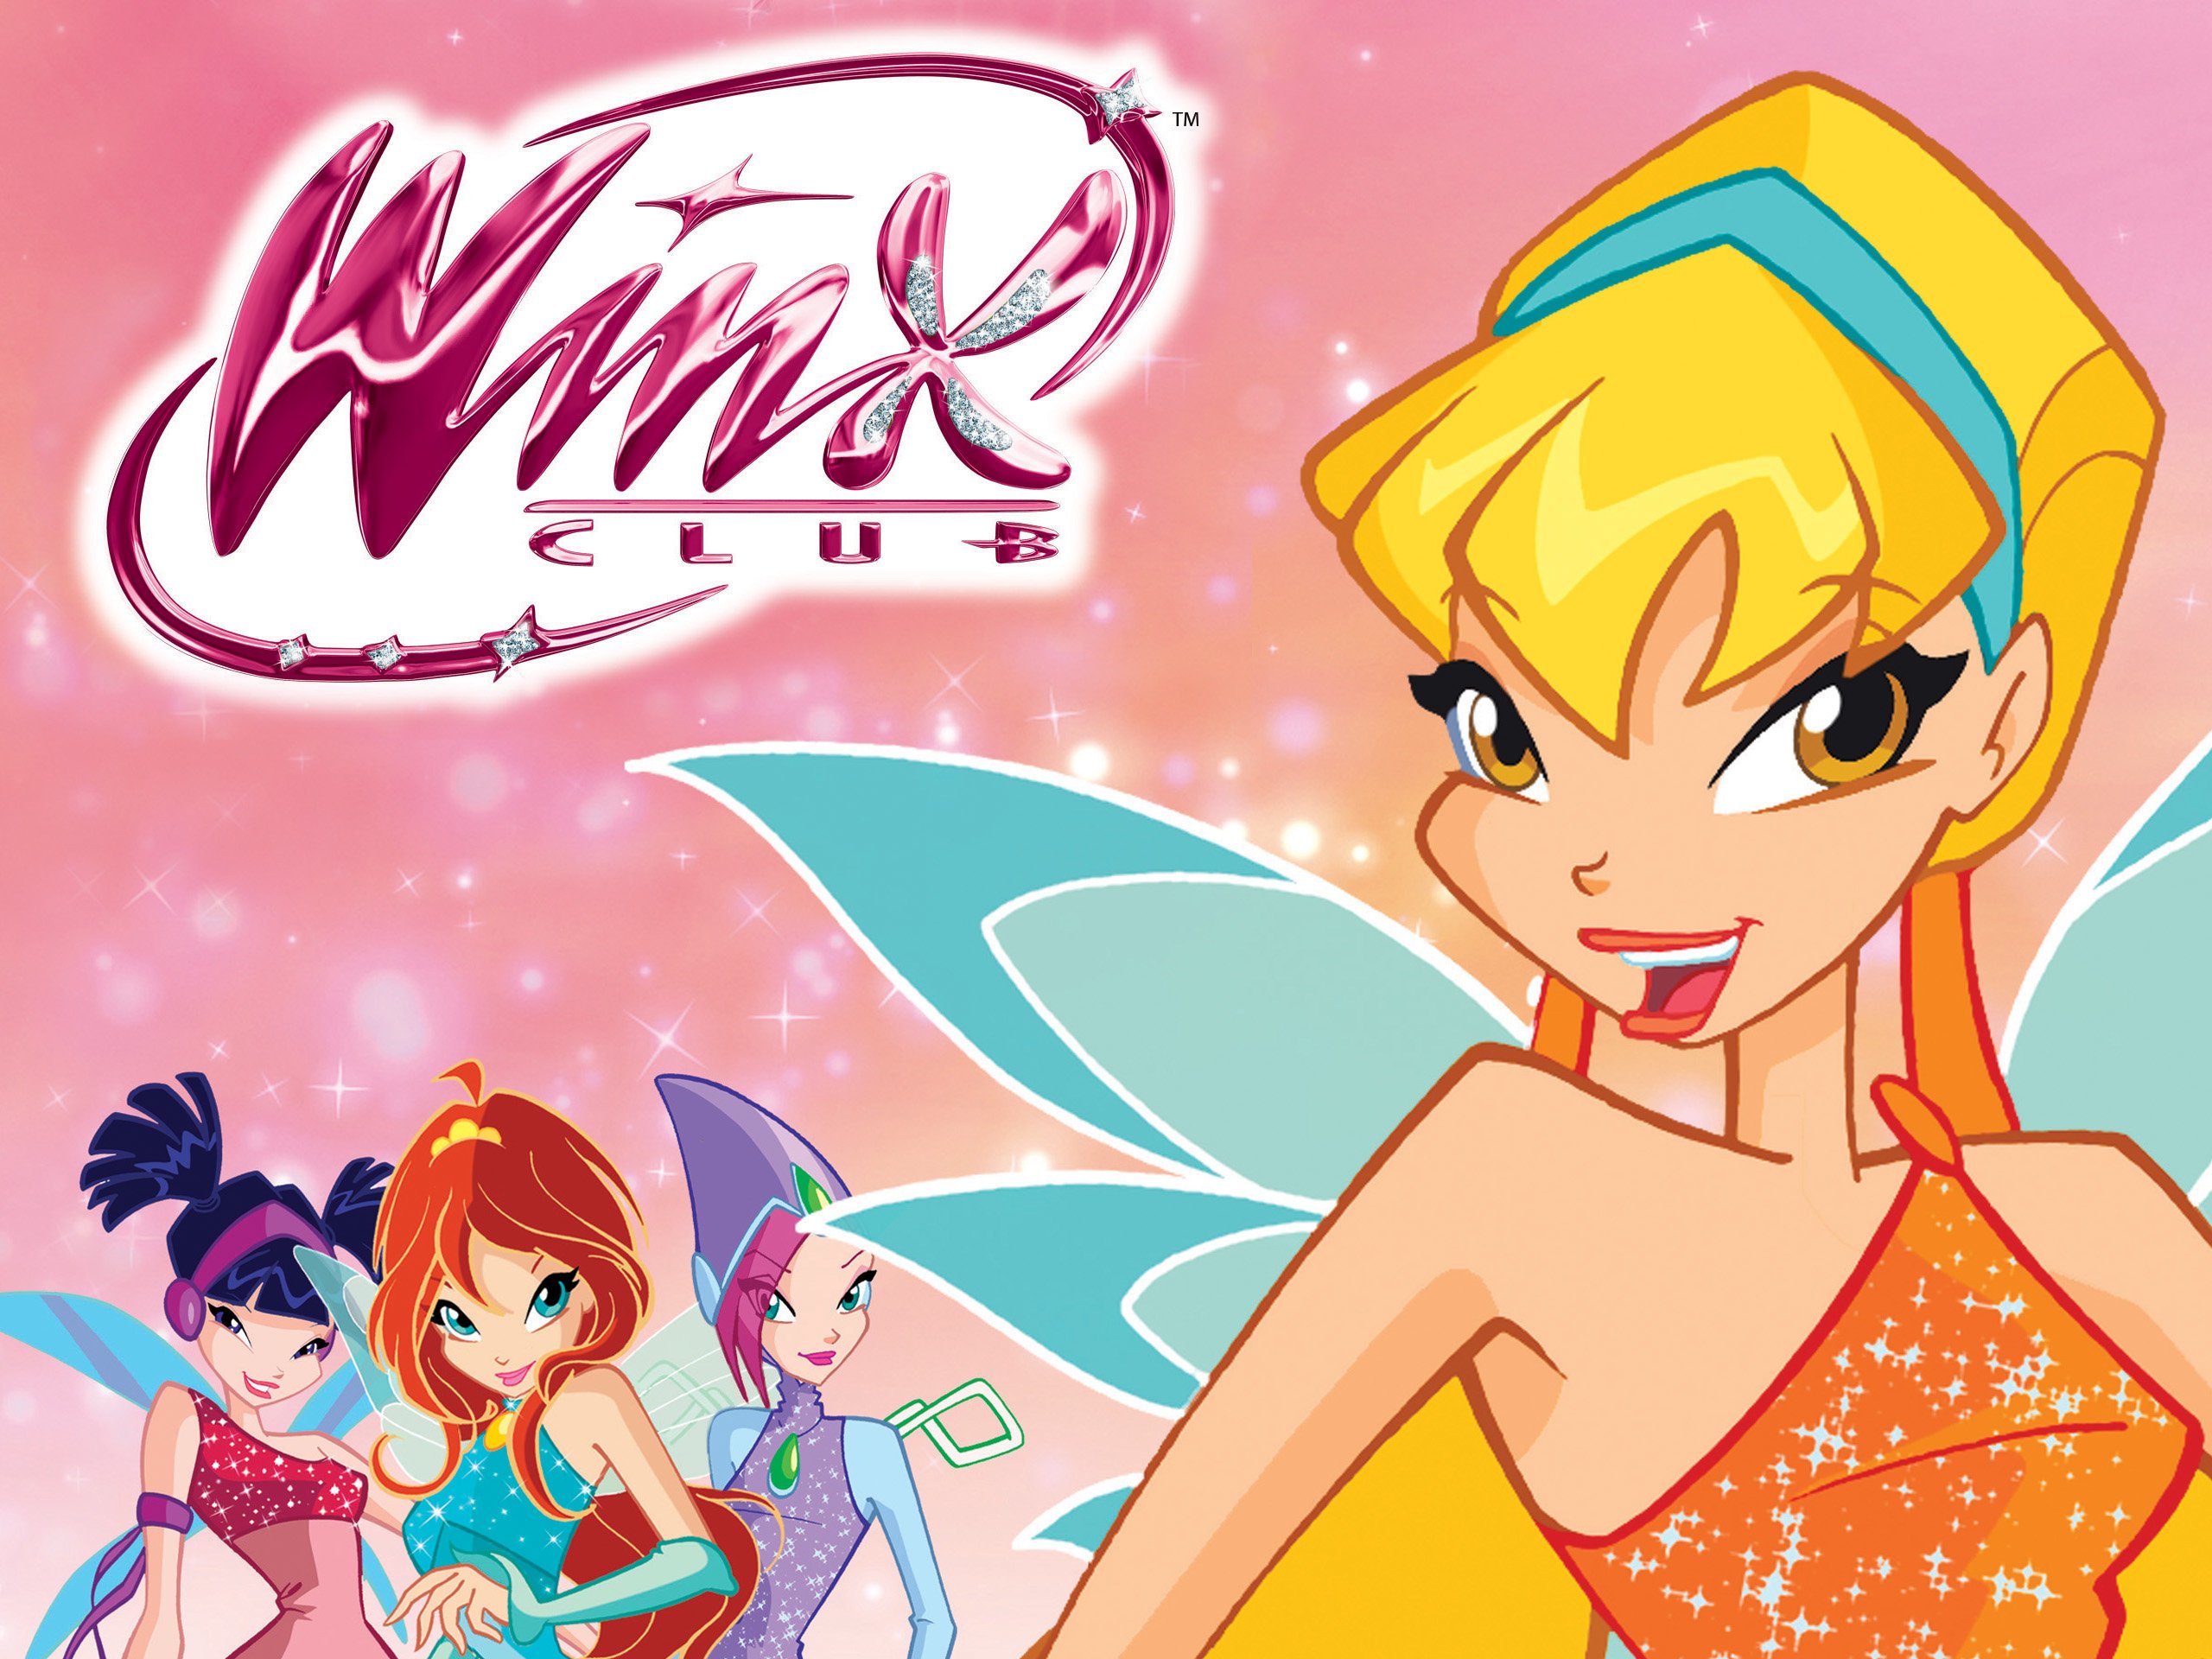
Do you ever look at the amazing, flowing hair of Winx Club fairies and wish you could create something just as stunning in your own digital art? That feeling, you know, of wanting to capture that unique sparkle and detailed flow, is quite common among artists. It's a special kind of look, very much like high-fashion, detailed hair that just seems to shimmer. We're talking about that signature Winx style, a look that really stands out, and it's something many artists aim for.
Making hair that looks like it belongs on a Winx Club fairy, especially the "couture" kind, can seem like a big challenge. There's so much movement, so much shine, and a lot of different layers involved. But with the right steps and some good tips, you can certainly get there. This guide, you see, will walk you through creating that beautiful Winx Club hair using Paint Tool SAI, a favorite program for many digital artists. It's a journey into making hair that truly shines, and it's surprisingly fun.
This tutorial, as a matter of fact, will show you how to bring that magical hair to life, from picking your colors to adding those bright, concentrated highlights that make the hair truly sparkle. We'll cover the basics of using Paint Tool SAI for this, and we'll even touch on those special brush settings that can make all the difference. Get ready to add some serious fairy glam to your characters, because, well, it's almost time to begin.
Table of Contents
- What is Paint Tool SAI and Why It is Great for Hair
- Getting Ready for Your Winx Hair Project
- The Base Layer: Laying Down the Foundation
- Adding Depth: Shading Your Winx Hair
- The Sparkle Factor: Highlights and Shine
- Refining and Detailing Your Couture Hair
- Common Questions About Winx Club Hair in SAI
- Final Touches and Making It Your Own
What is Paint Tool SAI and Why It is Great for Hair
So, what is Paint Tool SAI, you might wonder? Well, it's a lightweight painting software, really, known for its smooth lines and easy-to-use interface. Many digital artists, especially those who enjoy drawing characters, find it quite good for line art and coloring. It's not as complex as some other programs, which makes it a favorite for beginners, and even experienced artists, because of its simplicity.
For drawing hair, SAI is actually pretty fantastic. Its brush engine allows for very natural-looking strokes, which is crucial when you're trying to capture the flow and movement of hair. You can get very precise with your lines, and the blending options are quite intuitive. This means you can create soft transitions between colors, which is perfect for realistic or stylized hair. It's a tool that lets your creativity flow without getting bogged down in too many menus, you know.
Getting Ready for Your Winx Hair Project
Before we start drawing, it's good to get everything set up. This helps make the process smoother and, you know, a bit more organized. Having your workspace ready means you can focus on the art itself, which is what we want. It's like preparing your canvas before you paint, really.
Setting Up Your Canvas
First things first, like always, open Paint Tool SAI. Then, open an image you're working on, or just create a new file! For hair, a good canvas size is important. You want enough space to add all the details without the image looking pixelated. A resolution of at least 300 DPI is a good idea, especially if you plan to print your art later. As a matter of fact, a larger canvas gives you more room to play with those fine strands and highlights.
When you set up your file, make sure to create separate layers for different parts of the hair. One layer for the base color, another for shadows, and then one or two for highlights. This way, you can adjust each element independently, which is very helpful for making changes later. It keeps things neat, and, well, it makes corrections much easier to handle.
Understanding Winx Club Hair Style
Winx Club hair is pretty distinct, isn't it? It's known for being very full, flowing, and often quite long. It has a magical, almost ethereal quality. The style typically features large, defined sections of hair, rather than individual strands, though fine strands are often added for detail. There's a strong emphasis on shine and concentrated bright areas, which makes it look almost liquid or like spun light.
To really get that "couture" feel, think about how the hair moves and catches the light. It's not just hair; it's an accessory, a part of the character's magical aura. So, we'll be focusing on making it look glossy, vibrant, and full of life. It's about capturing that fairy tale charm, and, you know, making it look truly special.
The Base Layer: Laying Down the Foundation
Every good hairstyle starts with a solid base. This is where you define the overall shape and the main color of the hair. Getting this right is quite important, as it sets the stage for all the shading and highlighting that comes next. It's like building the frame of a house, you see, before you add the walls and roof.
Choosing Your Hair Color Palette
For Winx Club hair, you usually want vibrant colors. Don't just pick one color; choose a range of at least three to five shades. You'll need a base color, a darker shade for shadows, and one or two lighter shades for highlights. For example, if you're doing blonde hair, you might pick a warm mid-blonde for the base, a slightly darker, muted blonde for shadows, and a very light, almost white-blonde for highlights. Sometimes, you might even add a subtle hint of another color, like a light pink or blue, to the shadows or highlights for extra magic, which is quite common in that style.
Think about the character's personality too. A fiery character might have hair with warmer tones, while a calm character might have cooler ones. This helps connect the hair to the character, and, well, it adds a bit more depth to your art. It's all about making choices that fit the overall feel.
Sketching the Hair Flow
Before you lay down any color, sketch out the general flow and shape of the hair on a separate layer. Think about how it falls, how it might be styled, and where the major sections are. Winx hair often has large, sweeping curves and distinct sections. This sketch acts as your guide, ensuring the hair has a natural movement, even if it's very stylized. It's like planning your route before a long trip, you know, just to make sure you get where you're going.
Don't worry about perfection at this stage. This is just a rough outline. You can use a simple pen or pencil brush in SAI for this. The goal is to define the volume and direction of the hair. This step, you see, saves a lot of time later by preventing you from having to redraw large sections.
Applying the Solid Base
Now, on a new layer underneath your sketch layer, fill in the entire shape of the hair with your chosen base color. Use the "Pen" or "Marker" tool for clean edges. Make sure there are no gaps or stray pixels, as this will make shading much harder later on. This solid base provides a clean foundation for all the subsequent layers of color and light. It's the canvas for your hair, basically, and it needs to be smooth.
You can use the magic wand tool to select the area after you've outlined it, then fill it. This is a quick way to get a clean base. Just make sure the selection is precise. This step, you know, is quite fundamental to the whole process.
Adding Depth: Shading Your Winx Hair
Shading is where the hair starts to gain volume and form. Without good shading, hair can look flat and lifeless. We want that full, bouncy Winx look, so adding shadows is a very important part of that. It's like sculpting, in a way, but with color.
Basic Shading Techniques
Create a new layer above your base color layer, and set its blending mode to "Multiply" or "Shade." Pick a darker shade from your hair color palette. Think about where the light source is coming from. Areas furthest from the light, or those tucked underneath other sections of hair, will be darker. Use a soft brush, like the "Watercolor" or "Blur" brush, to apply these shadows gently. You want smooth transitions, not harsh lines. This helps the hair look soft and natural, even with a stylized approach.
Focus on defining the major sections of hair. Don't try to shade every single strand yet. We're building up the overall shape here. You'll want to layer your shadows, starting with lighter applications and gradually building up to deeper tones where the shadows are strongest. This gives a very nice gradient, you see, and it adds to the sense of depth.
Creating Volume with Shadows
To make the hair look truly voluminous, think about how light wraps around a cylinder. Hair isn't flat; it has curves and bumps. Use your shadows to emphasize these curves. Darken the undersides of hair sections and where hair overlaps itself. This creates the illusion of depth and makes the hair pop out from the head. It's all about creating contrast, you know, to give that three-dimensional feel.
Don't be afraid to use slightly different hues in your shadows. For example, a hint of purple or blue in dark blonde hair can add richness and make the shadows more interesting than just a darker version of the base color. This adds a bit of visual complexity, and, well, it can make the hair look more vibrant.
Brush Settings for Soft Shading
For soft, blended shadows, your brush settings in Paint Tool SAI are key. Make sure to use the same brush settings or it might look different, as the "My text" says. For a soft watercolor-like effect, try the "Watercolor" brush. Adjust its "Dilution" and "Persistence" settings. Higher dilution makes the paint spread more, while persistence affects how much color builds up. A low "Min Size" also helps with smoother blending. You want a brush that feels natural, almost like real paint, you know, that you can layer easily.
Experiment with the "Pressure" settings if you have a drawing tablet. Varying pressure can give you lighter or darker strokes, which is great for building up shadows gradually. Remember, the goal is a smooth transition, so avoid brushes with very hard edges for your main shading. This helps create that soft, dreamy Winx feel, and, well, it's quite important for the overall look.
The Sparkle Factor: Highlights and Shine
This is where the "couture" really comes into play. Winx Club hair is famous for its incredible shine and those bright, almost glowing highlights. This step is about making the hair look alive and magical. It's the part that truly makes it fairy hair, you see.
Placing Primary Highlights
Create a new layer above your shading layers, and set its blending mode to "Luminosity" or "Screen." Choose a very light color, usually a brighter version of your base hair color, or even pure white for extreme shine. Now, remember those concentrated bright areas of highlight where the hair shines the most in light? It's usually in the middle of a section of flat hair and somewhere on the top curves. These are your primary highlights. Think about where the light would hit the hair directly. These areas should be the brightest. Use a fairly large, soft brush for these, like a "Blur" or "Airbrush," to create a broad, soft glow.
These primary highlights define the main light source and the overall form of the hair. They should follow the curve of the hair, making it look rounded and shiny. Don't overdo it; less is often more with these main highlights. You want them to stand out, but not overwhelm the hair. This is a very important step, you know, for getting that distinctive Winx sparkle.
Adding Secondary and Tertiary Shine
After your primary highlights, add secondary highlights on a new layer, possibly set to "Overlay" or "Soft Light." These are smaller, more defined areas of shine within the primary highlights or on other slightly lit sections. Use a slightly smaller brush for these. Then, for tertiary shine, use a very small, hard brush, like the "Pen" tool, to add tiny, pinpoint bright spots. These are the sharpest, most intense reflections of light, often found right on the edge of a primary highlight. They give the hair that extra pop and make it look incredibly glossy. It's like adding tiny diamonds to the hair, you see, making it truly sparkle.
You can also use a very light color with a low opacity "Pen" brush to draw fine, individual strands of hair that catch the light. This adds a lot of detail and realism to the shine. This layering of highlights creates a multi-dimensional effect, which is very common in high-quality digital art, and, well, it really makes the hair look dynamic.
The Winx Club Sparkle Effect
To truly achieve that Winx Club "couture" look, you might want to add some extra sparkle. On a new layer, set to "Luminosity" or "Screen," use a very small "Pen" brush with pure white or a very light, saturated color. Draw tiny, star-like shapes or small, sharp dots along the brightest highlights. You can also use a custom brush if you have one that creates a scattered star effect. These little touches make the hair look magical, almost like it's sprinkled with fairy dust. It's a signature element, and, you know, it truly elevates the look.
Don't just place them randomly; think about where light would naturally create these tiny glints. Often, they appear where hair strands cross or where the hair forms a sharp curve. This adds to the overall magical feel, and, well, it's a lot of fun to do.
Refining and Detailing Your Couture Hair
Once the main colors and highlights are in place, it's time to add those fine details that make the hair look polished and complete. This is where you bring everything together and add that extra touch of artistry. It's like adding the finishing touches to a beautiful gown, you see.
Strands and Flyaways
On a new layer, use a small "Pen" brush with a color slightly darker than your base, or even a very dark version of your shadow color, to draw in individual hair strands. These strands should follow the overall flow of the hair but can also break away slightly to create realistic flyaways. Don't draw too many; just enough to suggest texture and movement. You can also use a very light color for strands that catch the light. This adds a lot of realism and depth. It's about adding those tiny elements that make a big difference, you know, to the overall appearance.
Vary the thickness and opacity of these strands. Some can be very fine and almost transparent, while others can be more defined. This variation makes the hair look more natural and less like a solid block of color. It's a subtle detail, but, well, it really enhances the final look.
Color Variation for Realism
Even in stylized art like Winx Club, adding subtle color variations can make the hair look more dynamic. On a new layer set to "Overlay" or "Soft Light," use a very soft airbrush with a slightly different hue than your main hair color. For example, if it's blonde hair, you might add a very faint touch of peach or light brown in certain areas. For blue hair, perhaps a hint of purple or teal. This adds richness and prevents the hair from looking too flat or monochromatic. It's a small detail, but, you know, it adds a lot of character.
You can also use this technique to add a subtle glow around the edges of the hair, especially if it's meant to be magical. This helps integrate the hair with the rest of the character and the background. It's about making the hair feel like it belongs, and, well, it ties everything together nicely.
Common Questions About Winx Club Hair in SAI
People often have similar questions when they're trying to create this kind of hair. Here are a few common ones, with some simple answers, just to help you along. It's good to clear up any confusion, you know, so you can focus on your art.
How do I make the hair look genuinely shiny, not just bright?
To make hair look genuinely shiny, focus on sharp, concentrated highlights rather than just a general brightness. The "My text" talks about these very bright areas. Use a smaller, harder brush for the very brightest spots, and ensure there's a good contrast between your shadows and highlights. The blend mode of your highlight layers, like "Luminosity" or "Screen," also makes a big difference. It's about mimicking how light bounces off a smooth surface, and, well, it takes a little practice.
What brush settings are best for Winx hair?
For Winx hair, you'll use a few different brushes. A basic "Pen" or "Marker" tool for the base and line art. For shading, a soft "Watercolor" or "Blur" brush with adjustable dilution and persistence is quite good. For highlights, a "Pen" brush for sharp points and an "Airbrush" for soft glows work well. Remember, make sure to use the same brush settings or it might look different, as the advice from "My text" reminds us. Experiment with "Min Size" and "Pressure" settings to get varied strokes. It's all about finding what feels right for you, and, you know, what gives the desired effect.
My hair looks flat; how can I add more volume?
If your hair looks flat, you likely need more contrast between your light and shadow areas. Make your shadows deeper where the hair tucks under or overlaps itself, and make your highlights brighter where the light hits directly. Think about the overall shape of the hair as a 3D object. Use curved lines for your shadows and highlights to emphasize that roundness. Adding more distinct sections to the hair also helps create the illusion of volume, and, well, it's a common issue that's easy to fix.
Final Touches and Making It Your Own
You've done a great job getting this far! Now, take a step back and look at your work. Does the hair feel like it belongs to your character? Are the highlights sparkling just right? Sometimes, a little adjustment here or there can make a big difference. You can try adjusting the opacity of your layers, or even duplicate a highlight layer and blur it slightly for a softer glow. It's about refining, you know, until it feels perfect.
Remember, this is a guide, but your own artistic style is very important. Feel free to experiment with colors, brush settings, and even add your own unique sparkle effects. The most important thing is to have fun with it and make the art truly yours. You've learned the steps, and now, well, it's time to let your creativity soar! Learn more about digital art techniques on our site, and link to this page for more Paint Tool SAI tips. You can also find many wonderful examples and ideas from other artists, for instance, by searching for "Winx Club fan art" on platforms like DeviantArt.

Detail Author:
- Name : Mr. Ezra McCullough V
- Username : ogrady
- Email : deshaun.wisozk@koelpin.biz
- Birthdate : 1975-03-15
- Address : 76191 Creola Canyon Suite 005 Emardhaven, PA 10577-8903
- Phone : +1 (970) 851-6922
- Company : Torp, Reinger and Steuber
- Job : Plating Operator OR Coating Machine Operator
- Bio : In voluptas veritatis aut nobis. Autem fuga eius sint qui labore expedita velit qui. Soluta esse voluptas sit officiis.
Socials
facebook:
- url : https://facebook.com/aleenhartmann
- username : aleenhartmann
- bio : Dolores beatae quia vero ut ut. Rerum sapiente debitis et.
- followers : 5768
- following : 1253
linkedin:
- url : https://linkedin.com/in/aleen531
- username : aleen531
- bio : Nobis facilis temporibus eos sint architecto.
- followers : 5886
- following : 2967
instagram:
- url : https://instagram.com/aleen_official
- username : aleen_official
- bio : Molestias quia autem soluta eum deleniti molestias. Quas deleniti veritatis similique earum.
- followers : 5510
- following : 398
