
Do you ever find yourself with a perfectly lovely handmade card, but then you just can't seem to find an envelope that fits? It's a common little problem, that. Maybe you have a card with an unusual shape, or perhaps you simply want something that truly matches your creative efforts. Getting the right envelope can make all the difference, you know?
Making your own envelopes at home is fairly simple, and it gives you so much freedom. You can pick out any kind of paper you like, match colors and patterns, and even make envelopes for very specific card sizes. It means you always have the perfect envelope size, which is quite nice.
This guide will walk you through the steps for creating your own envelopes. We will cover the basic things you need, how to measure for a good fit, and some ways to make your envelopes look special. You can use regular paper and rubber glue, or other things, to make your own envelopes in almost any size, actually. It is a good skill to have for any card maker.
Table of Contents
- Why Make Your Own Envelopes?
- What You Will Need
- Getting the Right Measurements
- Step-by-Step: Making Your Envelope
- Tips for Different Envelope Styles
- Common Questions About Homemade Envelopes
Why Make Your Own Envelopes?
There are quite a few good reasons to make your own envelopes. For one thing, you get to have an envelope that fits your card perfectly. No more trying to squeeze a card into a too-small envelope, or having a card rattle around in one that is too big. This is especially true with so many handmade card designs available; you want options on how to make an envelope, right?
Another reason is the look and feel. You can pick out paper that really goes with your card. If your card has a certain color, you can pick a paper that matches or makes a nice contrast. This makes the whole gift feel more thoughtful, you know? It is a way to add a bit more of your own touch.
Then there is the cost. Buying special envelopes can sometimes add up. Making your own, especially if you use paper you already have, can save you some money. It is a simple thing, but it helps. Plus, it is a fun craft project to do on a quiet afternoon, which is nice.
What You Will Need
Making your own envelopes at home is fairly simple, as mentioned. You do not need a lot of special tools, just a few basic items. These items help make the process smooth and give you good results. So, let's look at what you will want to have ready.
Choosing Your Paper
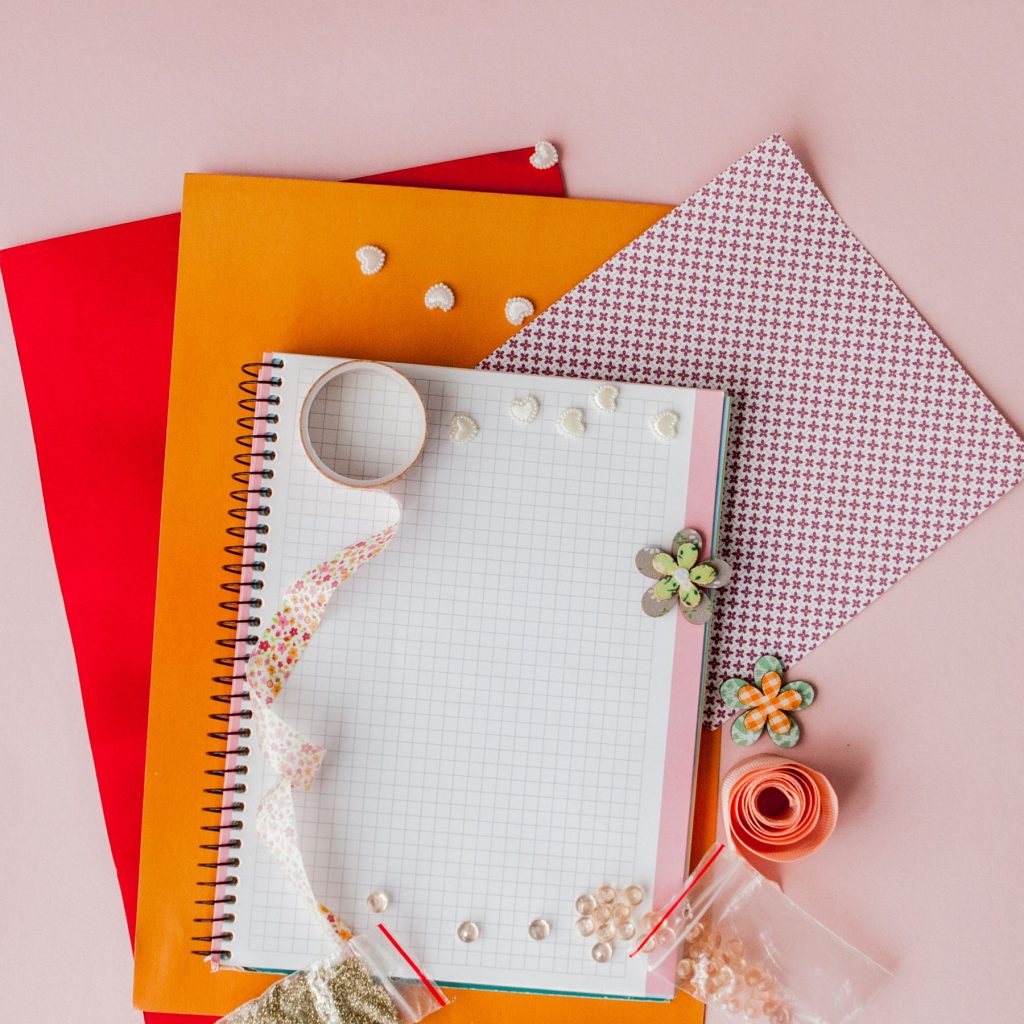
The main thing you need is paper, or even cardstock. The kind of paper you pick can change how your envelope looks and feels. Regular printer paper works well for light cards, and it is easy to fold. If your card is a bit heavier, or you want a sturdier envelope, cardstock is a good pick. You can use any kind of paper for these cute folded envelopes, and pair it with your card.
Think about the paper's weight. Thicker paper makes a stronger envelope, but it can be harder to fold neatly. Thinner paper is easier to work with, but might tear more easily. You can find paper in many colors and patterns, which is pretty exciting. Sometimes, you might even have paper scraps from other projects that would work, too.
Tools for the Job
Besides paper, you will want a few tools to help you out. A paper trimmer is very useful for getting straight cuts. If you do not have one, a ruler and a craft knife, or even good scissors, can do the trick. You also want a scoring board. This tool helps you make clean folds without creasing the paper in the wrong spots. It is a rather good thing to have for this project.
For putting the envelope together, you will need something to hold the paper. Rubber glue is a good choice because it dries clear and does not usually wrinkle the paper. A glue stick or double-sided tape can also work well. If you need to, you can tape or glue two papers together to make a larger piece, which is handy for bigger cards. A bone folder is also helpful for making crisp folds, giving your envelope a very neat finish.
Getting the Right Measurements
The key to a good envelope is getting the size just right for your card. You want the card to slip in easily but not have too much extra room. This video shows my method for folding an envelope for any size of card, and it really helps with this part. Knowing how to measure is a big step in making your own envelopes.
Standard Card Dimensions
My collection includes standard card dimensions, so you can often start there. These are common sizes that many cards come in. For example, an A2 card is a pretty popular size. Knowing these standard sizes can make it easier to figure out how big your paper needs to be before you even start cutting. You can often find charts online that list these common card and envelope sizes, too.
If you are making a card that is a standard size, you can look up the matching envelope dimensions. This gives you a good starting point for your paper measurements. It saves you some time on figuring out the math yourself, which is nice. Just be sure to add a little bit extra for wiggle room.
Measuring for Any Card
The real beauty of making your own envelopes is that you can make one for *any* size of card. Whether it is a tiny gift tag or a very large greeting, you can make an envelope to fit. You need to measure your card's width and height. Add about a quarter to a half inch to each measurement to give your card space to slide in easily. This is a very important step.
Once you have your card's measurements, you need to figure out the size of the square paper you will start with. A general rule is to take the longest side of your card (let's say it's the width) and multiply it by two. Then add the height of your card. This gives you a good idea of the square paper size you need. For example, if your card is 5 inches wide and 7 inches tall, you might start with a paper that is about 17 inches by 17 inches. You can always trim excess later, so it is better to start a little bigger, actually.
Step-by-Step: Making Your Envelope
Now we get to the fun part: putting it all together. I show you how to make an envelope step by step in this tutorial. It is a process that is pretty straightforward once you get the hang of it. Just take your time with each step, and you will have a lovely envelope in no time. This is how you make an envelope for a card.
Prepare Your Paper
First, you need to cut your paper into a perfect square. Use your paper trimmer for this if you have one, as it will give you the cleanest edges. If you are using a ruler and craft knife, make sure your cuts are straight. A crooked edge can make your envelope look a bit off. So, accuracy here is a good thing.
After you have your square, place it in front of you like a diamond, with one point facing up. This is the starting position for folding. It helps to keep things straight as you go. Make sure your work surface is clean and flat, too, which is just good practice.
Scoring and Folding
This is where your scoring board comes in handy. You will make lines that guide your folds. Take your card and place it in the center of your paper diamond. This helps you figure out where your folds should be. You want the card to sit nicely in the middle, leaving enough paper around it for the flaps.
Score a line just below the bottom edge of your card. This will be the bottom fold of your envelope. Then, score lines along the sides of your card. These will be your side flaps. Finally, score a line just above the top edge of your card. This will be the top flap. These lines make it much easier to fold neatly, you know?
Once you have scored your lines, gently fold along each one. Use your bone folder to press down on the folds, making them crisp and flat. This gives your envelope a very finished look. It is important to make sure your folds are straight and even, too.
Securing the Sides
Now that your paper is folded, it is time to put the envelope together. Fold up the bottom flap first. Then, fold in the two side flaps. You will see how the envelope shape starts to form. The side flaps should overlap the bottom flap a little bit. This is where you will put your glue.
Apply a thin line of rubber glue or your chosen adhesive along the outer edges of the side flaps, where they overlap the bottom flap. Be careful not to use too much glue, as it can seep out and make your envelope sticky. Press the side flaps down firmly onto the bottom flap, holding them for a moment to let the glue take hold. This forms the pocket for your card, actually.
Finishing the Flap
The top flap is the last part. This flap will fold down to close your envelope. You can leave it as a straight edge, or you can cut it into a decorative shape, like a rounded edge or a pointed V-shape. This is where you can add a bit of your own flair. Just use scissors to carefully cut your desired shape.
Once you have shaped the flap, you are done! You now have a custom-made envelope ready for your card. You can add a bit of glue or a sticker to seal it when you are ready to send it. It is a very satisfying feeling to make something so useful with your own hands, you know?
Tips for Different Envelope Styles
With so many handmade card designs available, I wanted to give you lots of options on how to make an envelope. The basic method works for most cards, but there are a few things you can do for special cases. These cute folded envelopes are simple to make with any kind of paper, and pair well with many card types.
Making Larger Envelopes
Sometimes you have a very big card, or maybe a card with some lumpy bits on it. For these, you might need a larger piece of paper than you have on hand. If you need to, you can tape or glue two papers together to make a bigger sheet. Just overlap the edges slightly and use a strong adhesive. Make sure the seam is flat and secure before you start folding. This is a good trick for those extra-large creations.
When working with bigger paper, it can be a bit harder to keep everything straight. Take your time with measurements and folds. You might even want to use a longer ruler or a larger scoring board if you have one. The principle is the same, just on a bigger scale. It is still pretty simple, just requires a little more space.
Postcard Envelopes
In this video, I will show you how to make a super easy postcard envelope. Postcards are usually flatter and a standard size, so making an envelope for them is often quicker. You can use the same method, just adjust your starting paper size. Since postcards are generally rectangular, your initial square of paper might be smaller than for a folded card. This makes them a bit faster to put together, which is nice.
For postcards, you might want to use a lighter paper, as the envelope does not need to be as strong. Decorative paper works very well for postcard envelopes, too. You can also make the top flap a bit shorter for a different look. It is all about adjusting the basic steps to fit what you need, really.
Common Questions About Homemade Envelopes
People often have questions when they start making their own envelopes. Here are some common ones that come up.
What materials do I need to make an envelope?
You really just need paper, or cardstock, and something to hold it together like rubber glue. A paper trimmer and a scoring board are also very helpful for making clean cuts and folds. You can get by with just scissors and a ruler, though, which is pretty good.
Can I make an envelope for any size card?
Yes, you absolutely can! That is one of the best things about making your own. You just need to measure your card and then figure out the right size of square paper to start with. You can make an envelope for a very small card or a really big one, too. This video shows my method for folding an envelope for any size of card, actually.
Is it hard to make your own envelopes?
No, it is not hard at all. Making your own envelopes at home is fairly simple. Once you understand the basic steps and how to measure, it becomes very easy. It takes a little practice to get your folds perfectly crisp, but the process itself is straightforward. Many people find it a rather relaxing activity.
For more creative ideas and tutorials, learn more about on our site. Also, check out this page for other paper craft projects. You can find many kinds of paper and tools at your local craft store or online, too. Just search for 'craft paper supplies' to see what is out there.


Detail Author:
- Name : Audrey Jakubowski I
- Username : kaylee59
- Email : blick.imani@hammes.com
- Birthdate : 2002-03-14
- Address : 462 Elna Extension Apt. 382 Guillermobury, LA 34928
- Phone : +1-763-616-0156
- Company : Vandervort-Feil
- Job : Annealing Machine Operator
- Bio : In magnam commodi autem beatae. Sed a eaque iure magnam. Quam exercitationem est hic error eveniet accusamus alias. Cupiditate necessitatibus et aut quis nostrum qui eum.
Socials
instagram:
- url : https://instagram.com/d'angelo.frami
- username : d'angelo.frami
- bio : Placeat consequatur et deleniti. Dignissimos sunt laborum ut sunt maxime id impedit qui.
- followers : 6156
- following : 2334
linkedin:
- url : https://linkedin.com/in/d'angelo9558
- username : d'angelo9558
- bio : Delectus eveniet optio incidunt consequatur enim.
- followers : 4171
- following : 425
