
Are you looking to add a personal touch to your belongings, perhaps with some custom words or a special design? Using vinyl stickers lettering with contact paper is a wonderfully creative way to do just that, giving you a chance to make everyday items truly your own. This method is, you know, quite popular among folks who enjoy making things by hand, and it offers a surprising amount of flexibility for various projects around the house or for gifts. It's a pretty accessible craft, too, meaning many people can pick it up without too much trouble.
This particular approach to creating unique decals and signs has really gained a lot of traction, especially with more people exploring their artistic side at home. You might be surprised by just how many surfaces can take on a new look with a bit of vinyl and some careful application. From personalizing mugs to sprucing up wall spaces, the possibilities are, quite literally, as vast as your imagination allows, which is a rather good thing.
If you've ever felt a bit frustrated trying to get tiny letters or intricate shapes to stick just right, then learning about how to work with vinyl stickers lettering and contact paper is, quite possibly, the answer you've been seeking. This guide will walk you through the process, sharing useful advice and practical steps to help you achieve smooth, professional-looking results every single time. It's really about making your creative visions come to life, you know?
Table of Contents
- Understanding the Basics of Vinyl and Contact Paper
- Getting Your Materials Ready
- Designing Your Vinyl Lettering
- Cutting Your Vinyl Design
- Applying Contact Paper as Transfer Material
- Transferring Your Vinyl Lettering to Your Surface
- Troubleshooting Common Issues
- Care and Maintenance for Your New Lettering
- FAQ
Understanding the Basics of Vinyl and Contact Paper
Before you get started on your creative project, it's quite helpful to have a good grasp of what you're working with, you know? Knowing a little bit about vinyl and contact paper will make your whole crafting process much smoother. It's a bit like understanding how your email platform works before changing settings; a little background can prevent a lot of headaches, in a way.
What is Vinyl Lettering?
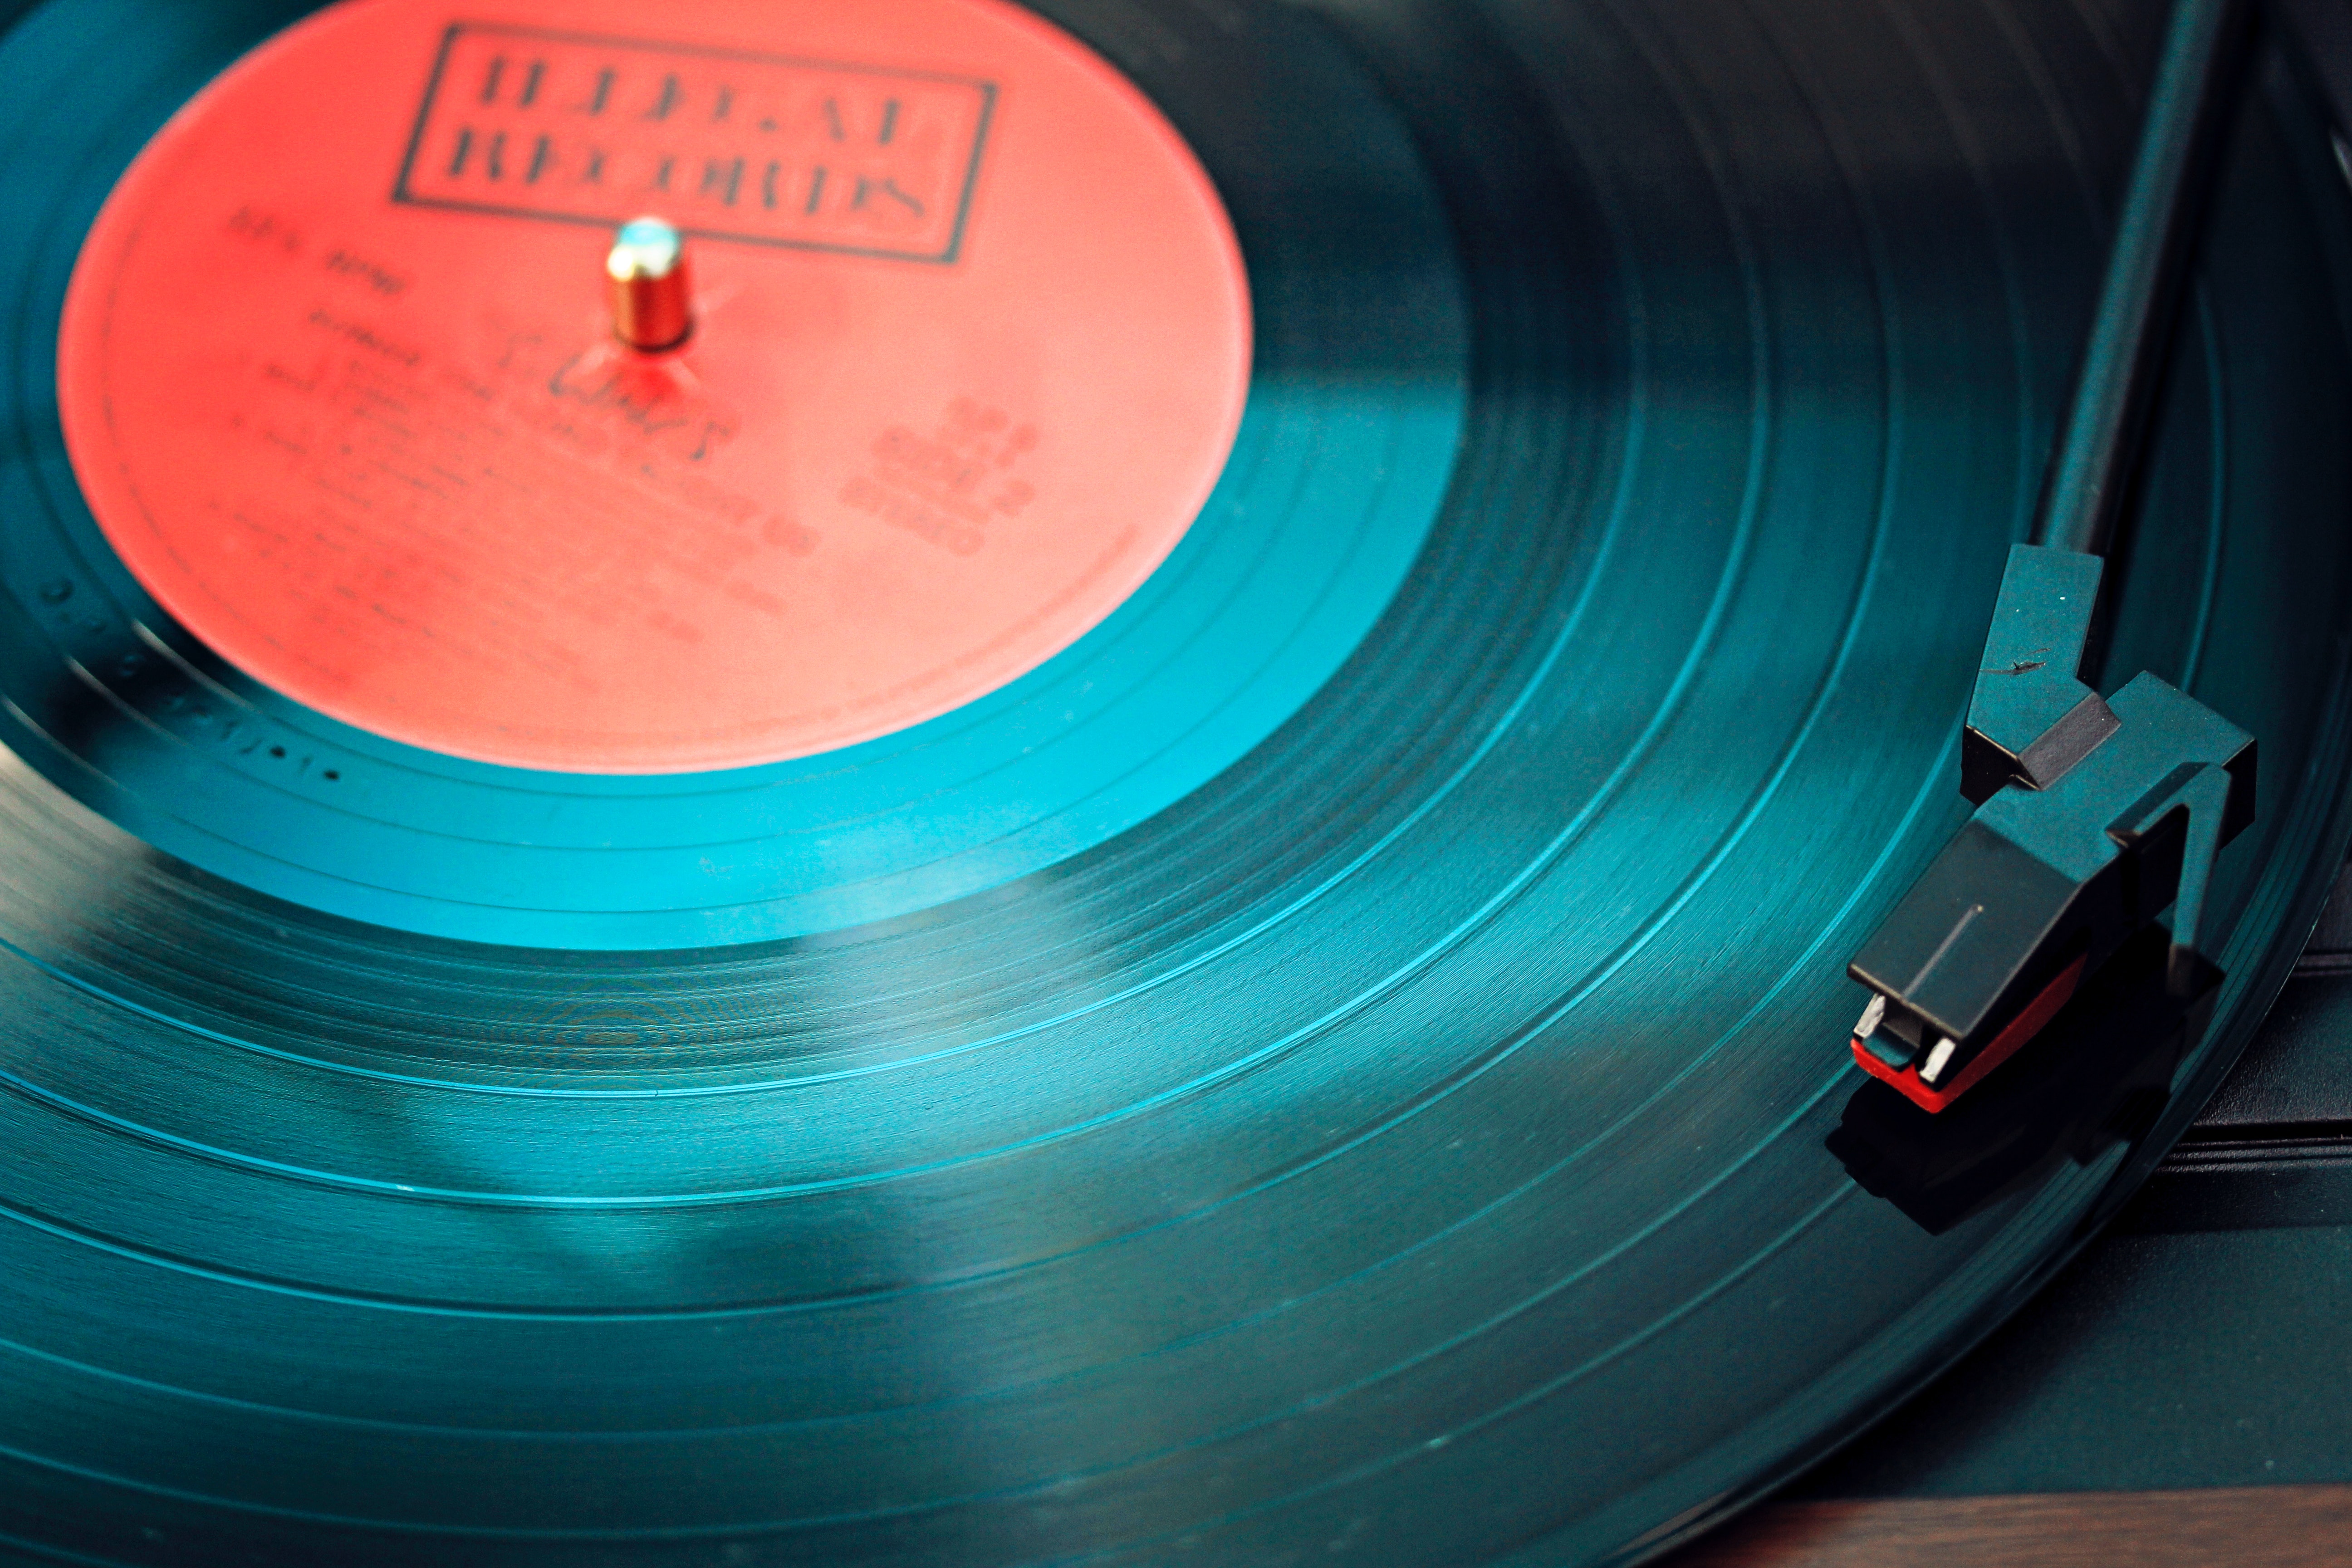
Vinyl lettering refers to designs or words cut from a thin, adhesive-backed vinyl material. This material comes in many colors and finishes, like matte, glossy, or even glittery, giving you a lot of options. It's often used for signs, wall decals, car decals, and personalizing items because it sticks well to many smooth surfaces and holds up pretty nicely over time, which is rather convenient.
The letters are cut out of the vinyl sheet, but they remain on their backing paper until you are ready to apply them. This is where contact paper, or transfer tape as it's often called in crafting circles, really comes into play. It helps you move your entire design from the backing to your chosen surface without losing any tiny pieces or messing up your spacing, so it's quite an important step.
Why Use Contact Paper?
Contact paper, when used for vinyl lettering, acts as a temporary adhesive layer that picks up your cut vinyl design and holds it together. Think of contact paper as a bit like an email alias; it gathers all your individual letter pieces, sending them all to the same final spot, which is pretty neat. This lets you transfer your entire word or phrase in one go, keeping all the letters perfectly aligned and spaced, which is very helpful for complex designs.
Without contact paper, trying to place individual vinyl letters would be a very fiddly and time-consuming task, leading to crooked words and uneven spacing. It provides the necessary stickiness to lift the vinyl off its original backing and then release it onto your project surface. It's a simple tool, but it makes a huge difference in achieving a professional look, you know, for your finished item.
Getting Your Materials Ready
Preparation is, arguably, half the battle when it comes to any creative endeavor, and making vinyl stickers lettering with contact paper is certainly no exception. Gathering all your supplies beforehand will help the process flow smoothly and prevent interruptions. It's a bit like making sure you have all your recovery details set up before you need to reset a password; being ready helps you recover quickly if something goes a little off track.
Essential Tools and Supplies
To get started on your vinyl lettering project, you'll need a few key items. First, you'll want your chosen vinyl material, of course, in the color and finish you prefer. You'll also need a cutting machine, like a Cricut or Silhouette, or a craft knife if you're cutting by hand, which is possible for simpler shapes. A cutting mat is also quite useful for protecting your work surface, too.
Beyond that, you'll definitely need the contact paper itself, which we'll talk more about in a moment. A weeding tool, which looks a bit like a dental pick, is very helpful for removing excess vinyl. A squeegee or a credit card will be needed for smoothing out the vinyl and contact paper, ensuring good adhesion. And finally, a clean, flat surface for working is, pretty much, a must-have.
Choosing the Right Contact Paper?
This is, perhaps, one of the most common questions people have: what kind of contact paper works best for vinyl? The truth is, not all contact papers are created equal for this purpose. You want one that has a medium tack, meaning it's sticky enough to pick up the vinyl but not so sticky that it won't release it onto your final surface. Too strong, and you might struggle to get the vinyl off; too weak, and your letters won't transfer properly, you see.
Many crafters actually prefer clear contact paper because it allows you to see your design underneath, making placement much easier. Some brands of clear shelf liner contact paper work surprisingly well as a budget-friendly option for transfer tape. You might want to test a small piece with your specific vinyl first, just to be sure it's the right fit. It's a good idea to experiment a little, in a way, to find what you like.
Designing Your Vinyl Lettering
The creative part of your project begins with designing your lettering, which is, honestly, a really fun step. This is where your ideas start to take shape, moving from a thought to something you can actually make. Taking the time to plan your design carefully can save you a lot of hassle later on, a bit like how backing up your email data files can save you trouble if something goes wrong with your settings, you know?
Software and Font Choices
Most craft cutting machines come with their own design software, like Cricut Design Space or Silhouette Studio. These programs allow you to type out words, choose fonts, resize, and arrange your text exactly how you want it. There are countless fonts available, so you can really find one that fits the mood of your project, whether it's elegant, playful, or something else entirely, which is quite nice.
When picking a font, consider the size of your final project and the intricacy of the letters. Very thin or overly decorative fonts can be tricky to cut and weed, especially if your lettering will be small. Sometimes, a slightly bolder or simpler font works much better for vinyl, particularly for beginners. It's a good idea to keep it relatively simple when you're just starting out, you know?
Preparing Your Design for Cutting
Once you've chosen your words and font, you'll need to prepare the design for cutting. This usually involves "welding" or "attaching" your letters in the software, especially if they are script fonts where letters connect. This step tells the machine to cut the word as one continuous piece rather than individual letters, which is very important for maintaining proper spacing and making the transfer easier. If you don't do this, your machine might cut through the overlapping parts of the letters, which is something you definitely want to avoid.
You'll also need to size your design appropriately for your chosen surface. Measure your item carefully to ensure your lettering will fit just right. Before sending it to the cutter, always double-check your spelling and spacing, too. It's a small step that can prevent a lot of disappointment later on, you see, a bit like proofreading an important email before sending it off.
Cutting Your Vinyl Design
With your design all ready, the next step is to actually cut it out of the vinyl. This is where your cutting machine, if you're using one, really gets to shine. It's a pretty satisfying part of the process, watching your design come to life on the cutting mat, which is rather cool.
Using a Craft Cutter
Load your vinyl onto your cutting mat, making sure it's smooth and flat, without any bumps or air pockets. In your cutting machine's software, select the correct material setting for the type of vinyl you are using. This is very important because different vinyls require different blade depths and pressures to cut properly. A test cut is always a good idea if you're unsure, just to make sure your settings are spot on. It's better to be safe than sorry, you know?
Once your settings are dialed in, send your design to the machine to cut. It works pretty quickly, tracing out your letters with precision. When the cutting is done, carefully remove the vinyl from the mat. You'll see your design lightly cut into the vinyl, ready for the next step, which is weeding.
Weeding Your Vinyl
Weeding is the process of removing all the excess vinyl from around your cut design. This means peeling away the vinyl that isn't part of your letters or shapes, leaving only the parts you want to transfer on the backing paper. This step requires a bit of patience and a steady hand, too.
Start by peeling away the large outer areas first. Then, use your weeding tool to carefully remove the smaller inner pieces, like the centers of "o"s, "a"s, and "e"s. Take your time with this part, as pulling too fast can sometimes lift parts of your actual design. It's a bit like carefully sorting through information; you want to keep only what's important, you see.
Applying Contact Paper as Transfer Material
Now that your vinyl is cut and weeded, it's time to bring in the star of the show for transferring: the contact paper. This step is where the magic happens, allowing you to move your design as one cohesive piece. Getting this part right is, honestly, very important for a smooth application later on.
The Right Way to Stick It Down
Cut a piece of contact paper that is slightly larger than your vinyl design. Peel off the backing from the contact paper, exposing the sticky side. Now, carefully lay the contact paper over your weeded vinyl design, starting from one edge and slowly rolling it across to the other. Try to avoid trapping any air bubbles as you go, which is sometimes a bit tricky.
Once the contact paper is fully laid over the vinyl, use your squeegee or a credit card to firmly rub over the entire surface. Apply good pressure, especially over each letter and line of your design. This action helps the vinyl stick securely to the contact paper, making sure it lifts off its original backing when you're ready. It's about ensuring a strong connection, you know, between the vinyl and the contact paper.
Smoothing Out Any Wrinkles
Even with careful application, you might find a few small air bubbles or wrinkles under your contact paper. Don't worry, this is pretty common. Use your squeegee to push any air bubbles towards the edges of the contact paper. For wrinkles, try to smooth them out as best as you can. Sometimes, a small poke with your weeding tool can help release trapped air, too.
The goal here is to have your vinyl design adhere completely to the contact paper, so when you peel it up, all your letters come along for the ride. This step, while seemingly simple, is very important for a successful transfer. It's like making sure your email account enhancements have minimal effect on your service; you want a smooth transition, you see.
Transferring Your Vinyl Lettering to Your Surface
This is the moment of truth! With your vinyl design now securely on the contact paper, you're ready to apply it to your chosen item. This part requires a little precision and patience, but the results are very rewarding, which is rather nice.
Preparing Your Application Area
Before you place your vinyl, make sure your surface is completely clean and dry. Any dust, grease, or moisture can prevent the vinyl from sticking properly, which is something you definitely want to avoid. For surfaces like glass or plastic, wiping with rubbing alcohol and letting it dry completely is often a good idea. For walls, a quick wipe with a damp cloth and then letting it dry fully should be enough, you know.
Make sure the surface is smooth and free of any textures that might interfere with adhesion. It's a bit like preparing your device before backing up email data; a clean slate helps everything work better, in a way. This preparation step really sets the stage for a successful application.
The Hinge Method for Accuracy
For accurate placement, especially with longer words or phrases, the "hinge method" is a very popular technique. Position your vinyl design (with the contact paper still attached) on your surface exactly where you want it. Once you're happy with the placement, apply a strip of painter's tape across the middle of your design, creating a "hinge." This holds the top half of your design in place, which is quite clever.
Now, lift the bottom half of the design, peeling away the vinyl's original backing paper up to the tape hinge. Cut off this exposed backing paper. Slowly lower the top half of the design back down, using your squeegee to firmly press the vinyl onto the surface, working from the hinge downwards. Once the bottom half is applied, remove the painter's tape. Then, lift the top half, peel off the remaining backing paper, and squeegee the rest of the design down, working from the hinge upwards. This method helps prevent crooked or bubbly applications, which is very helpful.
Peeling Away the Contact Paper
Once your entire vinyl design is pressed firmly onto the surface, it's time to carefully peel away the contact paper. Do this slowly, pulling the contact paper back at a sharp angle, almost parallel to your surface. If any part of the vinyl tries to lift with the contact paper, simply lay the contact paper back down and rub over that spot again with your squeegee, applying more pressure. Then try peeling again, very slowly.
This slow and angled peel helps the vinyl release from the contact paper and stick to your project surface. Once the contact paper is completely removed, give your vinyl one last firm rub with your squeegee to ensure maximum adhesion. You'll be left with your beautifully applied vinyl lettering, which is pretty satisfying, you know?
Troubleshooting Common Issues
Even with the best preparation, sometimes things don't go exactly as planned. If you ever feel a bit stuck, perhaps like when your email isn't working, just remember there are usually some straightforward tips to get you back up and running. Here are some common problems you might run into when working with vinyl stickers lettering and contact paper, and how to fix them.
Vinyl Not Sticking to Contact Paper
If your vinyl isn't picking up onto the contact paper, the contact paper might not be sticky enough, or you haven't applied enough pressure. Try rubbing over the contact paper again with your squeegee, applying more force. If it's still not working, your contact paper might be too old or simply not suitable for transfer. You might need to try a different brand or type of contact paper, which is sometimes the case.
Also, make sure your vinyl is properly weeded. Sometimes tiny bits of excess vinyl can prevent the main design from sticking. A bit of extra rubbing usually does the trick, though, you know?
Bubbles and Wrinkles on Your Surface
Air bubbles are a common issue. If you see them after applying the vinyl, you can often fix them. For small bubbles, use a pin or a very fine needle to gently poke a tiny hole in the bubble. Then, use your finger or a squeegee to push the air out towards the hole. For larger bubbles or wrinkles, you might need to carefully lift a section of the vinyl and reapply it, smoothing it down as you go. This is where patience really pays off, you see.
Applying the vinyl slowly and using the hinge method can help prevent many bubbles from forming in the first place, which is very helpful.
Difficulty Peeling the Contact Paper
If the contact paper is too sticky, or if your vinyl isn't adhering well to the surface, you might have trouble peeling the contact paper away without lifting the vinyl. First, ensure you've applied enough pressure to the vinyl on your surface with your squeegee. Really give it a good rub. Then, try peeling the contact paper back at an even sharper angle, almost flat against itself, which is a bit of a trick.
If it's still lifting, you can try leaving the contact paper on for a little longer to allow the vinyl's adhesive to bond with the surface. Sometimes, waiting a few minutes can make a difference. And if things go a little wrong, you can often recover your project, sort of like how you might recover a forgotten email password if you've set up recovery details. Just keep trying with gentle, consistent pressure, and you'll get there, you know?
Care and Maintenance for Your New Lettering
Once your vinyl stickers lettering is applied, you'll want to make sure it lasts. The care instructions depend a lot on the type of

Detail Author:
- Name : Ms. Jazmin Bosco
- Username : legros.gerda
- Email : raina07@treutel.info
- Birthdate : 1990-01-14
- Address : 130 Howell Underpass Suite 365 Cruickshankview, MA 82427-4674
- Phone : 516-223-8972
- Company : Homenick, Flatley and Padberg
- Job : Loan Counselor
- Bio : Quia quidem natus aspernatur facere. Provident doloribus nostrum est itaque libero qui quam provident.
Socials
instagram:
- url : https://instagram.com/rosie_xx
- username : rosie_xx
- bio : At eligendi aut illo vero. Eos facere sint aliquam dolores omnis. Sint dolor quia ipsa deserunt.
- followers : 6299
- following : 2296
facebook:
- url : https://facebook.com/rosie.kuhn
- username : rosie.kuhn
- bio : Nulla debitis exercitationem dolorum quidem distinctio omnis voluptate eius.
- followers : 5839
- following : 2522
linkedin:
- url : https://linkedin.com/in/rkuhn
- username : rkuhn
- bio : In magni non doloremque libero illum sit et.
- followers : 153
- following : 2984
