
Are you thinking about adding a really sturdy and attractive structure to your yard? A stone garden shed DIY project might just be what you're looking for, actually. It's a way to create something that stands the test of time, giving you a beautiful space for storage or even a little retreat. Many people want a place that feels solid and looks good, and stone, well, it certainly delivers on that front, you know?
There's something quite special about a stone structure, isn't there? It has a natural charm, a feeling of permanence that other materials sometimes just don't quite capture. For anyone who enjoys working with their hands and seeing a project come together, building a shed with stone can be a truly rewarding experience, you know. It's about more than just storage; it's about adding real character to your home, more or less.
This kind of project, a stone garden shed DIY, speaks to those who value durability and a classic look. It's for the gardener needing a robust spot for tools, the artist wanting a quiet studio, or perhaps just someone who appreciates the beauty of natural materials. We'll look at how you can make this happen, step by step, so you can build something truly special for your outdoor area, you know, for your home today.
Table of Contents
- Why a Stone Shed?
- Understanding Stone Materials
- Planning Your Stone Shed
- Gathering Your Tools and Supplies
- Step-by-Step Guide to Your Stone Garden Shed DIY
- Preparing the Foundation
- Building the Walls
- Adding the Roof
- Installing Doors and Windows
- Finishing Touches
- Maintaining Your Stone Shed
- Frequently Asked Questions About Stone Sheds
Why a Stone Shed?
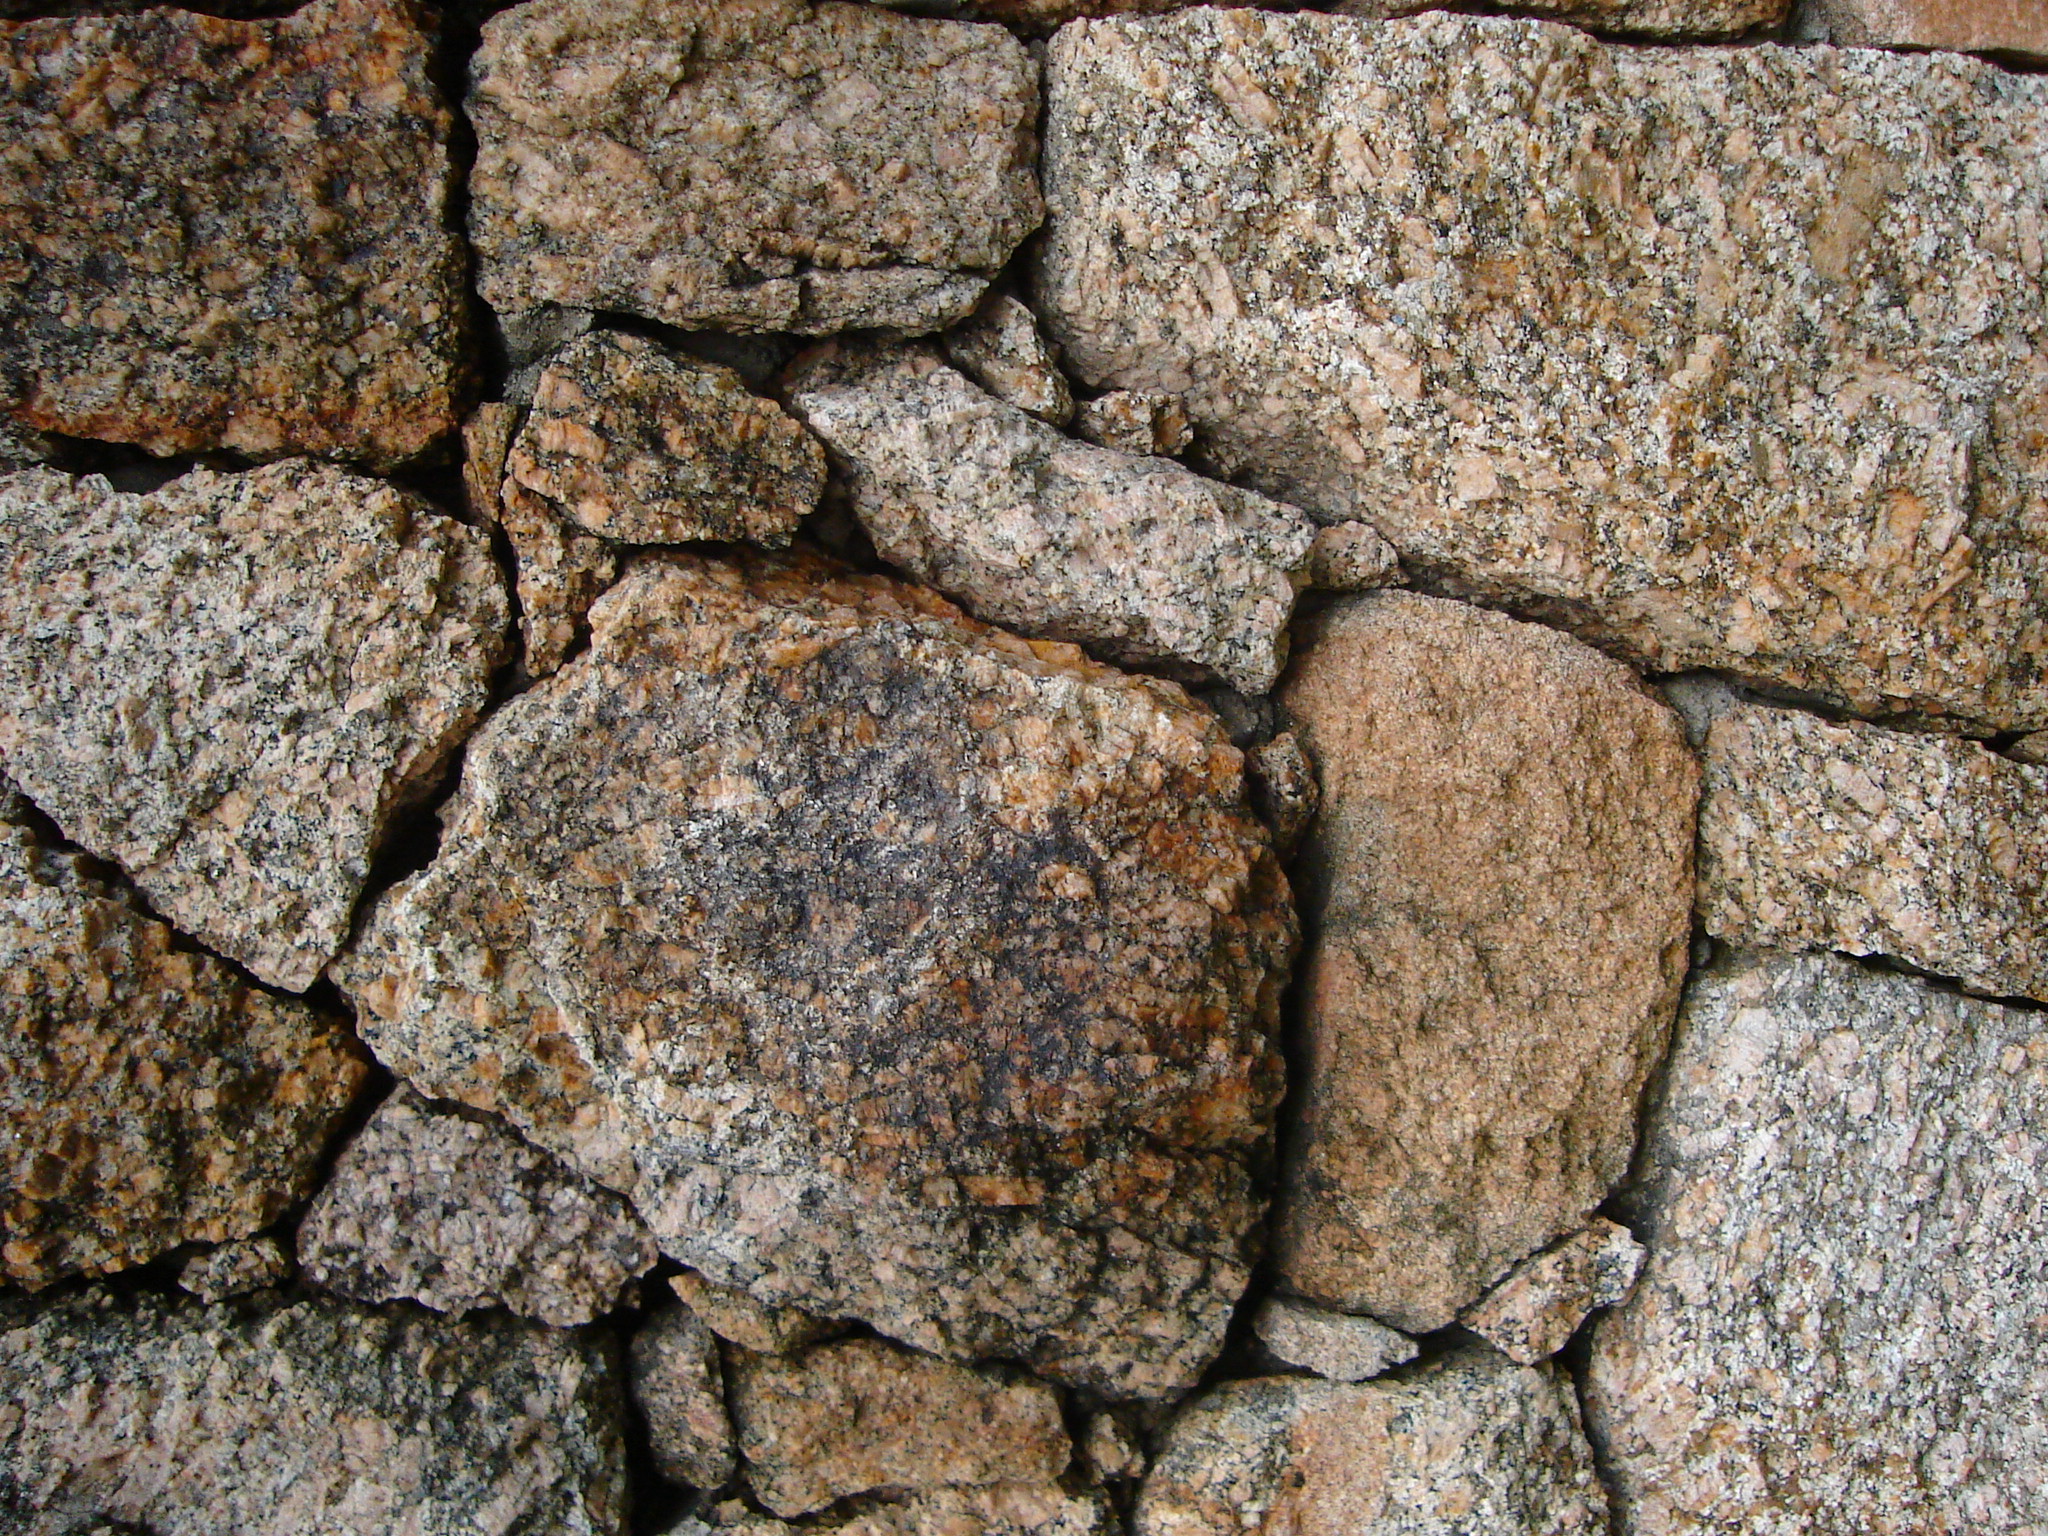
Choosing stone for your garden shed DIY project brings a lot of good things, actually. For one, stone is incredibly strong. It's a naturally occurring solid mass, a piece of rock that's hard and compacted, so it stands up to the weather really well, you know. Think about those old stone buildings; they've lasted for ages, pretty much.
Durability is a big plus here. A stone shed won't rot like wood, and it won't rust like metal, so it lasts a very long time, obviously. This means less upkeep for you over the years, which is a nice thought, isn't it? It's a bit of an investment in time and effort upfront, but it pays off with a structure that just keeps going, you know.
Then there's the look of it, which is something else. Stone has a timeless beauty, a natural feel that fits so well into a garden setting, sort of. It adds a touch of rustic charm or even a touch of elegance, depending on the stone you pick, and how you lay it, basically. It can really boost the overall appearance of your outdoor space, in a way.
Also, stone sheds tend to be quite secure. Their solid construction makes them much harder for uninvited guests to get into, so your tools and equipment are safer, you know. It’s a very practical benefit that gives you peace of mind, pretty much.
Understanding Stone Materials
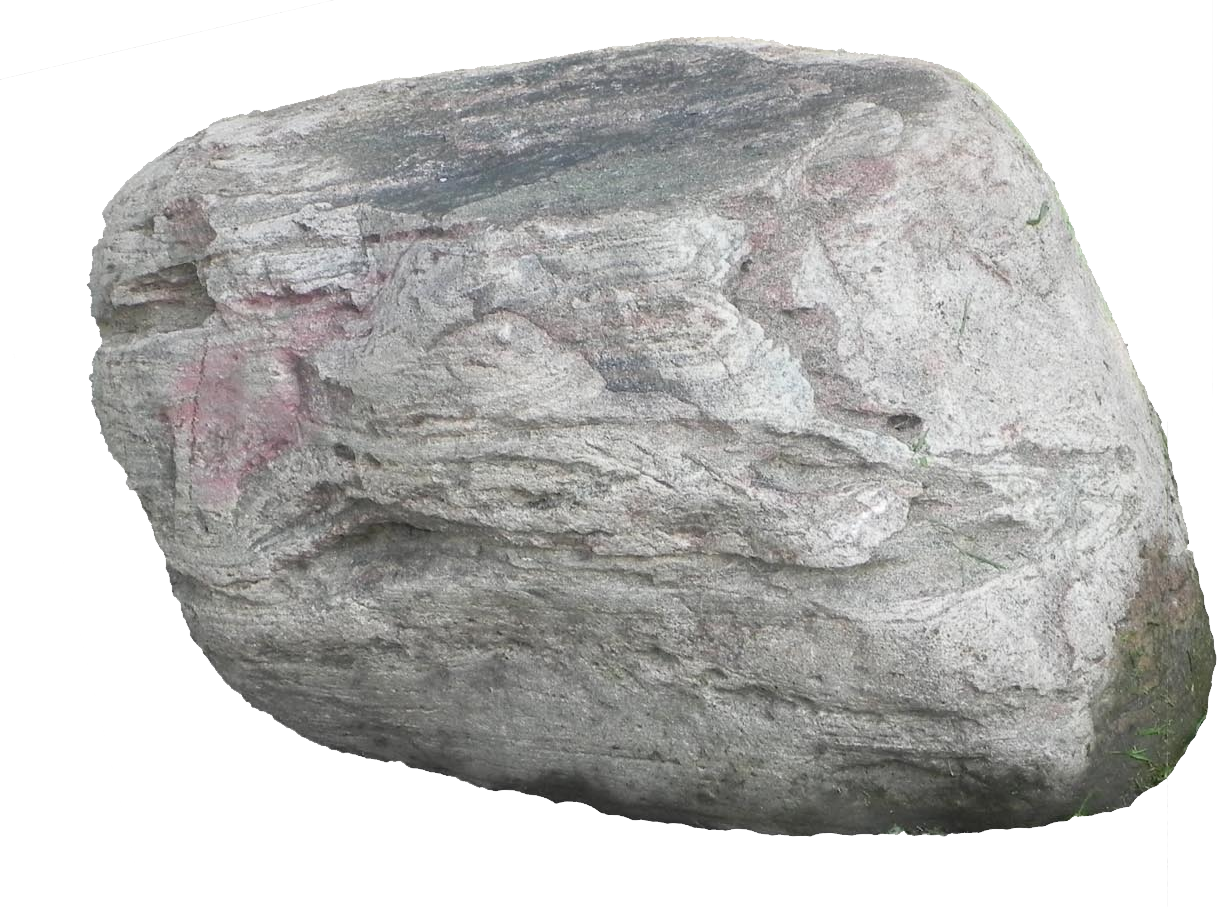
When you're thinking about your stone garden shed DIY, it helps to know a bit about the materials you'll be using, you know. Stone itself is a concretion of earthy or mineral matter, a hard substance found in the ground, often used for building, basically. It's categorized by the minerals it includes and its chemical make-up, which affects its look and how it works, obviously.
You can use different kinds of stone for building, like in a dry stone wall, for example. Some people might use natural fieldstone, which has a very organic, rustic look, you know. These are pieces of rock that you might find or buy, and they often vary in size and shape, which gives a shed a unique character, sort of.
Another choice is cut stone, which is shaped for easier building, you know. This can give a more uniform and polished appearance to your shed, if that's what you're after. It's often used where a very neat and tidy look is desired, and it can be a bit easier to work with for some people, naturally.
Then there's manufactured stone veneer, which is also an option, you know. This isn't solid stone all the way through; it's a lighter material that looks like stone, often applied to another surface. It can be a good choice if you want the stone look without the full weight and cost of solid stone, so it's worth considering for your design, pretty much. We provide everything from inspiration to installation of our manufactured and natural stone veneer, in a way.
The choice depends on your budget, the look you want, and how much work you're willing to put in, you know. Each type of stone has its own feel and its own way of being used, and it's good to learn everything you need to know about natural stone, from terminology to surface effects and dimensions, for example.
Planning Your Stone Shed
Before you start moving any stones, a good plan for your stone garden shed DIY is really important, you know. Think about where your shed will go in your yard, for example. Consider how much sun it will get, and how it fits with the rest of your garden, basically. You want a spot that's practical and also looks good, pretty much.
What size shed do you need? This depends on what you plan to store or do inside it, obviously. Sketch out some ideas, thinking about the footprint and the height, you know. It helps to visualize the space and make sure it will be big enough for your needs, but not too big for your yard, so.
Also, you'll want to think about the design of the shed, you know. Will it have a peaked roof or a flat one? How many windows will it have, and where will the door go? These details affect how much light gets in and how easy it is to use the shed, for instance. It's your chance to make it truly your own, sort of.
Checking local building codes is another very important step, you know. Some areas have rules about how big outdoor structures can be, or how close they can be to property lines, for example. You might need a permit before you can start building, so it's always best to check with your local authorities first, as a matter of fact.
Having a clear plan helps everything go more smoothly. It saves you time and effort later on, because you've thought through the steps and avoided potential problems, pretty much. A well-planned project is a happier project, you know.
Gathering Your Tools and Supplies
Once you have your plan for your stone garden shed DIY, it's time to get everything you'll need ready, you know. Having the right tools makes the work much easier and safer, for example. You'll want things like a sturdy shovel for digging, and a wheelbarrow to move heavy materials, basically.
For working with stone, you'll probably need a mason's hammer, a chisel, and maybe even a wet saw if you're cutting stone, you know. A level is absolutely essential for making sure your walls are straight and true, and a tape measure is a must for accuracy, pretty much. Don't forget safety gear, like gloves and eye protection, which are really important, obviously.
As for supplies, the main thing will be your stone, of course, you know. Decide if you're using natural stone or manufactured veneer, and order enough for your project, plus a little extra for mistakes or future repairs, for example. You'll also need materials for your foundation, like gravel and concrete mix, basically.
If you're using mortar, you'll need bags of cement, sand, and water, you know. For the roof, think about lumber for the framing, and then your roofing material, like shingles or metal sheets, for example. Don't forget materials for your door and windows, like wood or pre-made units, pretty much.
Making a list and getting everything before you start saves you from having to stop in the middle of a job to run to the store, you know. It's a simple step that can really make a difference in how smoothly your stone garden shed DIY project goes, as a matter of fact.
Step-by-Step Guide to Your Stone Garden Shed DIY
Now for the hands-on part of your stone garden shed DIY project, you know. This is where your plans start to become a real structure. Take your time with each step; building with stone is a bit of a process, but it's very rewarding, basically.
Preparing the Foundation
A solid base is incredibly important for any stone structure, you know. Stone is heavy, so your foundation needs to support that weight without shifting, for example. Start by marking out the footprint of your shed on the ground, using stakes and string, pretty much.
Then, you'll need to dig out the area for your foundation, usually to a depth that goes below the frost line in your area, you know. This helps prevent the ground from freezing and thawing, which can cause cracking later, obviously. Lay down a layer of gravel for drainage, and then pour your concrete slab, for example. Make sure it's level and smooth, which is quite important, you know.
Let the concrete cure completely before you start building on it, as a matter of fact. This can take several days, depending on the weather and the type of concrete mix you used, so be patient, basically. A strong foundation means a strong shed, pretty much.
Building the Walls
This is where your stone garden shed DIY really starts to take shape, you know. If you're building a dry stone wall, you'll be fitting stones together without mortar, relying on their shape and weight to hold them in place, for example. This takes a lot of skill and patience, basically, but it looks incredibly natural, you know.
For walls with mortar, you'll lay down a bed of mortar and then place your stones on top, pressing them firmly into place, you know. Use your level frequently to make sure each course of stone is straight, both horizontally and vertically, for example. You want to stagger your joints, so no vertical line of mortar goes straight up through multiple courses, which makes the wall stronger, pretty much.
If you're using stone veneer, you'll typically attach a backing material, like cement board, to a framed wall first, you know. Then, you apply the veneer pieces with a special adhesive, following the manufacturer's instructions, for example. This method is often quicker and lighter than solid stone construction, so it's a different way to get the stone look, basically.
Remember to leave openings for your doors and windows as you build up the walls, you know. You'll need to install lintels or headers above these openings to support the weight of the stone above them, which is very important for safety and stability, pretty much.
Adding the Roof
Once your walls are up and solid, it's time to frame out the roof for your stone garden shed DIY, you know. This usually involves building a wooden framework that sits on top of your stone walls, for example. The design of your roof will determine the shape of this framework, basically.
For a traditional peaked roof, you'll construct trusses or rafters that meet at a ridge beam, you know. Make sure these are securely fastened to the top of your stone walls, using anchor bolts or other strong connections, for example. You want a roof that can handle snow loads and wind, pretty much.
After the framing is up, you'll cover it with sheathing, typically plywood or OSB, you know. Then, you can apply your chosen roofing material, whether it's asphalt shingles, metal panels, or even something like slate tiles, for example. Follow the specific installation guidelines for your chosen material to ensure it's watertight, so.
Proper flashing around any chimneys or vents is also very important to prevent leaks, you know. A well-built roof protects your shed and everything inside it from the elements, which is its main job, obviously.
Installing Doors and Windows
With the walls and roof in place, you can now add the doors and windows to your stone garden shed DIY, you know. These really complete the look and make the shed usable, for example. You can buy pre-made units, or you can build your own custom doors and window frames, basically.
Fit the door frame into the opening you left in the stone wall, making sure it's plumb and level, you know. Secure it firmly to the surrounding structure, for example. Then, hang the door itself, ensuring it swings open and closes smoothly, pretty much.
For windows, install the frames into their openings, again checking for level and plumb, you know. Seal around the frames with caulk to prevent drafts and water from getting in, for example. Then, install the glass panes or the window sashes, depending on the type of window you chose, basically.
Consider the placement of your windows for natural light and ventilation, you know. A well-placed window can make the inside of your stone shed feel much more inviting and useful, so it's worth thinking about, pretty much.
Finishing Touches
The final steps of your stone garden shed DIY project are about making it look great and fully functional, you know. This could involve pointing the mortar joints if you used mortar, which means filling in any gaps and smoothing the mortar for a neat finish, for example. This also helps seal the wall against moisture, basically.
Inside your shed, you might want to add some shelving or a workbench, you know. This makes the space much more organized and practical for whatever you plan to use it for, for example. You could also think about adding some basic lighting or even a small power outlet if you need electricity, pretty much.
Consider the landscaping around your new stone shed, too, you know. Planting some flowers or shrubs nearby can help it blend even more beautifully into your garden, for example. A little pathway leading up to the door can also add a nice touch, basically.
These finishing touches really bring your stone garden shed DIY project to life, you know. They turn a simple structure into a truly special and usable space that you'll enjoy for many years, pretty much.
Maintaining Your Stone Shed
While a stone shed is quite durable, a little care can help it last even longer and look its best, you know. Periodically check the mortar joints for any cracks or crumbling, for example. If you find any, repairing them quickly can prevent bigger problems down the line, basically.
Keep an eye on the roof, too, you know. Clear off any leaves or debris that might accumulate, especially in the gutters, for example. Check for any missing shingles or damaged areas after strong winds or storms, so you can fix them right away, pretty much.
Inspect the doors and windows for any signs of wear, like peeling paint or sticking mechanisms, you know. A little lubrication on hinges or a fresh coat of paint can keep them working smoothly and looking good, for example. Keeping water from getting in is key for a long-lasting shed, basically.
Sometimes, you might want to clean the stone itself, especially if moss or algae starts to grow on it, you know. A gentle scrub with a brush and water, maybe with a mild cleaner, can restore its natural beauty, for example. Just avoid harsh chemicals that could damage the stone, pretty much.
Regular, simple checks mean your stone garden shed DIY project will stay a strong and beautiful part of your property for a very long time, you know. It's a small effort for a lot of lasting value, basically.
Frequently Asked Questions About Stone Sheds
Many people have questions when they think about a stone garden shed DIY. Here are some common ones:
Is building a stone shed very difficult for a beginner?
Building a stone shed can be a bit challenging, yes, but it's certainly doable for someone new to it, you know. It takes patience and a willingness to learn new skills, for example. Starting with a smaller shed can be a good way to gain experience, basically. There are many guides and resources available to help you, pretty much.
How much does a stone garden shed DIY project usually cost?
The cost of a stone garden shed DIY project can vary a lot, honestly, depending on several things, you know. The type of stone you choose, the size of the shed, and whether you do all the work yourself or hire some help all play a part, for example. Natural stone can be more expensive than manufactured veneer, for instance. It's best to budget carefully for materials and any tools you might need to buy, basically.
What kind of foundation is best for a stone shed?
For a stone shed, a solid concrete slab foundation is generally the best choice, you know. Because stone is so heavy, you need a very stable base that won't shift over time, for example. A well-prepared concrete slab provides that stability and helps keep moisture out of the shed, pretty much. It's a key part of making your stone garden shed DIY last, you know.
To learn more about building materials on our site, and link to this page for more DIY ideas.
Building a stone garden shed DIY is a project that truly adds value and beauty to your home, you know. It's a chance to create something solid and enduring with your own hands, for example. The timeless appeal of stone means your shed will look good for years to come, basically. It's a structure that can serve many purposes, from storage to a quiet retreat, pretty much. You're building more than just a shed; you're building a lasting piece of your property, you know.

Detail Author:
- Name : Mylene Schumm
- Username : ludie72
- Email : monroe.batz@jacobi.org
- Birthdate : 1976-02-29
- Address : 440 Barrows Port West Dagmarhaven, NH 40648
- Phone : 1-907-588-9368
- Company : O'Reilly, Kunde and Pagac
- Job : Poultry Cutter
- Bio : Assumenda quia id debitis aut ea in. Ut assumenda sint quia eos ipsam eius. Et reprehenderit voluptas aut et et nesciunt. Enim saepe minima recusandae vel quis et.
Socials
tiktok:
- url : https://tiktok.com/@cwiza
- username : cwiza
- bio : Ex voluptas enim magnam velit vel optio quia.
- followers : 5319
- following : 1811
facebook:
- url : https://facebook.com/cwiza
- username : cwiza
- bio : Sed quia ea animi neque.
- followers : 338
- following : 2901
linkedin:
- url : https://linkedin.com/in/charlie_wiza
- username : charlie_wiza
- bio : Rem est aut a pariatur quibusdam dolorem autem.
- followers : 4413
- following : 1572
