
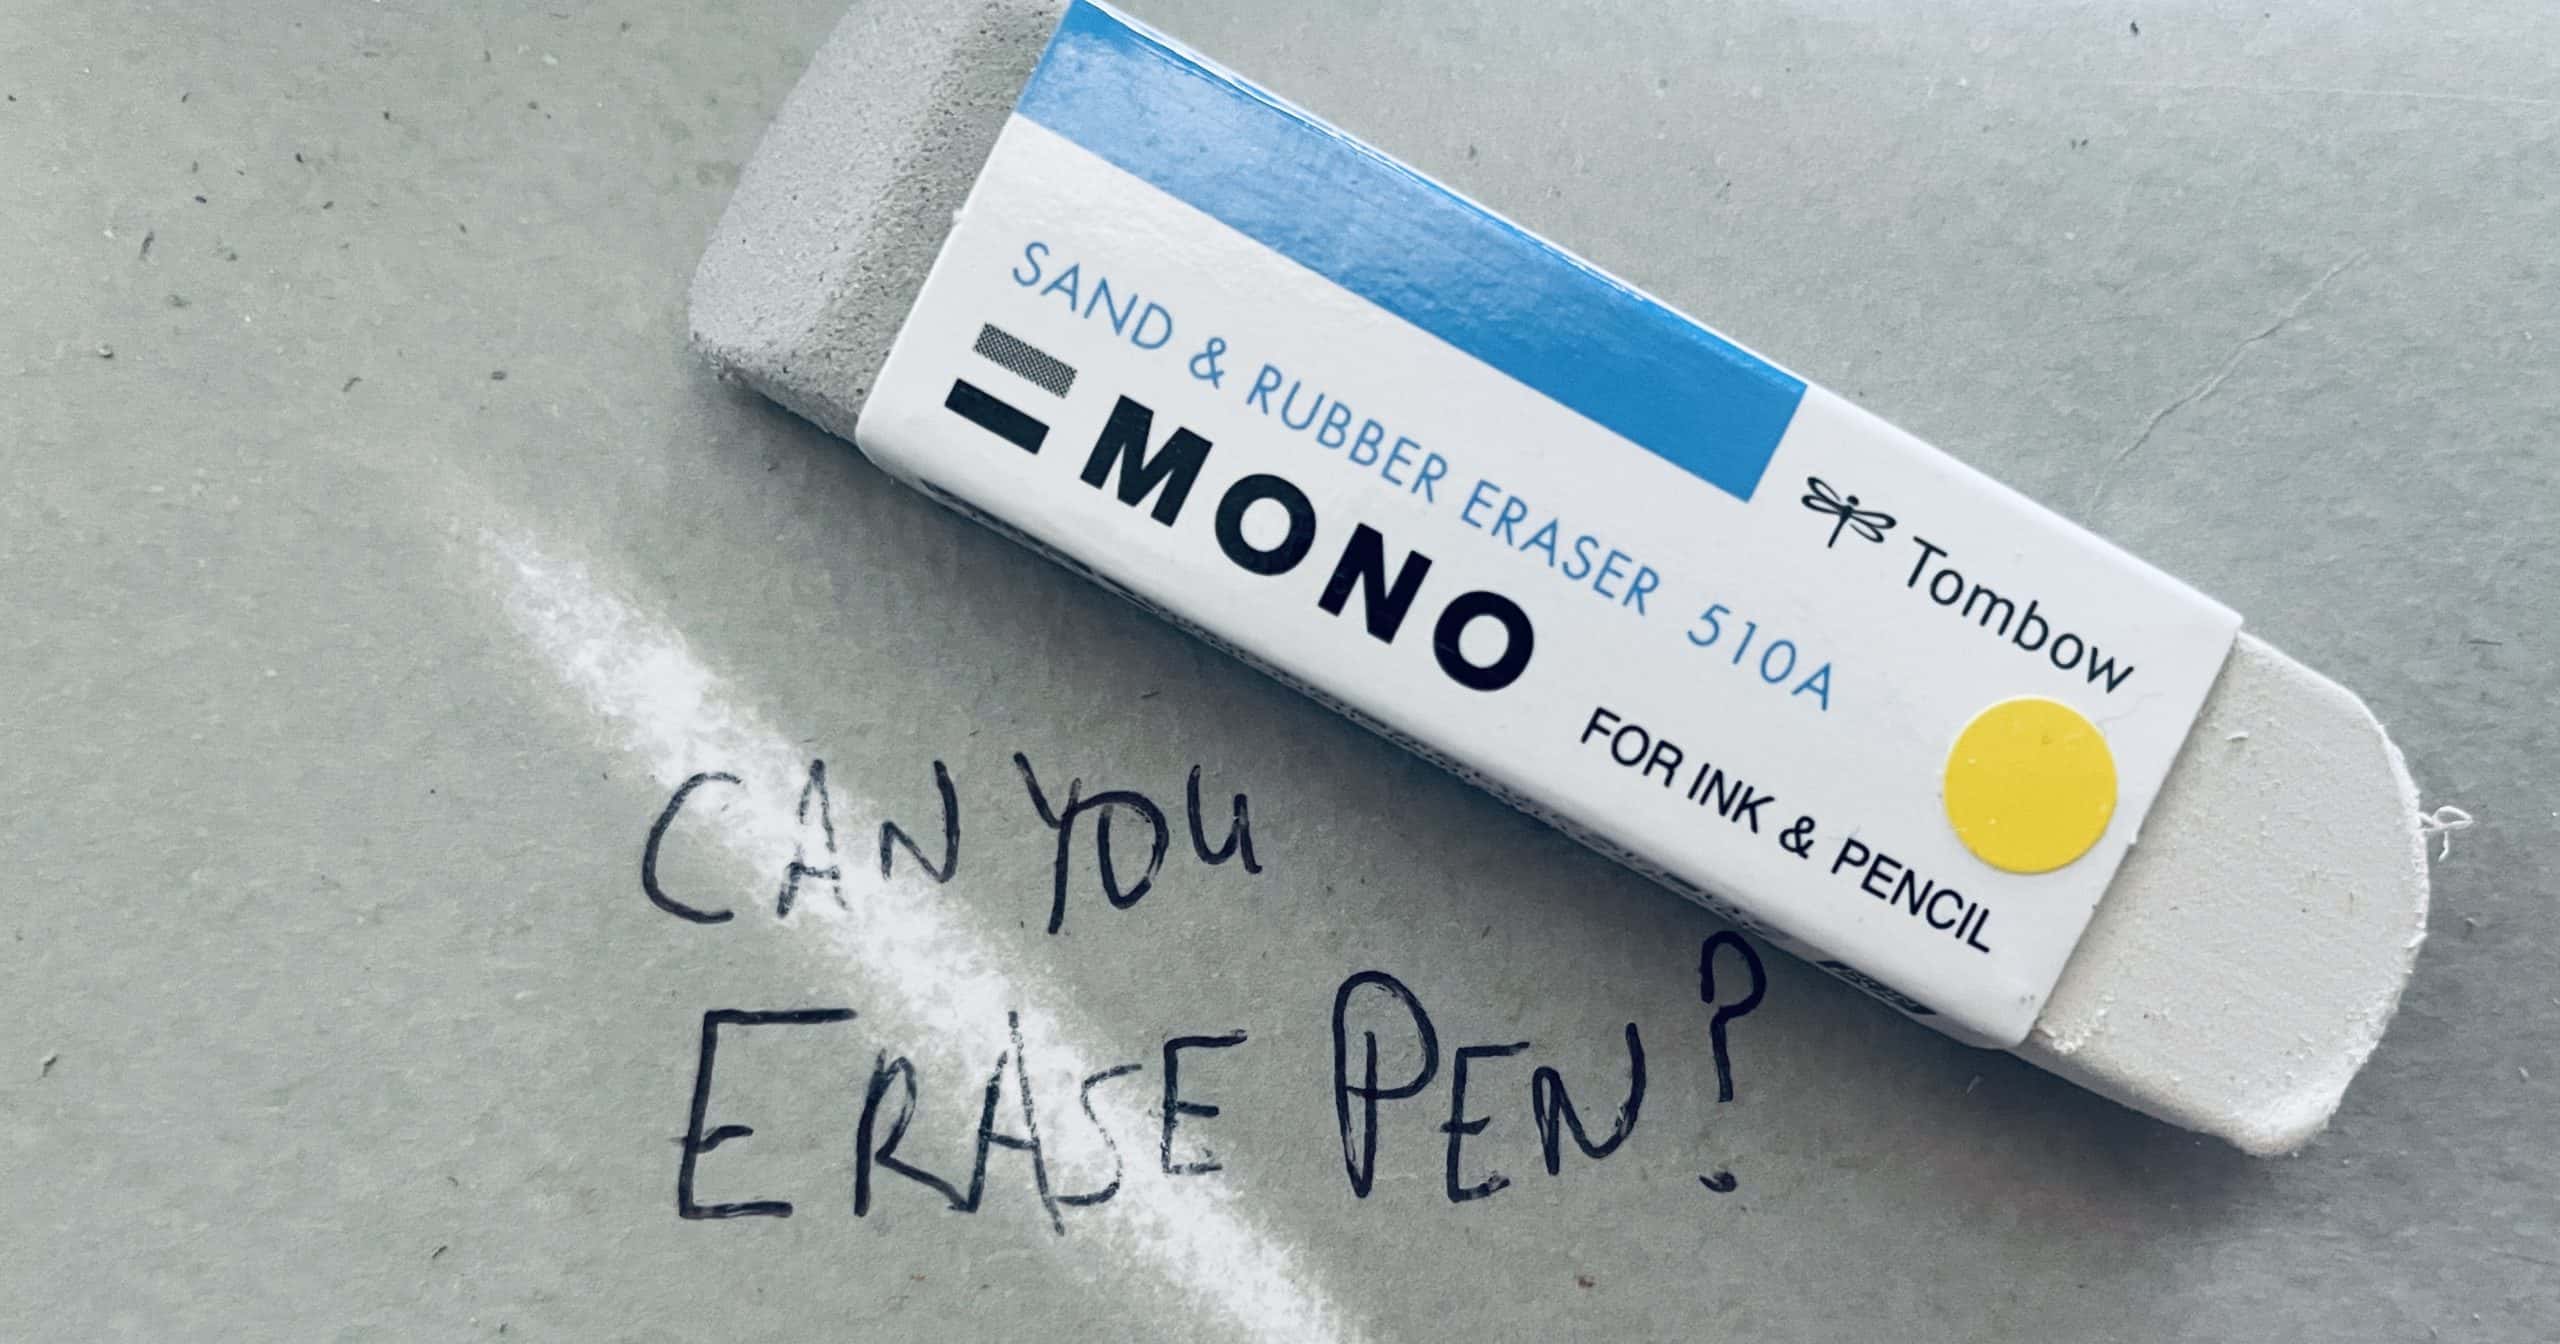
Have you ever looked at a photo and wished something was just a little different? Perhaps a stray piece of fabric, or maybe you are aiming for a particular artistic look? The idea of making things vanish from images, like clothing, using tools such as Photoshop, is something many people wonder about. It is a bit like magic, really, making something that was there simply disappear, leaving a clean, clear spot where it once stood. This ability to digitally remove things can be pretty useful, or, you know, sometimes a bit controversial, depending on what you are trying to do.
When we talk about "erasing" in the world of pictures, it is not quite like taking a rubber to a pencil mark. My text tells us that to erase is to rub or scrape out something, like written letters or even a memory. In the digital sense, it means making pixels disappear or, more precisely, replacing them with other pixels that blend in perfectly. This process can be quite delicate, especially when you are dealing with something as detailed as fabric or a person's attire in a photograph. It is about careful digital reconstruction, making sure the new image looks completely natural, as if the item was never there at all.
This article will walk you through what it means to digitally remove clothing in photos, exploring the different ways Photoshop helps with this task. We will look at the tools you might use, some steps you could take, and, frankly, the important things to think about when doing this kind of editing. We will also touch on other clever tools that can help with similar picture changes, so you get a fuller picture of what is possible right now.
Table of Contents
- What Does "Erase" Mean for Photos?
- Why Might Someone Do This? Digitally Altering Attire
- The Main Tools in Photoshop for This Kind of Work
- A General Approach to Removing Clothing in Photoshop
- Thinking About Ethics and Privacy with Digital Changes
- Beyond Photoshop: Other Clever Image Editors
- Tips for a Believable Outcome
- Frequently Asked Questions About Digital Clothing Alteration
- Making Your Images Just Right
What Does "Erase" Mean for Photos?
My text gives us a good sense of what "erase" means generally: to rub or scrape something out, to make it disappear, or to wipe it away. It can be about making a mark go away, like when you fix a mistake you have written, or even making a feeling or memory fade completely. In the context of pictures, particularly with Photoshop, "erasing clothes" is not about literally rubbing something off a printed photo. Instead, it is about a digital process of removing parts of an image and filling those empty spots with new, believable information. It is like telling the computer, "Hey, make this part vanish, and then figure out what should be there instead." This often involves the software looking at the surrounding areas to guess what the missing part would look like, which is pretty clever, you know.
This kind of digital removal is quite different from just cutting something out. When you cut something, you usually leave a blank space or a clear edge. But when you "erase" digitally, the goal is to seamlessly blend the area where the item used to be with the background or the body underneath. It is about creating a smooth, uninterrupted look, as if the clothing was never in the picture to begin with. This takes a bit of skill and, frankly, some very smart software to get right, especially with tricky textures or complex lighting. You are basically reconstructing a part of the image, which can be a bit of a challenge.
Why Might Someone Do This? Digitally Altering Attire
People consider digitally altering or removing clothing from photos for various reasons, and it is not always for what you might first think. Sometimes, it is about fixing a picture where a piece of clothing just does not look right, or maybe it is bunched up in an awkward way. You might want to smooth out a wrinkle or, you know, adjust how something fits for a more flattering appearance. For instance, a photographer might need to clean up a shot for a fashion spread, making sure every detail is just so. It is about perfecting the image, really.
Other times, this kind of editing can be for artistic purposes. An artist might want to explore different forms or create a surreal image where clothing appears to melt away or change into something else entirely. It is a way to push creative boundaries and tell a different kind of story with a picture. Think of it as a tool for imagination, allowing creators to bring their unique visions to life without needing to reshoot. This creative freedom is a big draw for many, actually.
Then there are, of course, the more sensitive uses. My text talks about "erasing" sensitive data from a hard drive, and in a way, digitally altering clothing can touch on similar ideas of privacy and control over one's image. This is where things get a bit more serious and, frankly, require a lot of thought about what is right and wrong. We will talk more about the ethical side of things later, but it is definitely a part of the conversation when we discuss this kind of image manipulation. It is something to be quite mindful of, you know.
The Main Tools in Photoshop for This Kind of Work
Photoshop offers a whole collection of tools that can help you with making things disappear, including clothing. Each tool has its own strengths, and often, you will use a combination of them to get the best result. It is not usually a one-click fix, especially for more complex tasks. You really have to get a feel for how each one works and how they can work together, which is pretty much the key to good editing.
Content-Aware Fill: The Smart Helper
This tool is, in a way, a bit like magic. You select the part you want to remove, and then Photoshop tries to intelligently fill that area using information from the surrounding pixels. It is pretty good at guessing what should be there, especially if the background is somewhat consistent. For example, if someone is standing against a plain wall, and you want to remove a logo from their shirt, Content-Aware Fill can often do a surprisingly good job of replacing the logo with the wall texture. It is a real time-saver for many editing jobs, actually.
To use it, you just draw a selection around the clothing item or part you want to remove. Then, you tell Photoshop to fill that selection using Content-Aware. The software looks at the pixels around your selection and tries to create new pixels that match the patterns and colors. It is not always perfect, especially with tricky backgrounds or complex shapes, but it is often a great starting point. You might need to do a little cleanup afterward, but it really handles a lot of the heavy lifting, you know.
The Healing Brush and Spot Healing Brush: For Smaller Bits
These brushes are fantastic for smaller imperfections or areas where you need a bit more control. The Spot Healing Brush is super easy; you just paint over the area you want to fix, and Photoshop automatically samples from nearby pixels to blend it away. It is perfect for tiny wrinkles or small bits of fabric sticking out. It is very user-friendly, basically.
The regular Healing Brush gives you more control. With this one, you first pick a "source" area by holding down a key and clicking. Then, you paint over the "problem" area, and Photoshop uses the texture and color from your source to blend out the unwanted part. This is really useful when you need to be precise about what pixels are being used to cover something up. For instance, if you are trying to extend a skin tone over where a strap used to be, you can sample a nearby skin area and paint it over. It is a bit more manual, but it gives you a lot more power, which is good.
The Clone Stamp Tool: For Precise Copies
The Clone Stamp tool is like a digital copy-and-paste brush. You select a source area, and then you can literally paint those pixels onto another part of the image. This is incredibly useful when you need to replicate a specific texture, pattern, or color from one part of the image to cover up something else. For example, if you are removing a sleeve, and you need to extend the background pattern or a skin tone, you can sample from an area right next to where the sleeve was and carefully paint it over. It is very precise, and you have complete control over what gets copied.
This tool is often used for the final touches, or for areas where the other automatic tools just do not quite get it right. It requires a steady hand and a good eye for detail, but it allows you to build up the new image pixel by pixel, ensuring a very natural look. It is pretty much essential for any detailed photo manipulation, actually. You can really get into the fine points with this one, so.
Generative Fill: The New Kid on the Block
This is one of the newer, very exciting additions to Photoshop, powered by artificial intelligence. With Generative Fill, you select an area, and then you can type in a text description of what you want to appear in that spot. Or, if you leave the text box empty, it will try to fill the area based on the surrounding image content, much like Content-Aware Fill, but often with more impressive results. It can create entirely new elements or seamlessly extend existing ones, which is pretty amazing.
For removing clothing, you could select the area where the clothing is and simply leave the prompt blank. Photoshop's AI will then generate what it thinks should be there, often creating believable skin texture or background elements. It is still developing, but it is already proving to be a incredibly powerful tool for complex removals and additions. It is really changing how we think about photo editing, you know, offering a different kind of creative freedom.
A General Approach to Removing Clothing in Photoshop
While every image is different, there is a general way to go about removing clothing in Photoshop. It is usually a multi-step process that combines different tools and techniques. You start with the bigger removals and then work your way down to the finer details. It is a bit like sculpting, really, where you chip away at the big pieces first, and then refine the smaller ones. You need a bit of patience for this, honestly.
First, you would usually make a rough selection around the clothing you want to erase. This could be with the Lasso tool or the Quick Selection tool. You do not need to be super precise at this stage, just get the general area. Then, you might try a broad stroke removal, perhaps using Content-Aware Fill. This will take care of the larger sections and give you a good starting point. Sometimes, this alone can do a lot of the work, which is pretty helpful.
After that initial step, you would zoom in and start refining. This is where the Healing Brush and Clone Stamp tools become your best friends. You would carefully paint over any remaining bits of clothing, blending the edges, and filling in any awkward spots. This might involve sampling skin tones from nearby areas and extending them, or copying background textures to cover up gaps. It is all about making sure the new pixels look natural and flow seamlessly with the rest of the image. You know, making it look like it was always meant to be that way.
Finally, you would check for any inconsistencies in lighting, color, or texture. You might need to use adjustment layers or painting tools to match the tones and shadows perfectly. Sometimes, a slight blur or noise addition can help blend things in. The goal is to make it impossible for someone to tell that anything was removed. It is a very detail-oriented process, but the results can be really impressive if you take your time, actually.
Thinking About Ethics and Privacy with Digital Changes
My text mentions that "Eraser is an advanced security tool for Windows which allows you to completely remove sensitive data from your hard drive by overwriting it several times with carefully selected patterns." This idea of removing "sensitive data" has a strong echo in the discussion around digitally altering images, especially when it involves people's appearance or clothing. While Photoshop gives us amazing creative freedom, it also comes with a big responsibility. It is really important to think about the ethical side of things before you start making significant changes to someone's image. You know, what is okay and what is not okay.
The most important rule, basically, is consent. If you are altering someone else's image, especially in a way that changes their appearance or implies something they did not intend, you absolutely need their permission. Changing someone's clothing digitally without their knowledge or consent can have serious consequences, both legally and personally. It can be seen as a violation of privacy and can even be used to misrepresent someone, which is definitely not a good thing. It is about respecting people and their image, obviously.
Beyond consent, consider the purpose of your edit. Is it for a harmless creative project? Is it to fix a minor wardrobe issue in your own photo? Or is it something that could potentially harm someone's reputation or spread misinformation? The power to "erase" or change parts of an image is a very strong one, and with that power comes a duty to use it responsibly. It is a bit like having a very sharp tool; you can build amazing things with it, or you could cause harm. So, thinking about the impact of your work is pretty much essential, you know.
Always remember that digital images can be very convincing, and what you create can be seen by many people. Ensuring that your edits are used in a way that is respectful and does not mislead others is a key part of being a responsible digital creator. It is a serious consideration, actually, in today's world where images spread so quickly. We need to be mindful of the bigger picture, so to speak.
Beyond Photoshop: Other Clever Image Editors
While Photoshop is a very powerful tool for image editing, it is not the only option out there, especially when it comes to quick removals. My text mentions a couple of other smart tools that use artificial intelligence to make things disappear, which is pretty neat. These tools often simplify the process, making it accessible even if you are not a Photoshop expert. They are really changing the game for everyday photo fixes, you know.
One such tool mentioned is Erase.bg. My text describes it as a "smart AI background removal and image editor tool that lets you edit single or bulk images with precision." While its main job is often background removal, many of these AI-powered tools also have "object eraser" features. You basically mark the unwanted object, and the AI works its magic to make it vanish, trying to fill the space intelligently. It is very user-friendly, basically, and can handle a lot of the tricky parts automatically. This is great for quick edits without needing a lot of technical know-how.
Another tool that my text brings up is PhotoRoom. It is noted for its "most impressive object eraser paint over the unwanted objects of your image and let photoroom work its magic." Similar to Erase.bg, PhotoRoom focuses on making image editing simpler for everyone. You just "paint over" the item you want to remove with a brush tool, and the software automatically processes it. This kind of automation is incredibly helpful for people who need quick, clean results without spending hours learning complex software. It really speeds things up, which is pretty much what many people want today.
These AI tools are fantastic for less complex removals or when you need to process many images quickly. They might not offer the same level of fine-tuned control as Photoshop for very intricate edits, but for many common tasks, they are incredibly effective and easy to use. It is definitely worth exploring them if you are looking for a simpler way to clean up your photos, you know, without all the fuss.
Tips for a Believable Outcome
Making digital alterations look natural is the main goal. If it looks fake, then what is the point, right? So, here are some practical tips to help you get a really convincing result when you are making things disappear from your pictures. These are pretty much the things that separate a good edit from one that just screams "Photoshop," actually.
First, always work on a duplicate layer. Never edit directly on your original image. This way, if you make a mistake, or if you just do not like how something turned out, you can easily go back to your starting point without ruining the whole picture. It is a very simple habit, but it saves a lot of headaches, you know. Think of it as your safety net.
Second, pay very close attention to lighting and shadows. When you remove something, you also remove its shadows and how light interacted with it. You need to make sure that the area you are filling in has the correct lighting and shadows to match the rest of the image. This might mean painting in some subtle shadows or highlights to create depth and realism. If the lighting is off, the whole thing will look flat and fake, so.
Third, consider the texture. Clothing has texture, and so does skin or the background. When you replace the clothing, you need to make sure the new area has a believable texture. This is where tools like the Clone Stamp or careful use of the Healing Brush come in handy, allowing you to sample and replicate existing textures. Sometimes, adding a tiny bit of noise or grain can help the new area blend with the original photo's natural grain. It is all about making it look like it belongs there, basically.
Fourth, zoom in, then zoom out. You need to zoom in close to get the fine details right, but then zoom out regularly to see the overall effect. Sometimes, what looks perfect up close looks totally wrong from a distance. And vice versa. This back-and-forth checking helps you maintain perspective and ensures the edit looks good at all viewing sizes. It is a bit like stepping back from a painting to see the whole thing, you know.
Lastly, practice, practice, practice. Digital editing is a skill that gets better with time and effort. The more you experiment with different tools and techniques, the more comfortable and confident you will become. Do not be afraid to try new things or to mess up; that is how you learn. Every edit is a chance to get a little better, which is pretty much how it goes with anything worthwhile.
Frequently Asked Questions About Digital Clothing Alteration
People often have questions about digitally changing clothes in photos, so let us clear up a few common ones. These are the kinds of things that pop up when you start thinking about this sort of image work, you know.
Is it possible to completely remove all clothing from a photo in Photoshop?
Yes, technically, it is possible to remove clothing from a photo using Photoshop's tools. However, achieving a believable and natural look is very, very difficult. It requires a lot of skill, time, and careful attention to detail, especially for complex body shapes, lighting, and textures. It is not a simple click-and-done kind of thing, honestly.
What are the ethical implications of digitally altering clothing in images?
The ethical implications are very significant. Altering someone's appearance, especially by removing clothing, without their explicit consent is a serious violation of privacy and can be considered misrepresentation. It can lead to harm, distress, and legal issues. It is absolutely crucial to always have permission from the person in the photo before making such changes, you know, out of respect.
Are there any AI tools that can automatically remove clothes from pictures?
Some AI tools, like those with "object eraser" features (similar to Erase.bg or PhotoRoom mentioned earlier), can remove objects from images automatically. However, their ability to "automatically remove clothes" in a realistic and complete way is generally limited, especially for complex scenarios. They are better at removing simpler items or backgrounds. For detailed clothing removal, human intervention with tools like Photoshop is usually still needed for a good result. They are getting smarter, but they are not quite there yet for everything, basically.
Making Your Images Just Right
So, we have talked about how you can digitally "erase" clothing from photos using Photoshop and other smart tools. We have seen that "erase" in this context means carefully replacing pixels to make something disappear, which is a pretty cool trick. It is a process that requires a mix of clever software and, honestly, a good bit of human skill and patience. Whether you are fixing a small detail or trying to create something entirely new, these tools offer a lot of possibilities. Just remember, with great digital editing capabilities comes the very real responsibility to use them wisely and respectfully. It is all about making your pictures just right, but also doing it in a way that is thoughtful and fair, you know. Learn more about photo editing techniques on our site, and you can also find out more about image manipulation ethics here.

Detail Author:
- Name : Mr. Ezra McCullough V
- Username : ogrady
- Email : deshaun.wisozk@koelpin.biz
- Birthdate : 1975-03-15
- Address : 76191 Creola Canyon Suite 005 Emardhaven, PA 10577-8903
- Phone : +1 (970) 851-6922
- Company : Torp, Reinger and Steuber
- Job : Plating Operator OR Coating Machine Operator
- Bio : In voluptas veritatis aut nobis. Autem fuga eius sint qui labore expedita velit qui. Soluta esse voluptas sit officiis.
Socials
facebook:
- url : https://facebook.com/aleenhartmann
- username : aleenhartmann
- bio : Dolores beatae quia vero ut ut. Rerum sapiente debitis et.
- followers : 5768
- following : 1253
linkedin:
- url : https://linkedin.com/in/aleen531
- username : aleen531
- bio : Nobis facilis temporibus eos sint architecto.
- followers : 5886
- following : 2967
instagram:
- url : https://instagram.com/aleen_official
- username : aleen_official
- bio : Molestias quia autem soluta eum deleniti molestias. Quas deleniti veritatis similique earum.
- followers : 5510
- following : 398
