
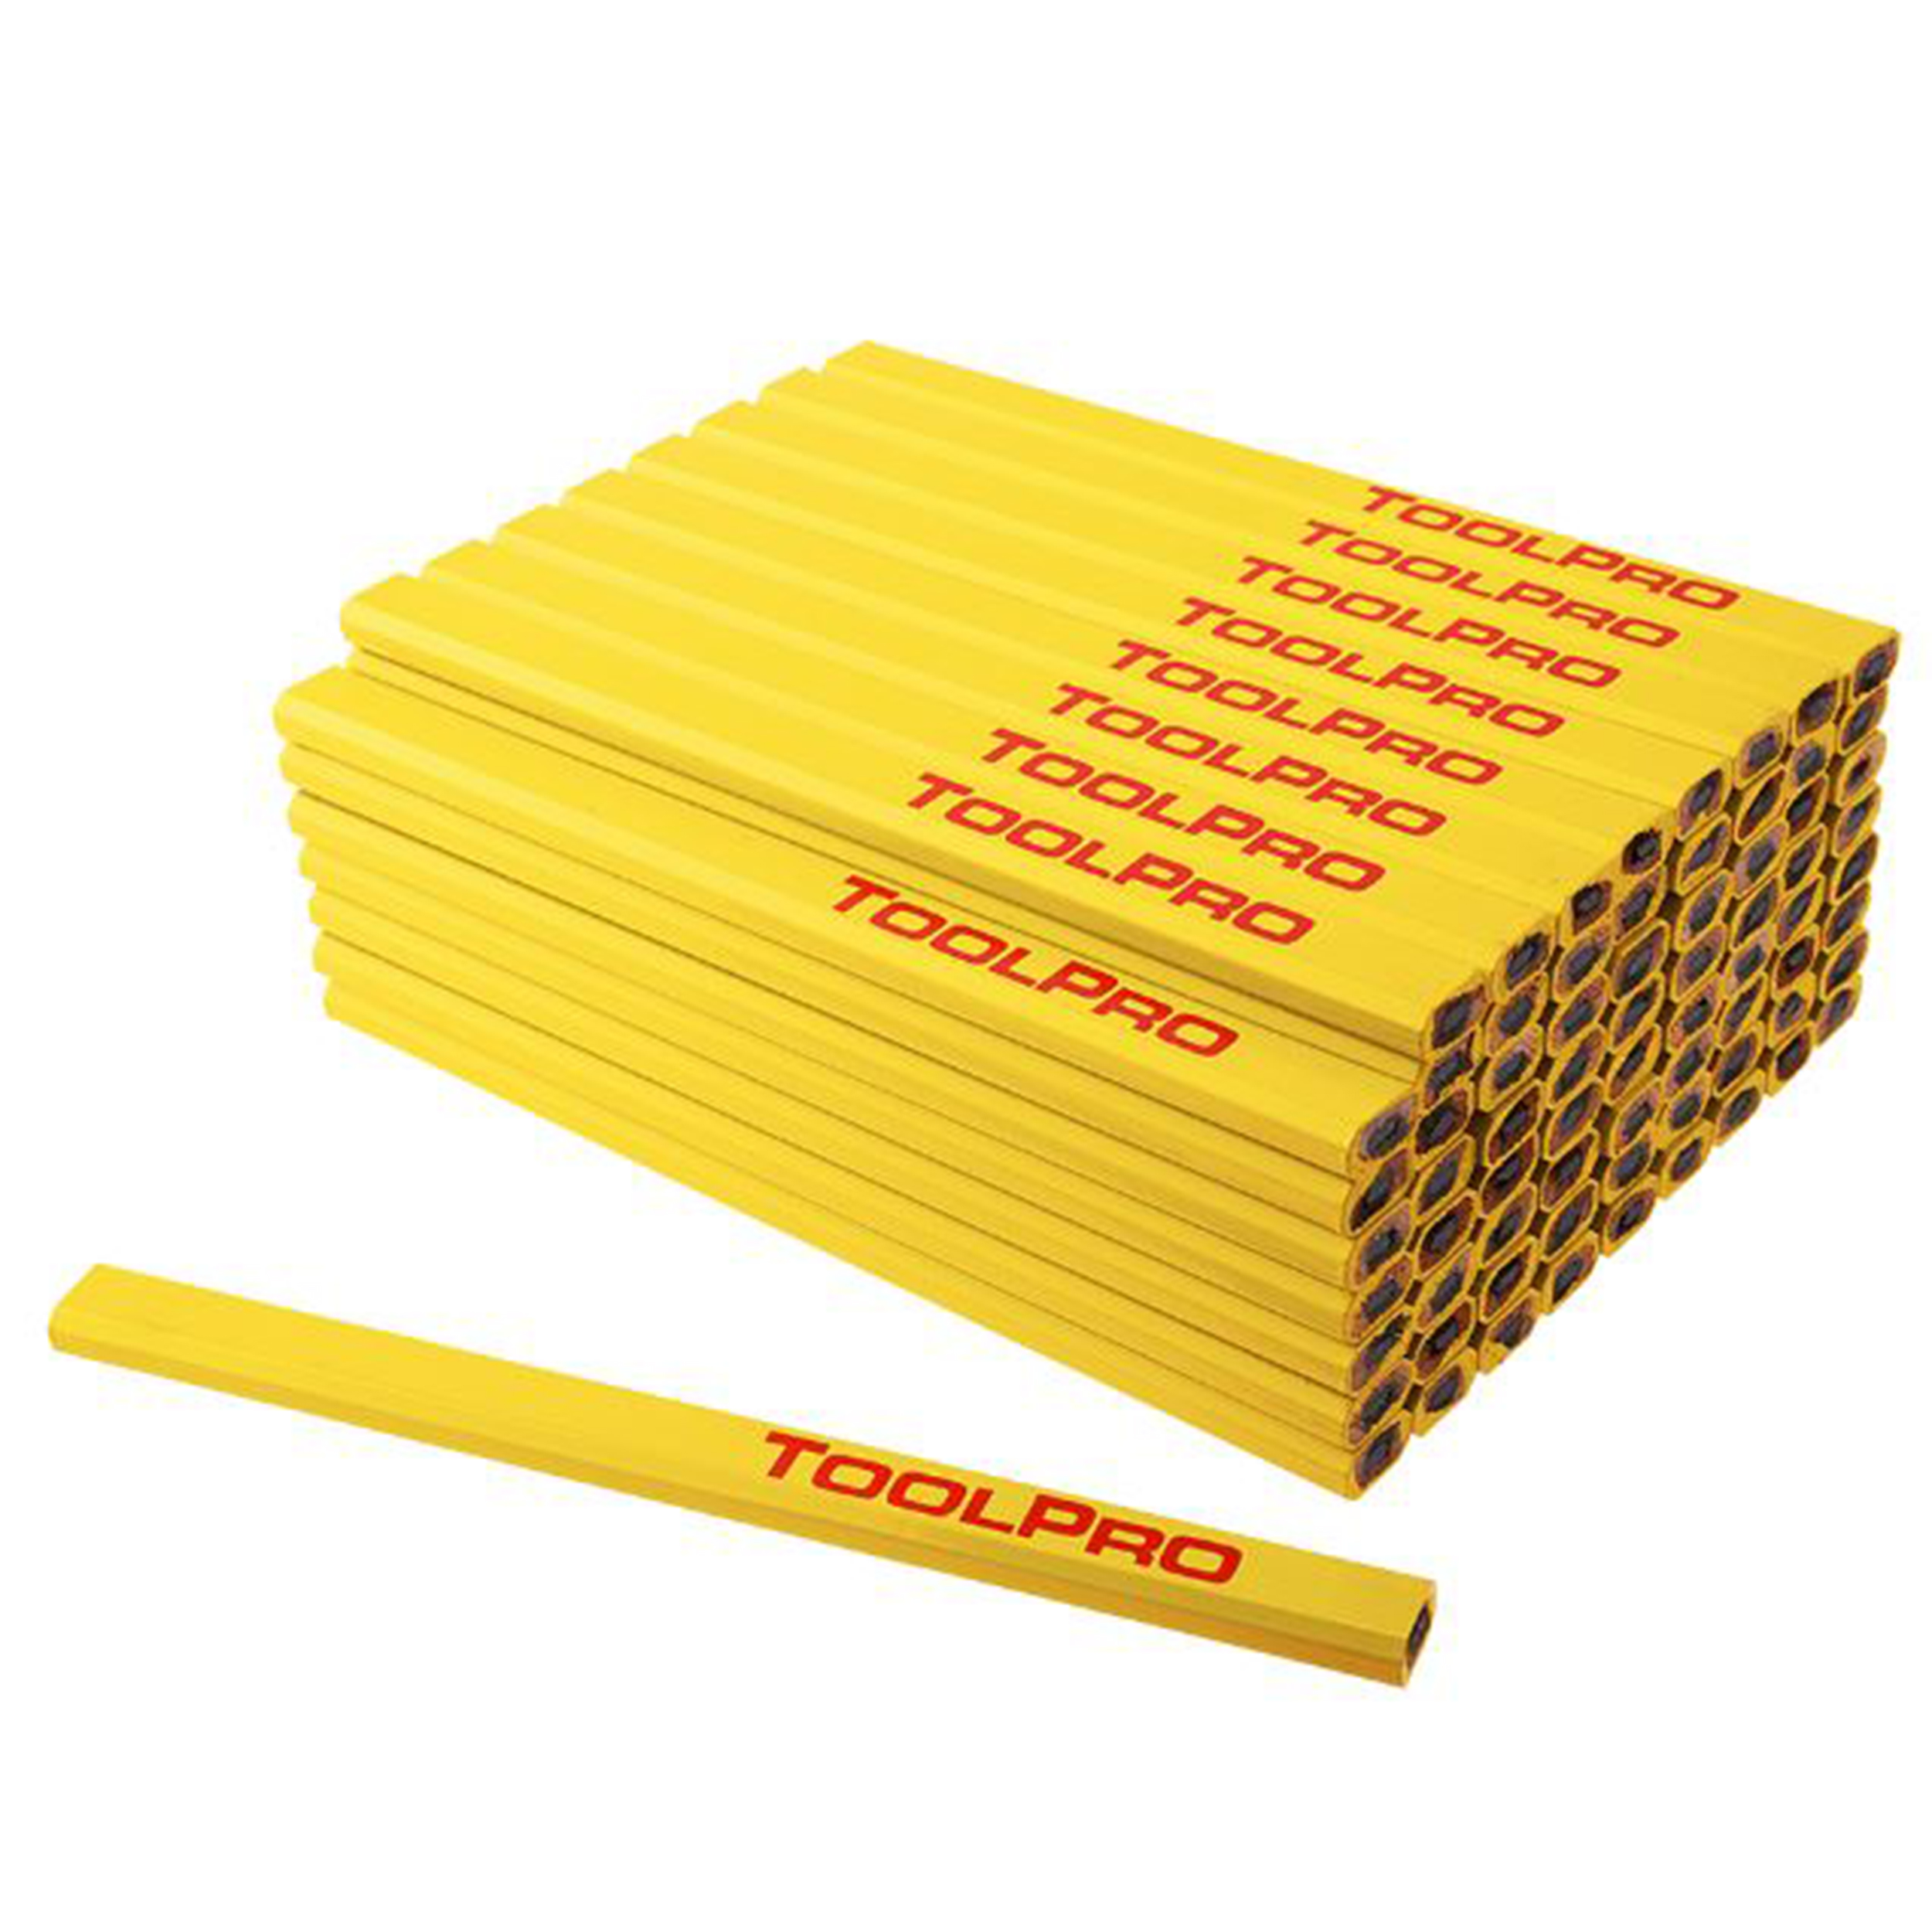
A carpenter's pencil is, you know, a very simple tool, but it's also quite essential for any building project or even just a home fix-up. Getting a clear, accurate line really starts with a sharp pencil. A dull pencil, well, it just makes things a bit harder, leading to marks that aren't quite right. That's why knowing how to sharpen carpenter pencil correctly can make a big difference in your work, whether you're building something big or doing a small repair around the house.
Think about it: when you're working on something important, like putting up a new garage door or making sure a frame is square, precision is everything. A crisp line helps you cut straighter, measure better, and ultimately, achieve a cleaner finish. So, taking a moment to properly sharpen your pencil isn't just about the pencil itself; it's about making your whole project go more smoothly, and that's pretty important, actually.
This guide will walk you through the various ways to get that perfect point on your carpenter pencil. We'll look at different tools and methods, giving you practical tips for each. By the end, you'll feel confident in keeping your pencils ready for any task, making your work more precise and, frankly, more enjoyable. You'll see, it's not too hard at all to get a good edge.
Table of Contents
- Who Needs to Sharpen a Carpenter Pencil? (Audience & Intent)
- Why a Sharp Carpenter Pencil Matters
- Tools You Can Use to Sharpen a Carpenter Pencil
- Step-by-Step Guide: How to Sharpen Carpenter Pencil
- Tips for the Best Sharpening Results
- Common Mistakes to Avoid
- Keeping Your Pencil Sharp on the Job
- Frequently Asked Questions About Sharpening Carpenter Pencils
Who Needs to Sharpen a Carpenter Pencil? (Audience & Intent)
You know, anyone who works with wood, metal, or even just needs to mark a straight line on a wall, really needs to know how to sharpen carpenter pencil. This includes, like, professional carpenters, home DIY enthusiasts, woodworkers, and even folks doing small renovation projects. Their main interest is getting accurate marks, saving time, and making their work look good. A dull pencil is a pain point, causing frustration and mistakes, you know? They are typically looking for practical, straightforward advice on how to do this simple, yet important, task.
Why a Sharp Carpenter Pencil Matters
A sharp carpenter pencil is, in some respects, more than just a writing tool. It's a precision instrument. When you're laying out cuts for, say, a new garage door installation, as Overhead Door Company Miner Corp might do, a fine line means the difference between a perfect fit and a piece that's just a little off. A blunt pencil gives you a thick, fuzzy line, which can lead to inaccuracies in your measurements and cuts. This can waste materials and, well, quite a bit of time, too.
Beyond accuracy, a properly sharpened pencil makes the job feel better. It glides smoothly, leaving a clear mark without much effort. This reduces hand strain and, honestly, makes the whole process more enjoyable. Plus, a good, sharp point can get into tighter spots, allowing you to mark in places a bulky, dull tip simply can't reach. It's about efficiency and quality, really.
Tools You Can Use to Sharpen a Carpenter Pencil
There are a few ways to get that perfect point on your carpenter pencil, and the best method often depends on what you have handy or what kind of point you prefer. Each tool has its own advantages, so it's good to know your options. You might even find you like a couple of different ways, depending on the situation, you know.
Using a Utility Knife or Box Cutter
This is, arguably, the most traditional method, and many pros swear by it. A utility knife gives you a lot of control over the shape of the point. You can create a broad, chisel-like tip for wide lines or a very fine point for detailed work. It does take a little practice to get the hang of it, but once you do, it's very versatile, actually.
The Dedicated Carpenter Pencil Sharpener
For those who want a quick and consistent result, a specialized carpenter pencil sharpener is a great choice. These are designed specifically for the flat, rectangular shape of the pencil. They typically create a consistent chisel point, which is very useful for most marking tasks. They're often compact and easy to carry, too, which is nice.
Sandpaper or a Sanding Block
This method is simple and effective, especially for refining a point or if you don't have a knife or a dedicated sharpener. You can use a small piece of sandpaper (around 80-120 grit works well) or a sanding block. It's a gentle way to shape the lead and wood, and you can achieve a very fine point this way, in a way.
Other Handy Methods
Sometimes, you're on a job site and don't have your usual tools. In a pinch, you can use the rough edge of a concrete block, a brick, or even the abrasive side of a matchbox. These aren't ideal for precision, but they can get you a usable point when you're really stuck. It's good to know these emergency options, just in case, right?
Step-by-Step Guide: How to Sharpen Carpenter Pencil
Now, let's get into the practical steps for each of the main sharpening methods. Following these steps will help you achieve a good, usable point every time. It's not rocket science, but a little technique goes a long way, you know.
Sharpening with a Utility Knife
Get a Good Grip: Hold the pencil firmly in one hand. You want to have a secure hold, but not so tight that your hand cramps up. Position your thumb about an inch or so from the end you want to sharpen. This is your anchor, basically.
Angle the Blade: Take your utility knife. Make sure the blade is sharp, as a dull blade is more dangerous and harder to use. Position the blade at a shallow angle, maybe 15 to 20 degrees, against the wood of the pencil. You're aiming to shave off thin layers, not big chunks, you know.
Shave the Wood: Gently push the blade away from your body, shaving off small pieces of wood. Rotate the pencil as you go, working your way around the lead. The goal here is to expose about a half-inch to an inch of the lead, giving it a nice, tapered shape. Do this slowly, in some respects.
Shape the Lead: Once the wood is mostly gone, carefully start shaping the lead itself. You can create a chisel point by shaving two opposing flat sides on the lead. Or, for a finer point, gently round the lead by shaving small bits from all sides. Be careful not to break the lead, as it can be a bit fragile.
Refine the Point: If you want a really sharp point, you can lightly scrape the lead against a piece of sandpaper or even a rough piece of cardboard. This helps remove any burrs and gives you a very fine edge. This step is optional, but it really makes a difference, actually.
Using a Dedicated Sharpener
Insert the Pencil: Take your carpenter pencil and find the opening on the sharpener. The sharpener is specifically designed for the pencil's flat shape, so it should fit snugly. Push the pencil in firmly until it stops, you know.
Twist and Turn: Once the pencil is in place, twist the sharpener around the pencil. You'll feel the blades cutting away the wood and shaping the lead. Keep twisting until you feel less resistance and the point looks good. Some sharpeners have a stop, basically, when the point is ready.
Check the Point: Pull the pencil out and inspect the point. Most dedicated sharpeners create a chisel point, which is great for drawing straight lines. If it's not quite sharp enough, put it back in and give it a few more twists. It's usually pretty quick, you know.
Clean Up: These sharpeners often collect shavings inside. Make sure to empty them regularly to keep them working well. A little tap often helps get the shavings out, too.
Sharpening with Sandpaper
Prepare Your Surface: Get a piece of sandpaper, something like 80 to 120 grit works well. You can lay it flat on a sturdy surface, like a workbench or a piece of wood. A sanding block is even better, as it gives you a firm surface, in a way.
Angle the Pencil: Hold the pencil firmly. Place the lead end against the sandpaper at a shallow angle, similar to how you would with a knife. You want to make sure you're getting both the wood and the lead, more or less.
Rub and Rotate: Rub the pencil back and forth or in a circular motion against the sandpaper. As you do this, slowly rotate the pencil to evenly remove material from all sides. This helps create a symmetrical point. Keep going until you achieve the desired sharpness, you know.
Shape the Lead: If you want a chisel point, focus on rubbing just two opposing flat sides of the lead. For a fine point, try to round the lead evenly. This method gives you a lot of control over the final shape, actually.
Clean Off Dust: After sharpening, there will be some graphite dust. Just wipe the pencil clean with a cloth or blow the dust away. You don't want that dust transferring to your project, of course.
Tips for the Best Sharpening Results
Getting a consistently good point isn't just about the method; it's also about a few small practices that can make a big difference. These little things really add up to a better experience, you know.
Keep Your Tools Sharp: If you're using a utility knife, make sure the blade is fresh and sharp. A dull blade can slip, making the job harder and potentially dangerous. A sharp blade cuts cleanly and safely, you know.
Go Slow and Steady: Don't rush the process. Taking your time, especially with a knife, helps prevent breaking the lead or making uneven cuts. Slow, controlled movements are key, basically.
Protect Your Hands: When using a knife, always cut away from your body. You might even consider wearing a glove on the hand holding the pencil for extra protection. Safety first, always, you know.
Experiment with Point Styles: Different tasks call for different points. A broad chisel point is great for rough framing, while a super fine point is perfect for detailed cabinet work. Play around to see what works best for you, in a way.
Clean as You Go: Shavings and graphite dust can make a mess. Have a small trash can or a designated area for sharpening. This keeps your workspace tidy and prevents dust from getting on your project, too.
Common Mistakes to Avoid
Even with something as simple as sharpening a pencil, there are a few common missteps that can make the process frustrating or lead to a less-than-ideal point. Avoiding these can save you time and hassle, you know.
Applying Too Much Pressure: Whether with a knife or a sharpener, pushing too hard can cause the lead to snap. Carpenter pencil leads are pretty tough, but they're not unbreakable. Gentle pressure is usually all you need, you know.
Using a Dull Blade: A dull utility knife blade is not only inefficient but also more dangerous. It requires more force, increasing the chance of slipping. Change your blades often, honestly.
Ignoring the Wood: Some people just try to sharpen the lead, leaving a lot of wood around it. This makes the pencil bulky and hard to use for fine lines. Make sure to taper the wood back properly, you know.
Not Cleaning the Sharpener: If you're using a dedicated sharpener, it can get clogged with shavings. This makes it less effective and can even damage the pencil. Empty it regularly, basically.
Sharpening Too Much: There's no need to make the lead excessively long. A shorter, sturdier point is often more practical and less prone to breaking on the job. Find a balance that works for you, you know.
Keeping Your Pencil Sharp on the Job
A freshly sharpened pencil is great, but it won't stay that way forever, especially on a busy job site. Knowing how to maintain your point or quickly refresh it is just as important as the initial sharpening. You want to keep that precision, right?
Carry a Small Sharpener: A compact, dedicated carpenter pencil sharpener is easy to keep in your tool belt or pocket. It allows for quick touch-ups whenever your point starts to dull. This is very convenient, actually.
Use a Scrap Piece of Wood or Sandpaper: A small piece of fine-grit sandpaper (like 150-220) can be taped to a workbench or even a piece of scrap wood. A few quick rubs can refresh a slightly dull point without needing a full re-sharpen. This is a very common trick, you know.
Consider a Pencil Holder: Some carpenter pencil holders have an integrated sharpener, or they protect the lead from breaking. This can be a smart way to keep your pencil ready for action. They're pretty handy, in a way.
Mark Lightly: When marking, use just enough pressure to make a clear line. Pressing too hard will wear down your lead faster. A light touch helps preserve your point, you know.
Have Spares: It's always a good idea to have a few sharpened carpenter pencils ready to go. When one gets dull, you can just grab another and keep working without interruption. Time is money, after all, right?
For more insights on maintaining your tools and keeping your projects running smoothly, you can Learn more about tools on our site. We also have plenty of carpentry tips to help you with all sorts of building tasks, from small repairs to larger installations, like those offered by Overhead Door™ for residential and commercial applications. You know, Overhead Door Company Miner Corp, proudly serving Harrisburg PA and Frederick, sells, installs, and services commercial and residential garage doors and openers, and they understand the value of precise work. Call them today to get started on your next project, as a matter of fact.
Frequently Asked Questions About Sharpening Carpenter Pencils
Here are some common questions people often ask about how to sharpen carpenter pencil, you know.
Why is my carpenter pencil lead breaking when I sharpen it?
This often happens because you're using too much pressure, or your sharpening tool, like a utility knife, might be dull. A dull blade can snag the lead, causing it to snap. Try using less force and make sure your blade is sharp, you know. Also, if the lead has been dropped or is old, it might be brittle, basically.
What kind of point should I aim for on my carpenter pencil?
It really depends on the job, you know. For general marking on rough lumber, a broad chisel point is often best because it makes a clear, visible line. For more detailed work, like fine joinery or cabinet making, a sharper, finer point is usually preferred for precision. Experiment a little to see what works best for your specific tasks, actually.
Can I use a regular pencil sharpener for a carpenter pencil?
Typically, no, you can't. Regular pencil sharpeners are designed for round pencils and will not fit the flat, rectangular shape of a carpenter pencil. Trying to force it might damage both the sharpener and the pencil. It's better to use a dedicated carpenter pencil sharpener, a utility knife, or sandpaper, you know, as they are the right tools for the job.
For more detailed information on tool care and maintenance, you might find useful resources on sites like a reputable tool manufacturer's site. They often have guides that help with keeping your equipment in top shape, which is pretty important for any kind of work, you know.

Detail Author:
- Name : Kaley Swift MD
- Username : camryn35
- Email : crunte@yahoo.com
- Birthdate : 1987-12-13
- Address : 6508 Wolf Junctions Apt. 568 Groverborough, VT 86869-9902
- Phone : +1-838-307-0582
- Company : Beer Ltd
- Job : Fire Inspector
- Bio : Accusantium aspernatur accusantium saepe. Fuga quam ducimus quis assumenda. Facilis dolore tempora eveniet quasi dolorum enim. Incidunt animi adipisci non autem quia aut.
Socials
instagram:
- url : https://instagram.com/krisa
- username : krisa
- bio : Fuga ad ab voluptatem aut aut qui. Sint corrupti iusto consequatur delectus.
- followers : 5207
- following : 1521
linkedin:
- url : https://linkedin.com/in/alvah_official
- username : alvah_official
- bio : Vel animi eum exercitationem ut.
- followers : 2269
- following : 1503
