
Creating amazing things in VRChat is a big part of what makes it so special, and showing off those creations can be even more fun. That's where VRChat Blender renders come in, giving your virtual avatars and worlds a stunning, polished look that truly stands out.
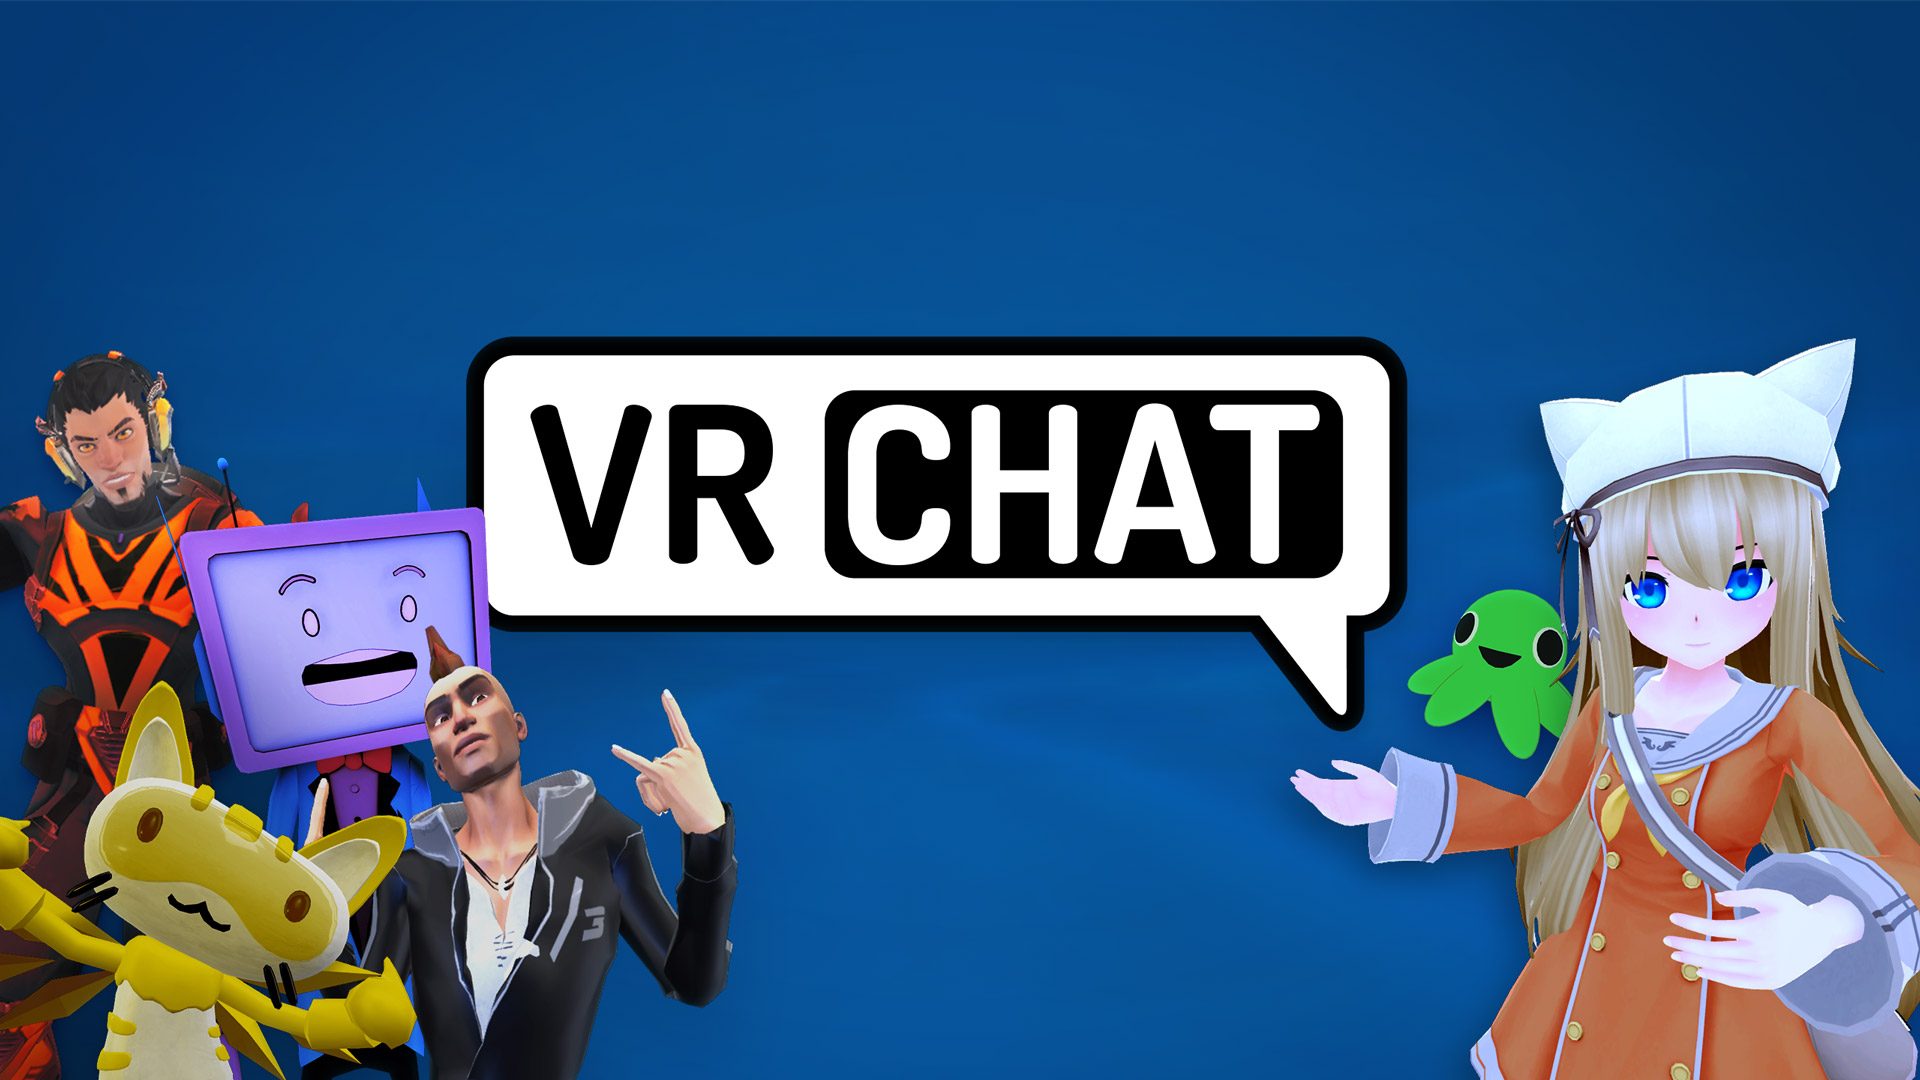
VRChat, as you may know, lets you create, publish, and explore virtual worlds with other people from around the globe. It's a place where you can join a growing community, play, and help craft the future of social VR, which is pretty cool. You can make worlds and custom avatars, so no matter what you're into, there's a space for you, actually.
The platform is playable for free on various devices and platforms, even without a VR headset, which is quite accessible. While VRChat is designed primarily for use with virtual reality headsets, it offers a wide open space for creativity. So, when you've put all that effort into making something truly unique, like your own avatar or a special corner of a world, you might want to show it off in the best possible light. This is where Blender becomes your creative partner.
Table of Contents
- What Are VRChat Blender Renders?
- Why Create VRChat Blender Renders?
- Getting Started with VRChat and Blender
- The Process: From VRChat to Blender and Back
- Tips for Stunning VRChat Blender Renders
- Showcasing Your Renders
- Frequently Asked Questions About VRChat Blender Renders
What Are VRChat Blender Renders?
VRChat Blender renders are basically high-quality images or animations of your VRChat avatars, worlds, or other 3D assets, created using Blender. Think of it like taking a really good photograph of something you made in the virtual world. When you're in VRChat, everything runs in real-time, which means it has to balance visual quality with performance. Blender, on the other hand, lets you create images with much more detail, realistic lighting, and special effects because it doesn't need to run in real-time. So, it's almost like a professional photo shoot for your digital creations.
These renders can show off your avatar's textures, the subtle details of a world you built, or even a fun scene with multiple characters interacting. They are static images or short video clips, not something you can walk around in, but they capture the essence and beauty of your work. Many creators use them to share their work online, build a portfolio, or simply appreciate their own artistic efforts, you know.
It's a way to present your VRChat content in a way that truly highlights its artistic side. You can control every aspect of the scene, from the camera angle to the light sources, giving you complete creative freedom over the final look. This level of control is something you don't typically get within the VRChat application itself, which is quite useful.
Why Create VRChat Blender Renders?
There are many good reasons to put in the time to create VRChat Blender renders, so it's worth considering. First off, they are fantastic for showing off your work. If you've spent hours making a unique avatar or a detailed world, a high-quality render can really make it pop. It's like having a professional photo of your best artwork, actually.
Another reason is for building a portfolio. If you're an aspiring 3D artist or want to take commissions for VRChat avatars or worlds, renders are a must-have. They demonstrate your skills in modeling, texturing, and scene composition in a very clear way. Potential clients can see exactly what you're capable of, which is quite helpful.
Beyond that, renders can be used for promotional material. Maybe you want to attract people to your VRChat world, or you're selling custom assets. A stunning render can be a great advertisement, drawing eyes to your creation. It can also be a way to tell a story or capture a moment from your virtual life, which is pretty neat.
Finally, it's just plain fun and a great learning experience. Working with Blender helps you understand more about 3D art principles, like lighting and composition. It pushes your creative boundaries and allows you to see your VRChat creations in a whole new light. So, in some respects, it's a creative outlet in itself.
Getting Started with VRChat and Blender
To begin creating VRChat Blender renders, you'll need both VRChat assets and Blender itself. It starts with the creative spirit of VRChat and then moves to the powerful tools Blender offers. Knowing a bit about how VRChat works with custom content is a good first step, too it's almost.
VRChat's Creative Spirit
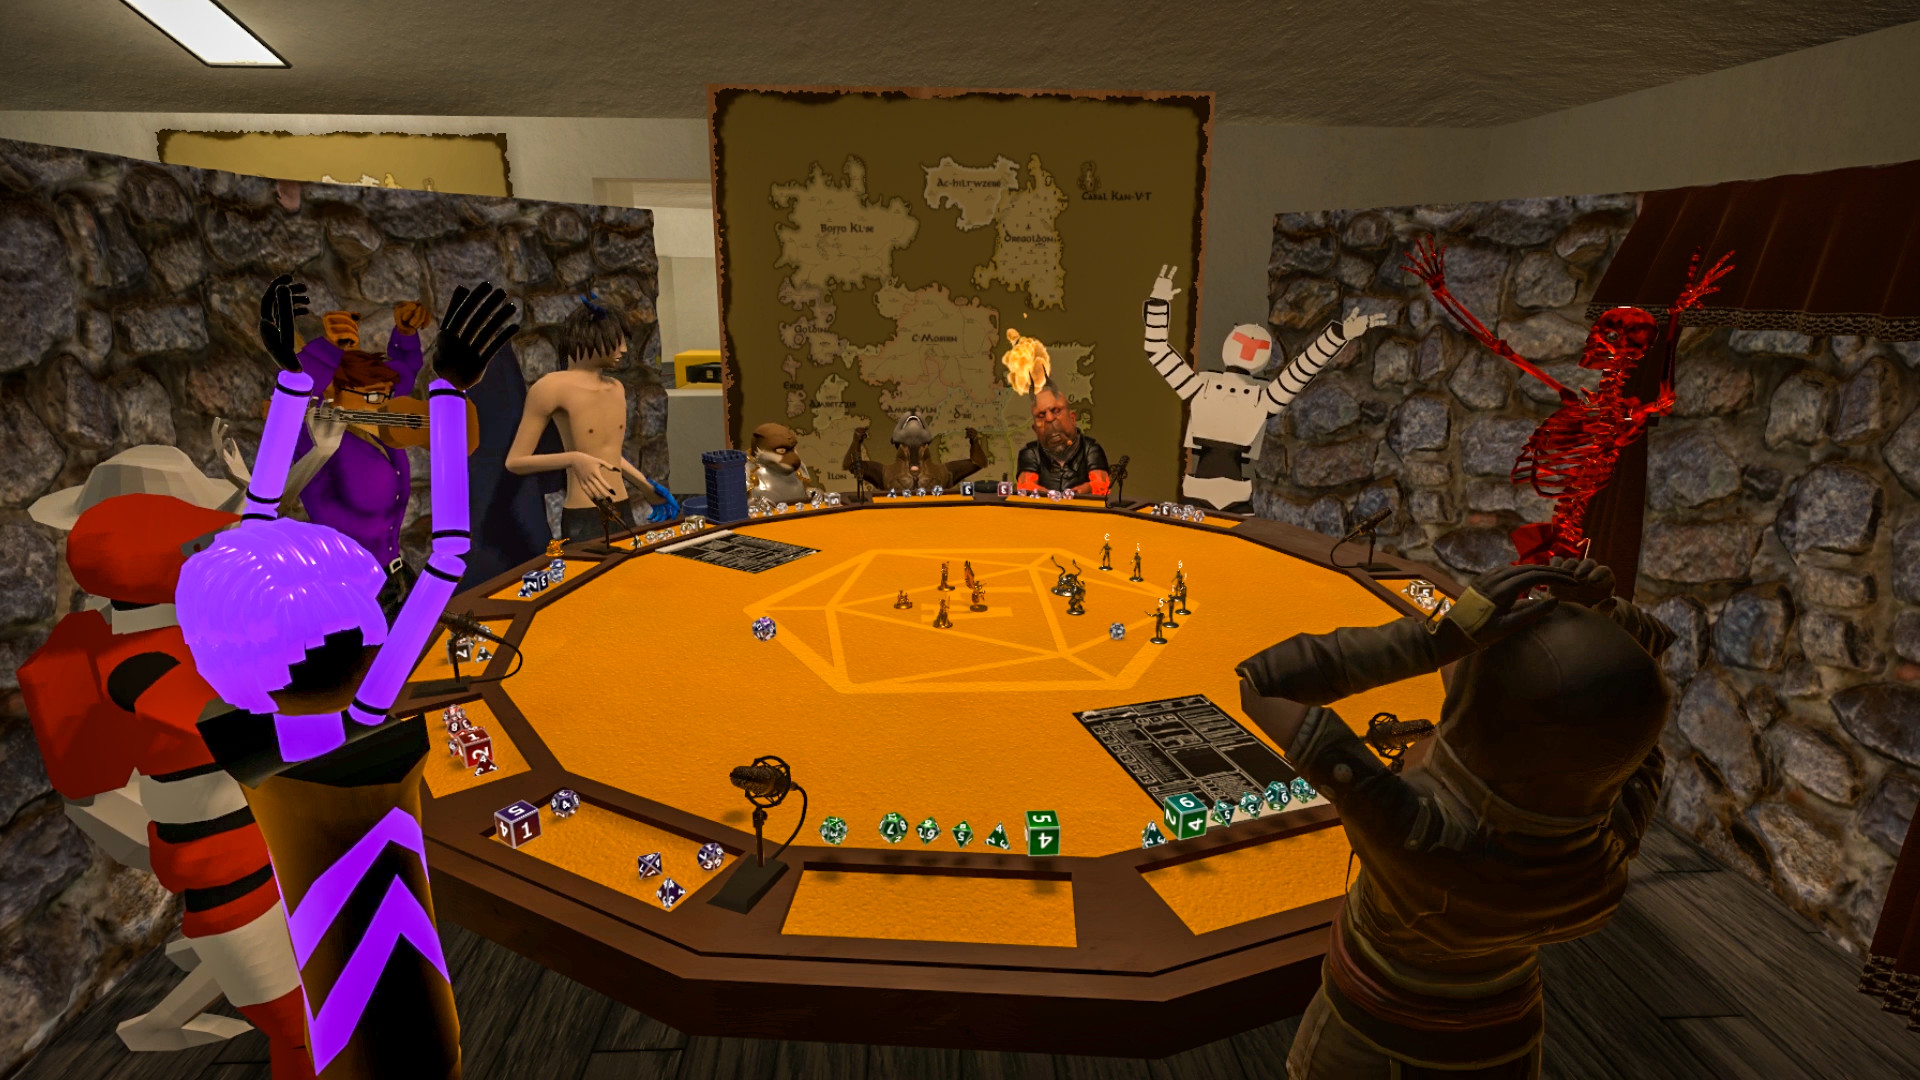
VRChat truly encourages its users to create. As mentioned, you can make worlds and custom avatars. This open approach means there's a constant flow of new, user-generated content. You can even find documentation on how to get started with creating for VRChat, which is very helpful. The platform supports a wide range of creative expression, from simple edits to complex animated characters.
Users are always pushing the boundaries of what's possible, whether it's with unique avatar designs or intricate world layouts. This environment of creativity is what makes VRChat so vibrant. If you've spent time crafting a unique look for yourself, or perhaps a special gathering spot for friends, you're already halfway there. This creative energy is what you'll want to capture in your renders, you know.
Blender: Your Digital Canvas
Blender is a free and open-source 3D creation suite. It supports the entire 3D pipeline—modeling, rigging, animation, simulation, rendering, compositing, and motion tracking, and even video editing. For VRChat Blender renders, you'll primarily use its modeling, texturing, lighting, and rendering features. It's a very powerful tool, and the best part is that it doesn't cost anything to download and use.
There are tons of tutorials available online for Blender, covering everything from basic navigation to advanced rendering techniques. If you're new to 3D software, it might seem a little overwhelming at first, but with practice, you'll find it incredibly rewarding. It’s like learning any new skill; it takes a bit of time, but the results can be amazing. So, you can start learning the basics and then build up your knowledge as you go, which is pretty common.
The Process: From VRChat to Blender and Back
The core idea behind VRChat Blender renders is to take your VRChat assets, bring them into Blender, make them look fantastic, and then create an image or video. It's a bit of a journey, but each step is manageable. We'll go over the main parts here, so you get a general idea.
Exporting VRChat Assets
To get your VRChat avatar or world into Blender, you typically need to export it from Unity, which is the game engine VRChat uses. When you create an avatar or world for VRChat, you usually build it in Unity first. From Unity, you can export your 3D models (often as .fbx files) and their textures (like .png or .jpg files). This process ensures that all the parts of your creation are ready to be used in another 3D program. Make sure you have all the necessary files, like the model itself and all its texture maps, which is important.
For avatars, this might mean exporting the character model, its skeleton (rig), and all the image files that give it color and detail. For worlds, it could be the environment models, props, and their respective textures. There are various community tools and methods for this, depending on what exactly you're trying to export. You'll want to ensure everything comes out correctly so it looks right in Blender, anyway.
Importing into Blender
Once you have your exported files, the next step is to bring them into Blender. You can go to File > Import and choose the correct file type, usually FBX. Blender is pretty good at handling various 3D file formats. After importing, your avatar or world might appear in Blender, perhaps looking a bit plain at first. This is normal, as you'll need to reconnect the textures and set up the materials.
Sometimes, the textures don't automatically link up, so you'll have to manually tell Blender where each image file (like the color map, normal map, or metallic map) goes on your model. This process is called setting up materials, and it's where your model starts to get its visual richness back. It's a little like painting your model, but with image files instead of brush strokes, you know.
Setting Up Your Scene
With your VRChat asset in Blender and its materials applied, it's time to set up your scene for rendering. This involves several key elements. First, you'll want to pose your avatar if you're rendering a character. Blender has rigging tools that allow you to move the character's limbs and body into a dynamic or expressive stance. A good pose can make a huge difference in how appealing your render looks, you know.
Next, you'll add lighting. Lighting is incredibly important for a good render. You can place different types of lights around your scene to highlight features, create shadows, and set a mood. Think about where the light would naturally come from in a real-world setting. After that, you'll set up your camera. You choose the angle, focal length, and position to frame your shot perfectly. This is where you compose your image, making sure everything you want to show is visible and balanced. You might also add a simple background or props to give context to your character, which is pretty common.
Rendering Your Masterpiece
Once your scene is set up just how you like it—your avatar posed, lights arranged, and camera positioned—it's time to render. Blender has different render engines, with Cycles and Eevee being the most popular. Cycles is known for its realistic, physically accurate renders, while Eevee is faster and more suited for real-time previews or stylized looks. You choose the engine that best fits your desired outcome. So, if you want something that looks very real, Cycles is often the way to go.
Before hitting the render button, you'll set your render resolution (how big the image will be) and the number of samples (for Cycles, this affects image quality and noise). Higher samples mean a cleaner image but take longer to render. Once you start the render, Blender will calculate all the light bounces, shadows, and material interactions to create your final image. This can take anywhere from a few seconds to several hours, depending on the complexity of your scene and your computer's power. When it's done, you'll have a beautiful, high-quality image of your VRChat creation.
Tips for Stunning VRChat Blender Renders
Making your VRChat Blender renders truly shine involves a few key considerations. These tips can help you get the most out of your efforts and create images that really grab attention. It's about paying attention to the details, in a way.
Lighting Makes All the Difference
Good lighting can transform a dull render into something amazing. Think about how photographers use light to make their subjects look good. In Blender, you can use various types of lights: sun lamps for outdoor scenes, point lights for small sources like light bulbs, and area lights for soft, even illumination. Using a three-point lighting setup (key light, fill light, and back light) is a common technique that often produces professional-looking results. You can also use HDRI (High Dynamic Range Image) backgrounds to light your scene with realistic environmental light, which is very effective. Experiment with different light colors and intensities to set the mood, you know.
Pose with Purpose
If you're rendering an avatar, its pose is incredibly important. A stiff, T-posed character won't look nearly as engaging as one in a dynamic or expressive pose. Think about the emotion or action you want to convey. Is your character happy, sad, playful, or ready for action? The pose should reflect that. You can find many pose references online, or even try posing yourself in front of a mirror to see what looks natural. Even subtle shifts in weight or hand gestures can add a lot of life to your character. So, take your time with this step, as it really makes a difference.
Material Magic
The materials on your models determine how light interacts with their surfaces. A plain color might look flat, but adding roughness, metallic, or normal maps can make surfaces look like real fabric, shiny metal, or bumpy skin. Make sure all your textures are connected correctly in Blender's Shader Editor. Pay attention to details like reflections, refractions (for glass or water), and subsurface scattering (for skin). Properly set up materials will make your VRChat assets look much more realistic and appealing in your renders. This is where a lot of the visual richness comes from, which is pretty cool.
Post-Processing Polish
After your render is complete, you can take it a step further with post-processing. This involves making small adjustments to the image in Blender's Compositor or in an image editing program like Photoshop or GIMP. You can adjust colors, contrast, brightness, add a subtle vignette, or even a bit of bloom to glowing areas. These small tweaks can really make your render pop and give it a professional finish. It's like the final touch-up on a painting, ensuring everything looks just right. So, don't skip this step, as it can elevate your work quite a bit.
Showcasing Your Renders
Once you've created some amazing VRChat Blender renders, you'll want to share them with the world. There are many places where the VRChat and 3D art communities gather. Social media platforms like Twitter, Instagram, and ArtStation are popular choices for sharing visual work. You can also post them in VRChat-related Discord servers or subreddits, like those dedicated to VRChat content creation. Remember, VRChat game and Discord and subreddits have their own rules and moderation, so always be mindful of those when sharing. Showing off your work can lead to feedback, new connections, and even opportunities, which is pretty great.
Consider creating a dedicated online portfolio if you're serious about showcasing your skills. Sites like ArtStation are built specifically for artists to display their work in a professional manner. This helps you keep all your best renders in one place, making it easy for others to see your progress and capabilities. It's a bit like having a digital gallery for your art. Learn more about VRChat content creation on our site, and link to this page to explore more about VRChat itself.
Frequently Asked Questions About VRChat Blender Renders
People often have questions when they're starting out with VRChat Blender renders, so here are a few common ones.
Can I render my VRChat avatar even if I didn't create it myself?
Yes, you can usually render avatars you've obtained, but you should always respect the original creator's wishes and terms of use. Some creators allow renders for personal use or promotion, while others might have specific rules. It's good practice to check with the creator or their documentation if you're unsure. You can even use avatars from services like Ready Player Me, which are designed for easy use across platforms, so that's an option.
How long does it take to create a good VRChat Blender render?
The time it takes varies a lot. A simple render with basic lighting might take an hour or two to set up and render. A complex scene with multiple characters, detailed environments, and advanced lighting could take many hours, or even days, including setup and rendering time. It really depends on your experience, the complexity of the scene, and your computer's performance. So, it's not a quick process if you want something really polished.
Do I need a powerful computer for VRChat Blender renders?
While Blender can run on most modern computers, a more powerful computer, especially one with a good graphics card (GPU), will significantly speed up rendering times. If you plan to do a lot of renders, particularly with realistic settings, investing in better hardware can save you a lot of waiting time. However, you can certainly start with what you have and optimize your scenes for faster rendering, which is what many people do.

Detail Author:
- Name : Zelma Rath
- Username : marina12
- Email : antonina33@yahoo.com
- Birthdate : 1996-10-18
- Address : 24055 Yasmine Via Apt. 709 Kingberg, MT 60270-5531
- Phone : 1-979-582-4034
- Company : Altenwerth-Jacobs
- Job : Agricultural Equipment Operator
- Bio : Aut et placeat est velit. Ea nobis odit quam possimus quis. In dicta aut et qui.
Socials
linkedin:
- url : https://linkedin.com/in/adolfo_id
- username : adolfo_id
- bio : Impedit dicta ratione non.
- followers : 6989
- following : 2629
twitter:
- url : https://twitter.com/adolfo_schneider
- username : adolfo_schneider
- bio : Consequatur totam veniam qui debitis eum velit. Et enim quidem nam hic consequatur. Accusantium sit ducimus dolorem ut quos possimus iure.
- followers : 3655
- following : 809
tiktok:
- url : https://tiktok.com/@schneider2022
- username : schneider2022
- bio : Quaerat quam nam eos doloribus. Magnam est minima aut eos rem.
- followers : 6081
- following : 2747
facebook:
- url : https://facebook.com/schneidera
- username : schneidera
- bio : Repellendus natus optio dignissimos. Veniam ipsam animi sed similique.
- followers : 6495
- following : 1359
