
Taking care of your home's systems truly makes a difference, and one often overlooked task is how to drain water heater tanks. It's almost a small act of kindness for your hot water supply, you know? This simple bit of upkeep can really help your water heater work better and stay with you for a good long while. Many people, it seems, just let their water heater run without thinking about what's building up inside, but that can lead to problems down the road, like less hot water or even a shorter life for the unit.
Think about it: your water heater is working hard every single day, warming up all the water you use for showers, dishes, and laundry. Over time, that constant work, and the water itself, can leave behind little bits and pieces inside the tank. It’s like, you know, a coffee pot getting scale if you don't clean it. Those tiny particles, sediment really, can gather at the bottom, making your heater work harder than it needs to. This guide is here to walk you through exactly how to drain a water heater, making sure your system stays in top shape.
Properly draining your water heater is a simple process, actually, that takes very little time and just a few basic tools. It's something you can totally do yourself, and it’s a smart way to prevent bigger issues. We’ll cover safety things you need to think about, what stuff you’ll need, and the steps to safely drain your water heater, explaining why it’s so important for how well it works and how long it lasts. It's really about giving your water heater the little bit of attention it needs to keep providing you with nice, warm water.
Table of Contents
- Why Draining Your Water Heater Matters
- When to Drain Your Water Heater
- What You'll Need
- Step-by-Step Guide to Draining Your Water Heater
- Gravity Flushing: A Gentle Approach
- Common Questions About Draining Your Water Heater
Why Draining Your Water Heater Matters
You might wonder why draining your water heater is even a thing to think about. Well, it's pretty simple, actually. This routine maintenance, which you do every so often, truly helps keep your hot water system running smoothly. It’s a way to keep things from getting sluggish and to make sure you always have that nice, warm water when you need it. Ignoring this task can lead to your heater not working as well as it should, and that's something nobody wants, you know?
Properly taking care of your water heater by draining it regularly helps in a few important ways. For one, it makes your system more efficient. When there's less stuff inside, the heater doesn't have to work as hard to heat the water. That means it uses less energy, which can save you a bit of money on your utility bills, and that's always a good thing, right? It also helps extend the life of your water heater, so you don't have to replace it too soon. That's a pretty big deal for your budget.
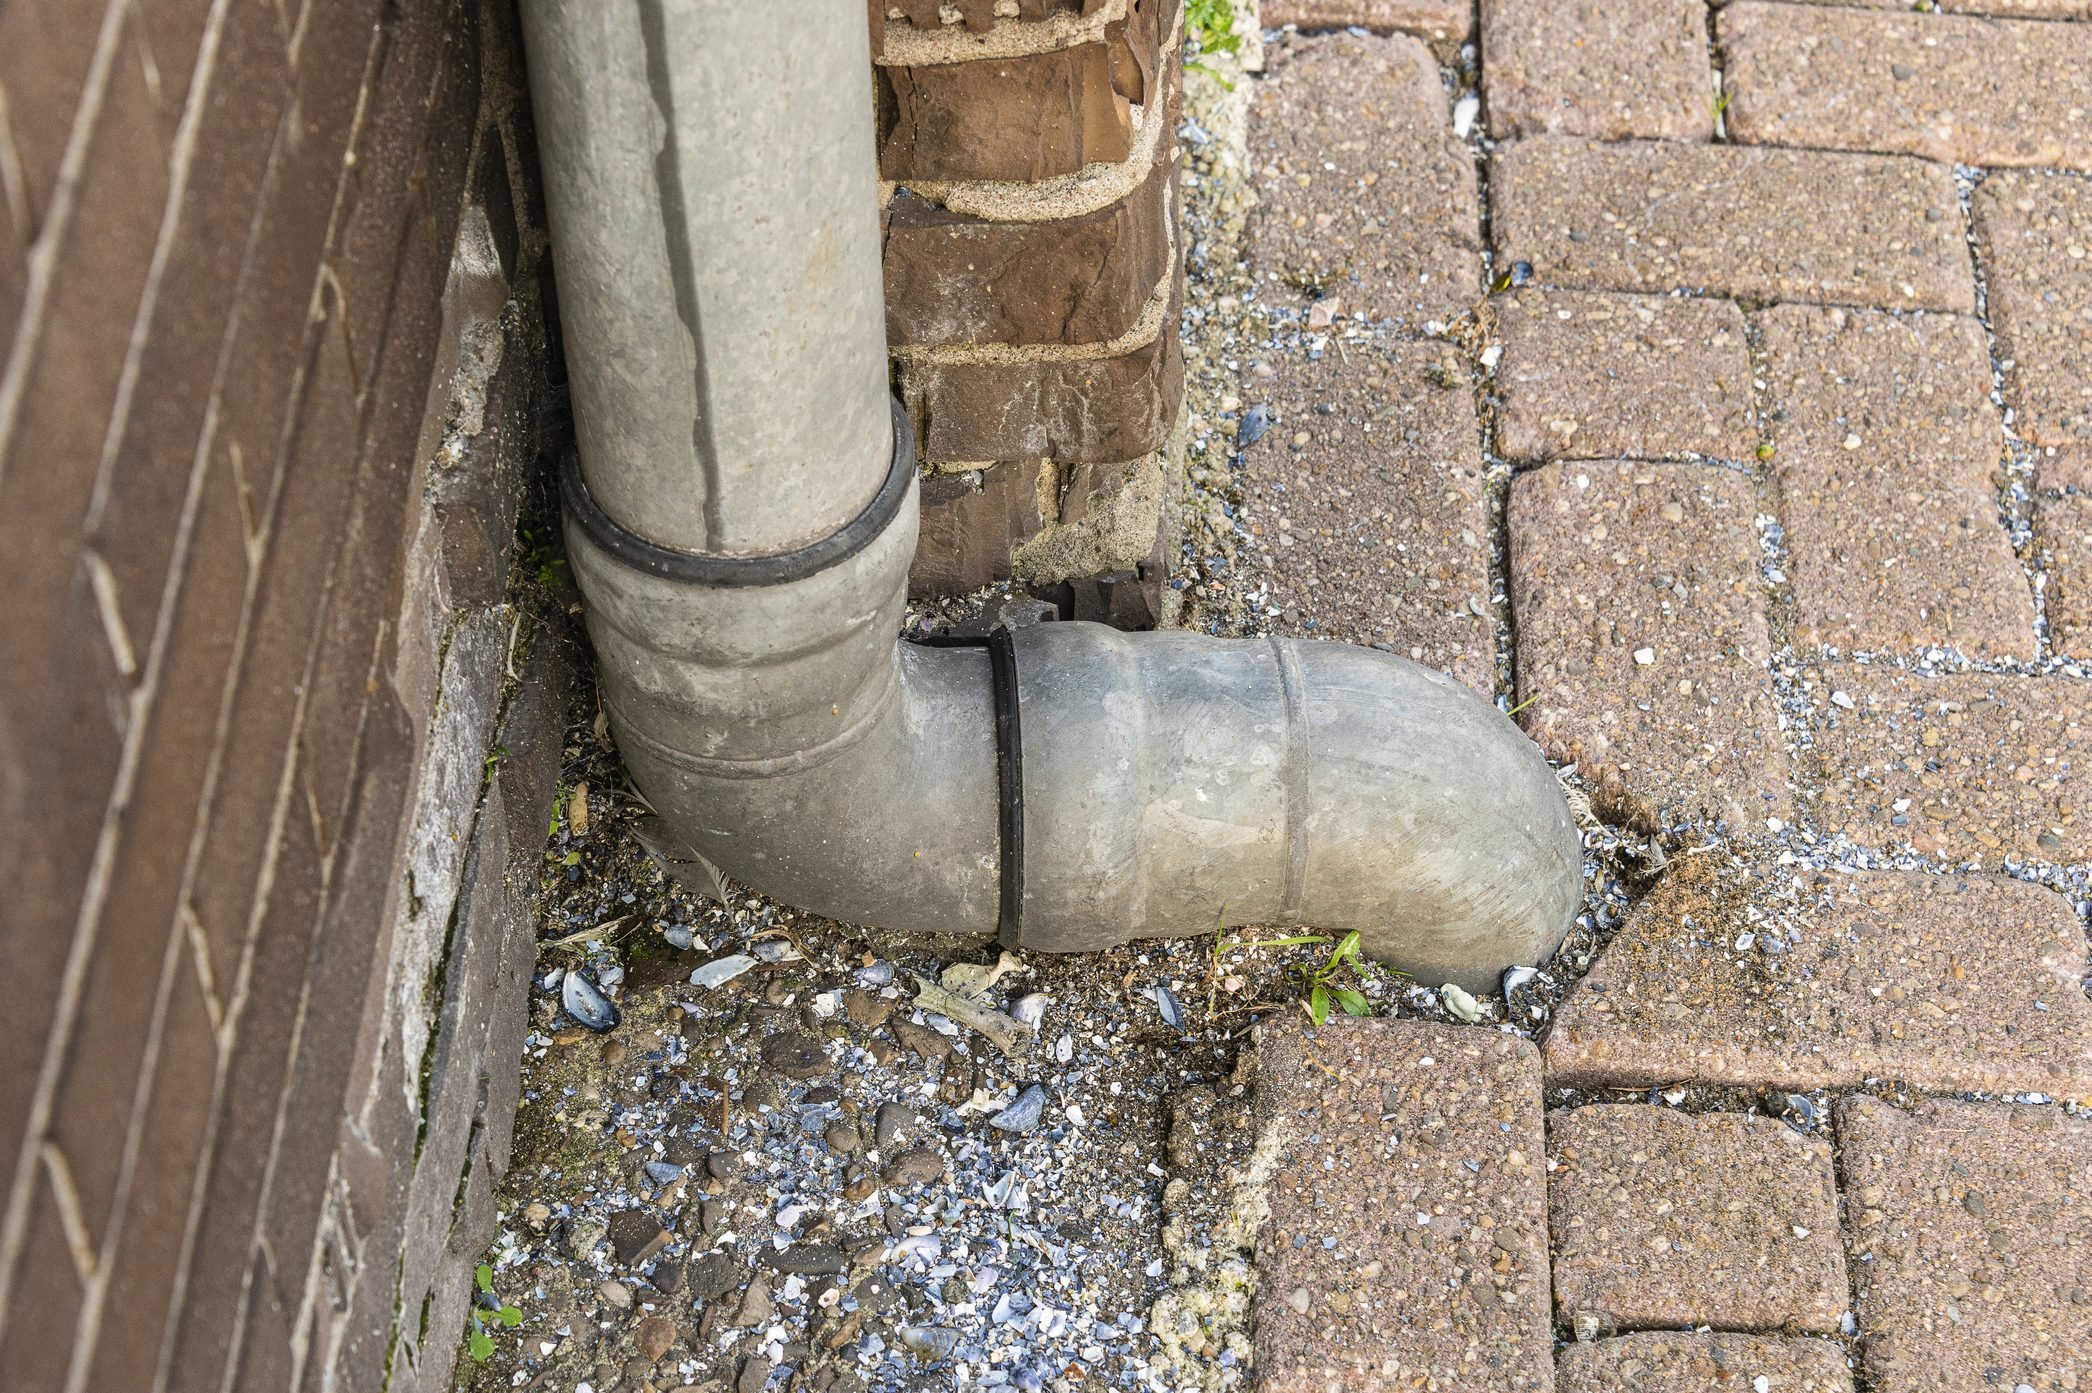
Beyond efficiency and lifespan, draining also helps improve the overall performance of your water heater. You get more consistent hot water, and the unit operates with less strain. It's a bit like giving your car an oil change; it just runs better afterward. This image is only being used as example and may not reflect the specific unit or part that you may be looking at, but the principles of care remain the same.
The Hidden Problem: Sediment Buildup
Over time, naturally occurring minerals in water, as well as sand and grit, can settle at the bottom of your water heater tank. This stuff is called sediment, and it’s a very common issue. It's not something you can usually see, but it’s there, slowly building up, kind of like dust bunnies under the bed, you know?
This sediment acts as an insulator, making it harder for the heating element or burner to warm the water effectively. The heater has to work extra hard to push heat through this layer of gunk, which wastes energy. It can also cause a bit of noise, like popping or rumbling sounds, as the sediment heats up and cools down. This can be quite unsettling if you don't know what's going on, it really can.
If left unchecked, this buildup can actually damage the heating elements or the tank itself, leading to leaks or even a complete breakdown of the unit. That's why draining your water heater to remove sediments is an easy DIY that takes very little time and just a few basic tools. It's truly a small effort for a big payoff in terms of preventing future headaches and expenses.
When to Drain Your Water Heater
So, how often should you actually drain your water heater? My text says that water heaters should be drained once every six to 12 months to eliminate sediment in the bottom of the tank. This is a pretty good general rule to follow, it really is. The exact timing can depend a bit on your water quality, though.
If you live in an area with particularly "hard" water, meaning it has a lot of minerals, you might want to consider draining it closer to the six-month mark. Hard water areas tend to have more sediment buildup, so a more frequent flush can be beneficial. If your water is on the softer side, or if you have a water softener system, you might be able to stretch it closer to the 12-month mark, more or less. It's really about paying attention to your specific situation.
Some people even drain a little bit of water from their tank every few months, just a gallon or two, to clear out any fresh sediment before it can really settle and harden. This is a very proactive approach, and it can actually make the full drain process easier when you do it. The point is, don't just forget about it; regular attention makes a real difference.
What You'll Need
Before you start the process to drain water heater tanks, it's a good idea to gather all your materials. You won't need anything too fancy, just some basic household items, you know? Having everything ready before you begin makes the whole thing go much more smoothly. It’s like getting all your ingredients out before you start baking; it just makes sense.
Here’s a quick list of what you’ll likely need:
- A garden hose: This is pretty important for directing the water safely away.
- A bucket or large container: Useful for catching any initial drips or for checking the water clarity.
- A flathead screwdriver or a wrench: This depends on the type of drain valve your water heater has.
- Work gloves: To protect your hands, especially if the water is still warm.
- Safety glasses: Always a good idea when dealing with water and potential splashes.
- A helper (optional): Sometimes having an extra set of hands can make things a bit easier, particularly with the hose.
That's really about it for the tools. It’s an easy DIY that takes very little time and just a few basic tools, as my text says. So, don't feel like you need to be a plumbing expert to get this done, because you truly don't.
Step-by-Step Guide to Draining Your Water Heater
In this comprehensive guide, we’ll walk you through the entire process of draining a hot water heater, from start to finish. Follow these steps to drain and flush your electric water heater properly, or a gas one for that matter, as the core steps are very similar. It's a straightforward series of actions, so don't feel overwhelmed, it really is quite manageable.
Safety First: Preparing Your Heater
The very first thing you need to do is turn off the power to your water heater. This is absolutely crucial for your safety, and it’s something you should never skip. If you have an electric water heater, go to your home's main electrical panel and flip the breaker that controls the water heater. It's usually labeled, or you might have to do a bit of looking around. For a gas water heater, locate the gas control knob on the unit and turn it to the "Pilot" or "Off" setting. This stops the burner from coming on while you're working. Just shut off your power and water, as my text suggests, and you're off to a good start.
Cooling Down the Water
Once you've turned off the power or gas, you need to let the water inside the tank cool for a few hours. This is very important to prevent scalding yourself. Hot water can be quite dangerous, you know? My text says, "To drain a water heater, start by turning it off and let the water cool for a few hours." This waiting period truly makes the process much safer and more comfortable for you. It's not something you want to rush, honestly.
A good way to help the water cool a bit faster is to open a hot water tap somewhere in your house, like a faucet in a sink or a bathtub. This releases some of the hot water and allows cooler water to enter the tank, speeding up the cooling process. Just make sure the water isn't too hot before you start the next steps, okay?
Shutting Off the Water Supply
With the power off and the water cooling, your next step is to stop the flow of cold water into the heater. Locate the cold water intake valve, which is usually found at the top of the water heater on the cold water line. This valve typically has a handle you can turn, more often than not. Turn this valve until it is completely closed. My text says, "Once the water in the heater has cooled, turn the cold water intake valve off and run some hot." This prevents new water from entering the tank while you're draining it, which is pretty important.
After closing the cold water intake, go to a hot water faucet in your home, perhaps in a bathtub or a sink, and turn it on. Let it run until the flow stops or becomes a mere trickle. This helps to release any remaining pressure in the hot water lines and creates a vacuum break, which allows the water to drain more freely from the tank. It's a small step, but it really helps the draining process, it does.
Connecting the Hose
Now, locate the drain valve at the bottom of the tank. This valve usually looks like a spigot or a hose bib. It's typically made of plastic or brass. Attach a garden hose to the drain valve. Make sure the connection is snug so you don't have any leaks, because that would be a bit messy, you know? My text tells us to "Attach a garden hose to the drain valve and direct it to a..." well, to a place where the water can safely drain.
Direct the other end of the garden hose to a suitable drainage area. This could be a floor drain, a utility sink, or even outside if it's safe and won't cause any issues with your landscaping or neighbors. Just make sure the hose is sloped downwards so gravity can do its work and the water can flow freely. You want to make sure the water has somewhere to go, obviously.
Opening the Drain Valve
With the hose in place and directed, it's time to open the drain valve. Use your flathead screwdriver or wrench, depending on the valve type, and slowly turn the valve counter-clockwise. You should hear water starting to flow through the hose. The water might come out a bit cloudy or even chunky at first, especially if it's been a while since your last drain. That's the sediment, and it’s exactly what you want to get rid of, you know?
Let the water run until it comes out clear. This could take a little while, perhaps 15 to 30 minutes, depending on how much sediment has built up in your tank. Just be patient and let it do its thing. It's a very simple process once you get the flow going, it really is.
Flushing Out the Tank
Once the water running through the hose appears clear, you can do an optional "flush" to help dislodge any stubborn sediment. With the drain valve still open and the water still flowing out, briefly turn on the cold water intake valve at the top of the water heater for about 30 seconds to a minute, then close it again. This creates a bit of turbulence inside the tank, stirring up any remaining sediment that might be clinging to the bottom. You might see the water coming out of the hose get cloudy again, which means it's working. Repeat this step a few times until the water stays clear even after briefly turning on the cold water supply. It's a good way to really clean things out, it truly is.
Finishing Up
When the water draining from the hose is consistently clear, you can close the drain valve at the bottom of the tank. Make sure it’s completely closed and not dripping, because you don't want any leaks. Then, disconnect the garden hose. After that, slowly open the cold water intake valve at the top of the water heater. You'll hear the tank start to fill up with water. It's a bit of a gurgling sound, you know?
Once the tank is full, which you can tell by listening for the water filling sound to stop or by checking the hot water faucet in your home (it should start flowing again), you can turn the power or gas back on to your water heater. Be sure to purge any air from your hot water lines by opening a hot water faucet in your house until water flows steadily without sputtering. This helps ensure everything is back to normal. You’ve done it! Properly draining your water heater is a simple process — just shut off your power and water, run the tap, and drain the water in the tank out of a hose.
Gravity Flushing: A Gentle Approach
My text mentions "Gravity flushing means you drain the tank without the additional step of agitating the bottom of the tank by rapidly opening/closing the cold water supply." This is a simpler method, arguably, and might be preferred if you're worried about stirring up too much sediment or if your water heater is older. It's a gentler way to do it, truly.
With gravity flushing, you simply turn off the power and cold water, connect the hose, and open the drain valve, just as described in the steps above. You then let the water drain until it runs clear, without doing the on-and-off cold water flush. This method still removes a good deal of sediment, especially the loose stuff, and it's a perfectly valid way to perform routine maintenance. It might not get every single bit of stuck-on sediment, but it certainly helps a lot, you know?
It's a good option for regular maintenance between more thorough flushes, or if you just want a quick clean out. It's also a bit less involved, which can be appealing if you're short on time or just getting started with water heater care. It really is a straightforward way to keep things running smoothly.
Common Questions About Draining Your Water Heater
People often have a few questions when they think about draining their water heater. It's natural to wonder about things like how often, what happens if you don't, or if it's even something you can do yourself. We'll try to answer some of those common thoughts here, you know, to make things a bit clearer.
How often should you drain your water heater?
As my text points out, water heaters should be drained once every six to 12 months. This helps to get rid of sediment that gathers at the bottom of the tank. If your water supply is particularly hard, meaning it has a lot of minerals, you might find it helpful to do this closer to the six-month mark. For softer water areas, once a year might be enough. It's really about preventing that buildup, you see.
What happens if you don't drain your water heater?
If you don't drain your water heater regularly, sediment will build up inside the tank. This sediment can make your water heater work much harder to heat the water, leading to higher energy bills. It can also cause strange noises, like popping or rumbling, as the sediment gets heated. Over time, this buildup can damage the heating elements or the tank itself, possibly leading to leaks or a complete failure of the unit. So, it truly affects its lifespan and how well it performs.
Is draining a water heater difficult?
Draining a water heater to remove sediments is an easy DIY that takes very little time and just a few basic tools, as my text says. It's a straightforward process that most homeowners can handle without needing a professional. The key is to follow the steps carefully, especially those related to safety, like turning off the power and letting the water cool. It might seem a bit daunting at first, but once you do it, you'll see it's really quite manageable.
Learn more about water heater maintenance on our site, and for other home care tips, you can also link to this page our home improvement section.
For more general information on water heater care, you might find resources from the U.S. Department of Energy quite helpful, as they often have good advice on energy efficiency and appliance upkeep. You can check out their website for more insights.
Prevent sediment buildup, extend lifespan & improve efficiency today! This guide, you know, really walks you through the steps to safely drain your water heater, explains why it’s essential for efficiency and performance, and offers tips to help your system last. It’s about taking a small bit of time now to save yourself a lot of trouble later, and that’s a pretty smart move, isn't it? It truly is.


Detail Author:
- Name : Bulah O'Kon
- Username : regan53
- Email : xkoch@yahoo.com
- Birthdate : 1993-03-19
- Address : 45188 Trystan Villages Apt. 866 South Gretchen, OH 43269-1972
- Phone : 651.360.4396
- Company : Langworth, Larson and Donnelly
- Job : Makeup Artists
- Bio : Hic consequatur suscipit quia fugit. Illum cum sit eius velit suscipit dolores dolore. Nam tenetur autem rerum aut et molestiae repellat. Non aut culpa et ea illum fugit.
Socials
linkedin:
- url : https://linkedin.com/in/joannie_ruecker
- username : joannie_ruecker
- bio : Ut quis natus hic.
- followers : 4697
- following : 2922
twitter:
- url : https://twitter.com/joannie_ruecker
- username : joannie_ruecker
- bio : Eos ullam fugiat ipsa dolor libero. Reprehenderit exercitationem sint voluptatem nobis dolores. Quo consequatur ut sed aut et minima cum.
- followers : 2316
- following : 2004
tiktok:
- url : https://tiktok.com/@joannieruecker
- username : joannieruecker
- bio : Rerum est eligendi quos consequuntur minus natus et.
- followers : 2888
- following : 922
facebook:
- url : https://facebook.com/joannieruecker
- username : joannieruecker
- bio : Omnis dolores praesentium quo fuga.
- followers : 5290
- following : 2668
instagram:
- url : https://instagram.com/jruecker
- username : jruecker
- bio : Aut nisi ut amet eligendi ut quos in modi. Soluta facere eum cumque et non distinctio quidem et.
- followers : 2885
- following : 2913
