
Have you ever just dreamed of being somewhere far away, maybe a place with warm air and the soft sound of waves? That feeling, that sense of peace and a little bit of adventure, is what many of us look for in our daily lives, isn't it? Well, what if you could carry a piece of that calm, that beautiful island spirit, right with you, every single day? That's kind of what island twists bring to the table, a feeling of effortless beauty and a connection to those sun-kissed vibes.
These lovely twists are more than just a hairstyle; they are a whole mood, a way to express a carefree yet put-together look. They've certainly been popping up everywhere lately, and it's easy to see why. People are really looking for styles that protect their natural hair while also giving them a fresh, attractive appearance that doesn't demand a lot of fuss.
So, if you're curious about how to get this amazing look, or perhaps how to keep it looking its best, you've come to the right spot. We're going to talk about what makes island twists so special, how you can create them yourself, and ways to make sure they last. You'll learn, too, a bit about how this style connects to the very idea of an island getaway, which is pretty cool, don't you think?
Table of Contents
- What Are Island Twists?
- Why Choose Island Twists?
- Getting Started: Preparing Your Hair
- The Art of Creating Island Twists
- Caring for Your Island Twists
- Styling Your Island Twists
- Island Twists and the "Island" Vibe
- Frequently Asked Questions
What Are Island Twists?
Island twists are, in a way, a wonderful spin on traditional two-strand twists, often incorporating hair extensions to add length and fullness. They typically feature a soft, wavy texture at the ends, which gives them that wonderfully relaxed, beachy appearance. This style really brings out a natural, flowing look, making it quite popular for those who enjoy protective styles but want something with a bit more movement and a less rigid feel, you know?
Unlike some other twist styles that might have very neat, uniform ends, island twists often leave a portion of the added hair loose and wavy, creating a beautiful, organic finish. It's that slight difference, that touch of unruliness, that truly makes them stand out. You might find them looking a bit like soft waves or even curls at the very bottom, which is part of their charm, apparently.
The base of the twist is usually quite neat, keeping your natural hair tucked away and protected. Then, as the twist goes down, it blends into that lovely, flowing extension hair. This method helps reduce tension on your scalp, which is a big plus for hair health. So, it's a style that looks good and feels good, too, in some respects.
Why Choose Island Twists?
There are just so many good reasons why people are really taking to island twists right now. For one, they are a fantastic protective style. This means they help shield your natural hair from the daily wear and tear of styling, environmental factors, and even just brushing. Your hair gets a much-needed break, which can really help it grow and stay strong, you know?
Another big draw is how little effort they demand once they're in. Once your twists are done, your morning routine for hair becomes incredibly simple. You can wake up, maybe do a quick fluff, and you're pretty much ready to go. This makes them perfect for busy schedules or for anyone who just wants to spend less time on their hair and more time enjoying their day, which is very appealing.
They also offer a lot of versatility when it comes to styling. You can wear them down, put them up in a bun, create a half-up, half-down look, or even tie them into a ponytail. The wavy ends add a touch of elegance and playfulness to any of these styles, so you've got options. This flexibility is a huge bonus, allowing you to change your look without having to redo your hair completely, which is quite convenient, honestly.
And let's not forget the aesthetic! Island twists just look amazing. They give off a vibe of relaxed sophistication, like you've just stepped off a relaxing getaway. That soft, flowing texture at the ends really captures a sense of natural beauty. They frame the face beautifully and add a lovely volume, too. It's a style that can make you feel confident and ready for anything, from a casual outing to a more special event, by the way.
Getting Started: Preparing Your Hair
Before you even think about twisting, getting your natural hair ready is a really important step. A good foundation makes all the difference for how your island twists will look and how long they'll last. It's like preparing a canvas before painting; you want it clean and ready, you know?
Cleanse and Condition
First things first, you'll want to give your hair a really good wash. Use a clarifying shampoo to get rid of any product buildup, oil, or dirt that might be sitting on your scalp and strands. This ensures your hair is super clean and ready to absorb moisture. After shampooing, follow up with a deep conditioner. Let it sit for a bit, maybe 15-30 minutes, to really let it work its magic. This step adds a lot of moisture and makes your hair softer and easier to manage, which is quite helpful, actually.
Stretch Your Hair
Once your hair is clean and conditioned, you'll want to stretch it out a bit. This doesn't mean straightening it with heat, necessarily, but rather elongating your curls or coils to make the twisting process smoother. You can do this by blow-drying on a cool setting with a diffuser, or by doing a few large braids or twists overnight on damp hair. Some people even just air dry their hair in sections. Stretching helps prevent the twists from shrinking up too much at the base and makes it easier to blend with the extension hair, which is a key part of the process, you know?
The Art of Creating Island Twists
Now for the fun part: making those beautiful twists! This might take a little practice if you're new to it, but don't worry, you'll get the hang of it. The key is patience and making sure your sections are neat. It's a bit like building something, where each piece needs to be placed just right, you know?
Gather Your Supplies
Before you begin, make sure you have everything you need within reach. You'll want your preferred braiding hair for the extensions – water wave or deep wave hair often works best for that signature wavy end. You'll also need a rat-tail comb for precise parting, some hair clips to hold sections out of the way, a good edge control product for neat parts, and a light oil or mousse for moisture and shine. Having everything ready just makes the whole process so much smoother, as a matter of fact.
Sectioning and Twisting
Start by creating clean, square, or rectangular sections of your stretched natural hair. The size of your sections will determine the size of your twists, so choose wisely. Use your rat-tail comb to make crisp parts. Apply a little edge control to the roots of each section to keep them neat and frizz-free. Then, take a piece of your extension hair and loop it around the base of your natural hair section, just like you would for a traditional braid or twist. You want to make sure it's secure but not too tight, which is really important.
Next, begin to two-strand twist your natural hair with the extension hair. As you twist down, slowly add more of the extension hair into one of the strands, or simply continue twisting your natural hair with the two strands of extension hair. The goal is to keep the twist neat and consistent for the first few inches, securing your natural hair within the twist. This part is crucial for the longevity of the style, you know?
Once you've twisted down a certain length – usually about halfway or two-thirds of the way down the desired length of the twist – you'll stop adding your natural hair into the twist. From that point on, you'll continue to two-strand twist just the extension hair. For that lovely island twist look, leave the very ends of the extension hair untwisted and loose. This creates that beautiful, flowing, wavy finish. You can even dip the ends in hot water briefly to set the wave, but be careful with the temperature, of course.
Repeat this process for your entire head, section by section. Take your time, especially with the parting, as neat parts really make the style look polished. It's a bit of a marathon, not a sprint, so put on some music or a podcast and enjoy the process. You'll be so pleased with the results, basically, when you're done.
Caring for Your Island Twists
Keeping your island twists looking fresh and feeling good is pretty simple, but it does require a little bit of regular attention. Just like any protective style, a little care goes a long way in making them last and keeping your natural hair happy underneath, you know?
Moisture is Key
Even though your hair is tucked away, it still needs moisture. Use a light hair oil or a leave-in spray to mist your scalp and the twists every few days. Focus on your scalp to keep it from getting dry and itchy, and lightly spray the twists themselves to keep them looking shiny and fresh. Avoid heavy products that might cause buildup, which is pretty important, honestly.
Nighttime Routine
To keep your twists from getting frizzy and to help them last longer, always wrap your hair at night. A silk or satin scarf or bonnet is your best friend here. This helps reduce friction against your pillow, which can cause frizz and pull on your twists. It also helps keep your hair moisturized overnight, too. This simple step makes a huge difference in maintaining the neatness of your style, as a matter of fact.
Washing and Refreshing
You can wash your island twists, but do so gently. Dilute your shampoo with water in an applicator bottle and apply it directly to your scalp. Gently massage your scalp with your fingertips, then rinse thoroughly. You can lightly squeeze the shampoo through the twists themselves, but avoid vigorous scrubbing that might loosen them. Follow up with a light conditioner or a refreshing spray. Allow your twists to air dry completely or use a hooded dryer on a low setting. This helps keep them clean without disturbing the style too much, which is quite useful.
Styling Your Island Twists
One of the truly great things about island twists is how many ways you can wear them. Their natural movement and those lovely wavy ends mean they look good whether they're just down or styled up. You've got so many choices, you know?
For a simple, everyday look, just let them hang free. The flowy ends give a beautiful, relaxed vibe. You can also gather them into a high ponytail or a messy bun for a quick, elegant updo. A half-up, half-down style is another popular choice, pulling some twists back from your face while letting others cascade down your shoulders. You can also add some cute hair accessories, like decorative clips or headbands, to personalize your look even more. The possibilities are pretty much endless, honestly.
The soft texture of the ends means they move beautifully with you, creating a dynamic look that feels very natural. You can even try pulling a few twists forward to frame your face, which is very flattering for many people. It's all about playing around and finding what makes you feel best, of course.
Island Twists and the "Island" Vibe
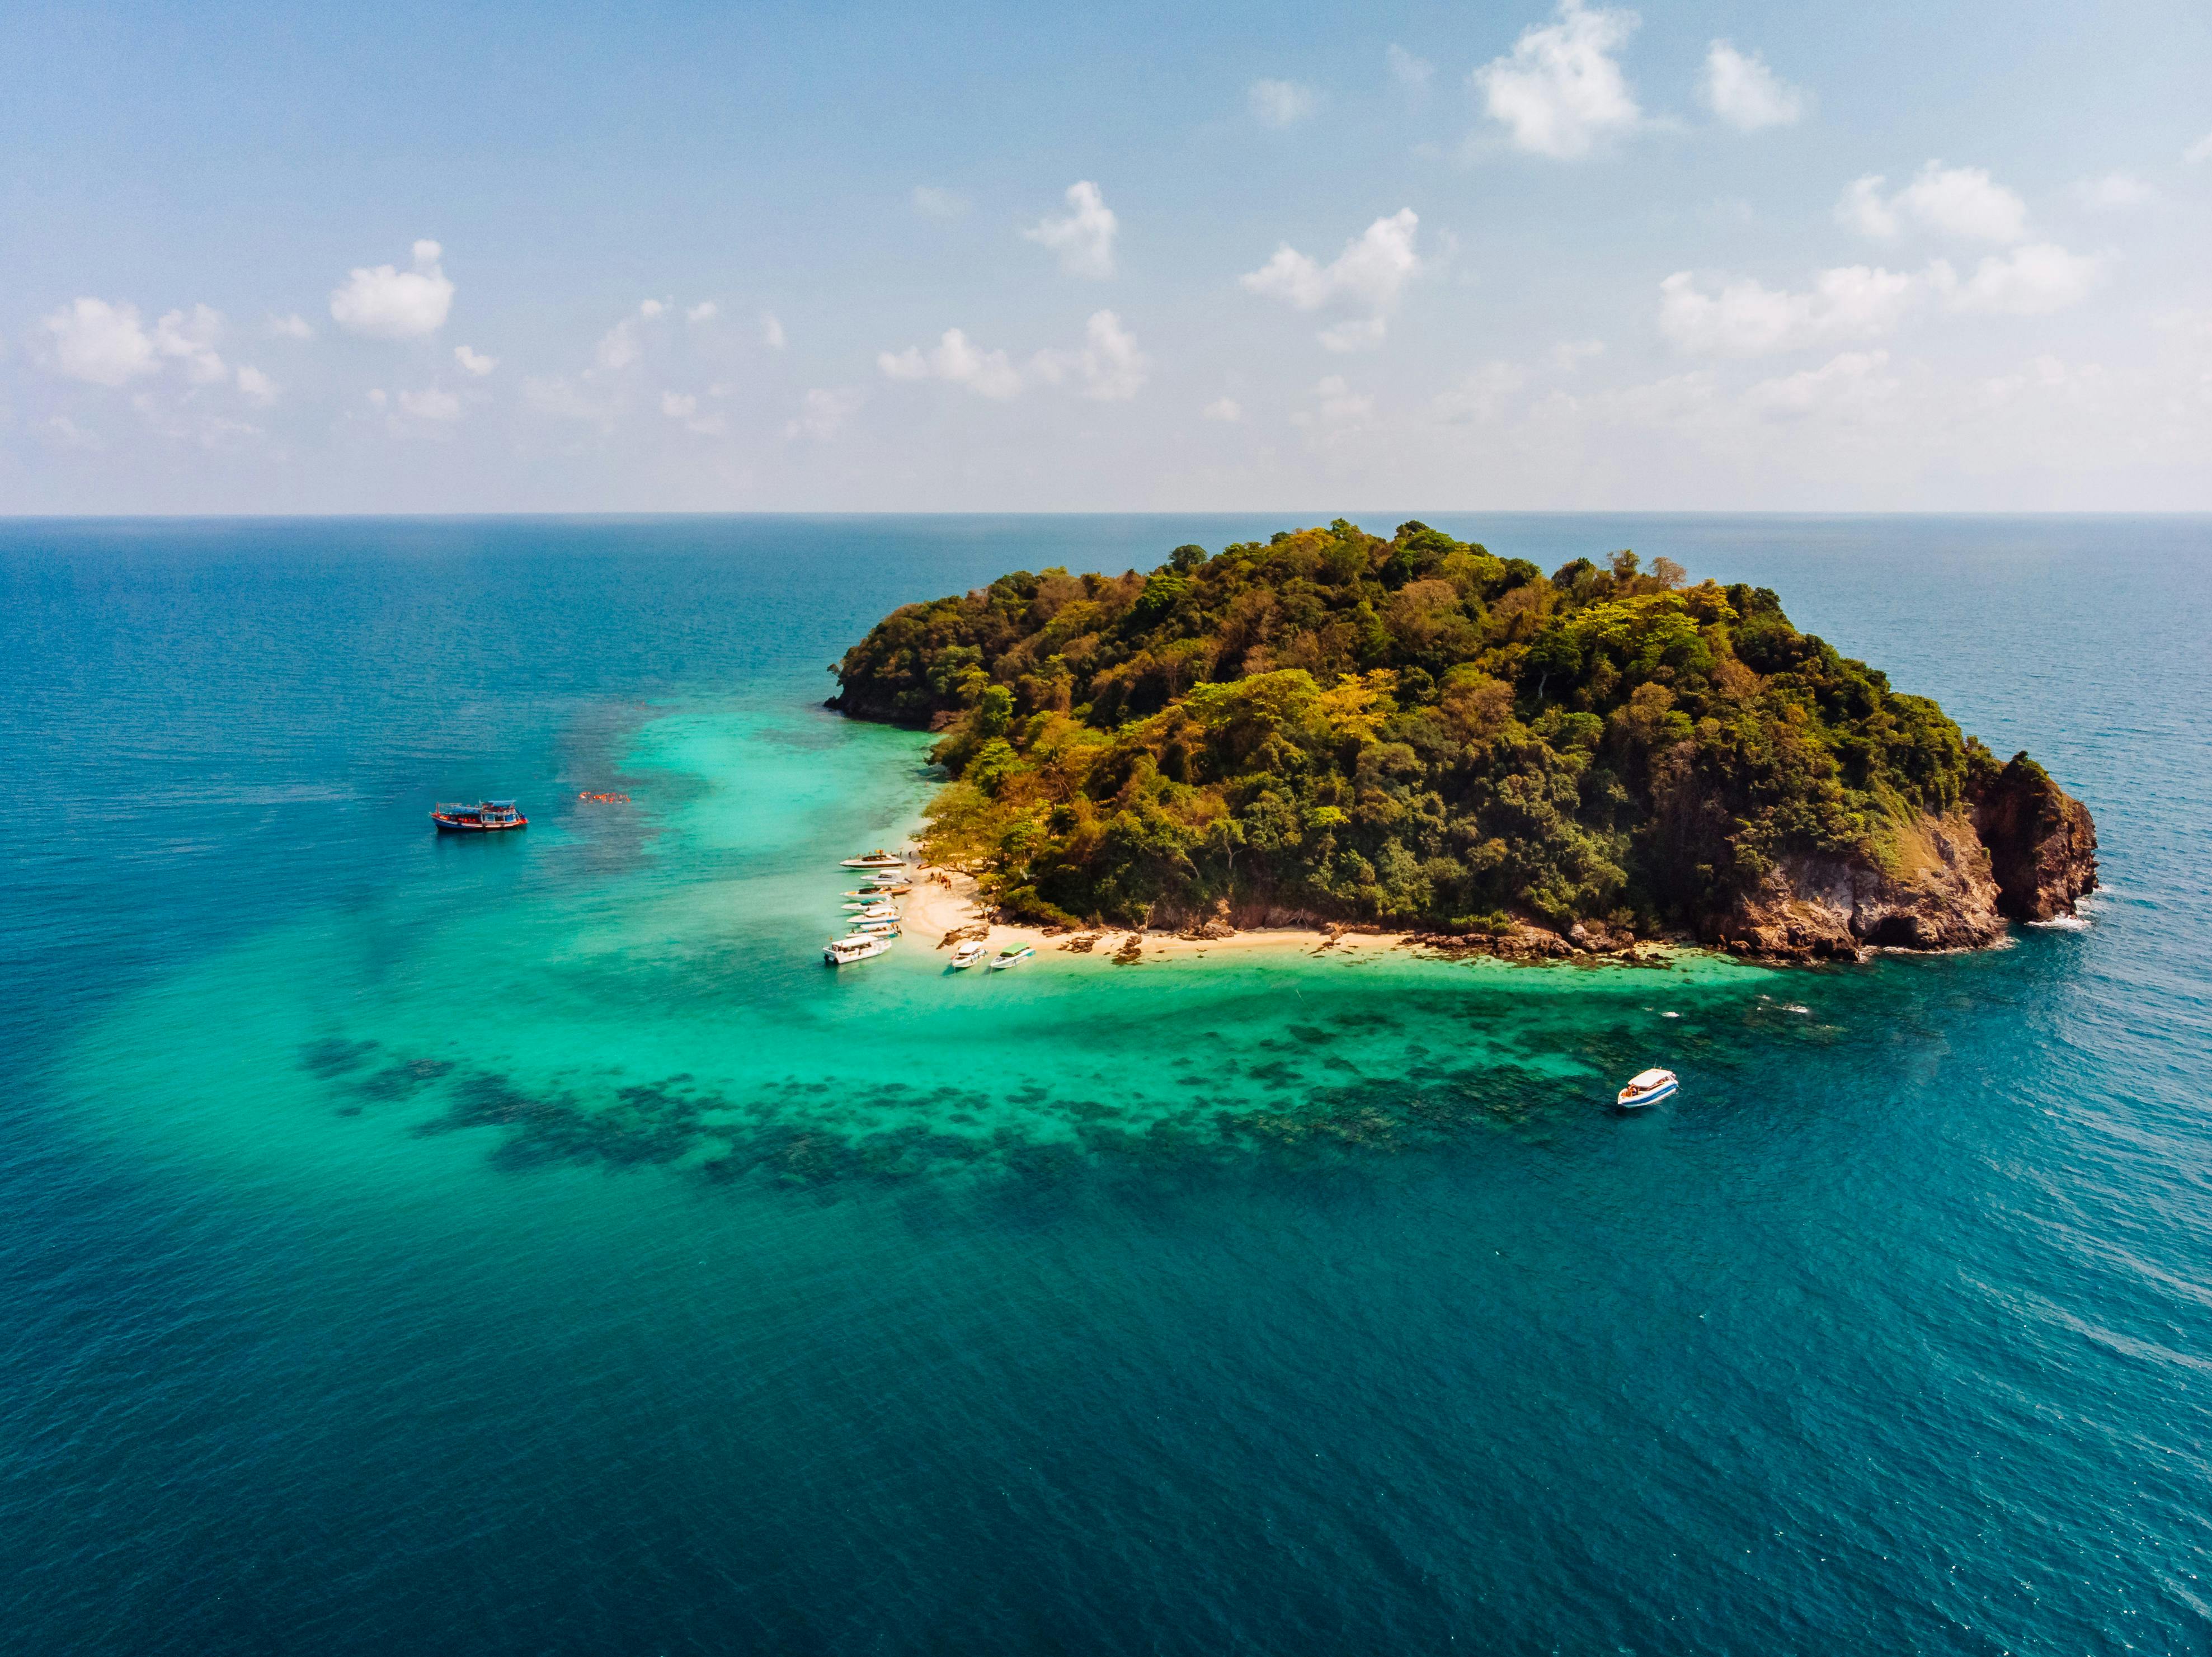
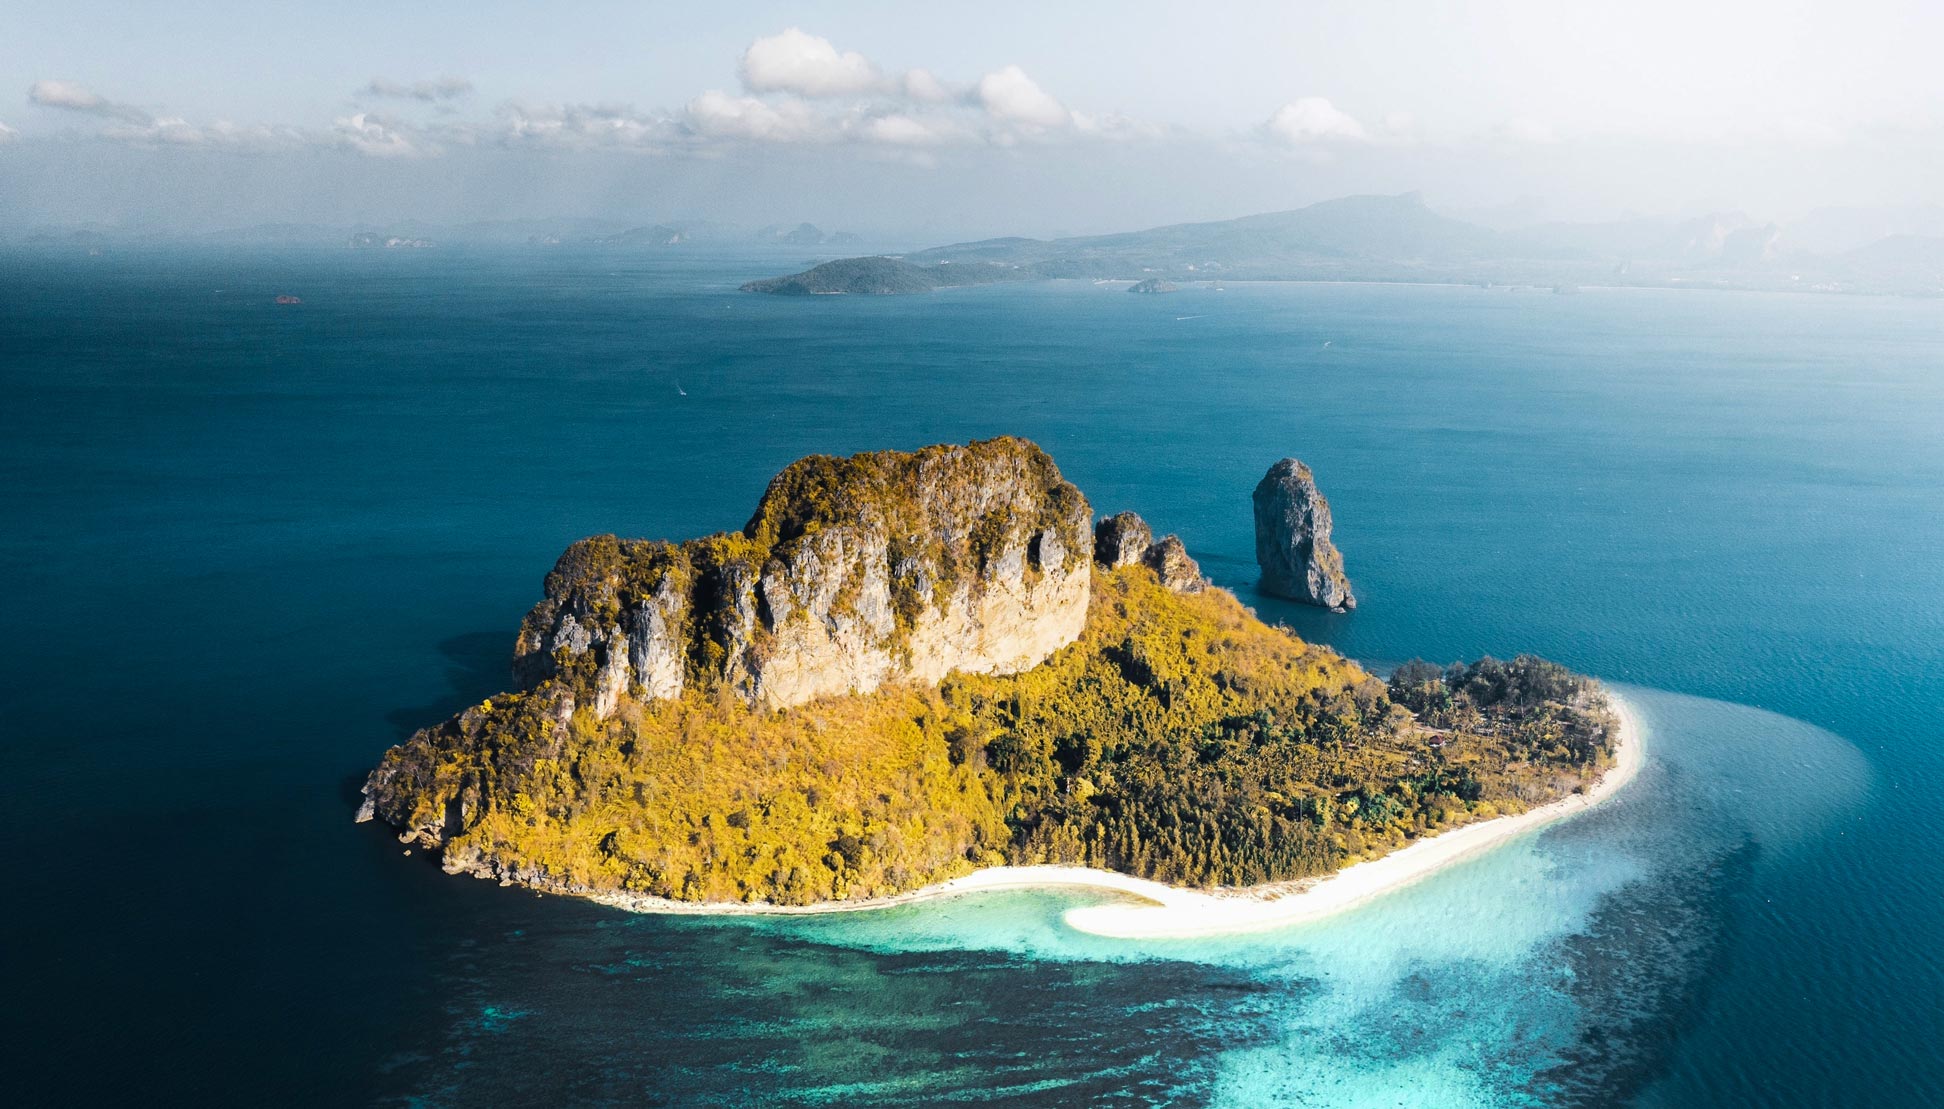
The name "island twists" really brings to mind a certain feeling, doesn't it? It makes you think of those wonderful places, like a tract of land completely surrounded by water, maybe a small piece of land, perhaps even smaller than a continent, as is often described. You picture sprawling beaches, rich cultures, and untouched pockets of wilderness, which are just a few alluring characteristics of the best islands in the world. This hairstyle, in a way, embodies that very spirit.
Just as there are six major kinds of islands – continental, tidal, barrier, oceanic, coral, and artificial – each with its own unique formation and charm, island twists have their own distinct character. Continental islands, for instance, were once connected to a continent, or were once part of the mainland a long time ago, but due to the shift of tectonic plates, they became separate. Similarly, these twists carry a connection to natural hair, offering a kind of detachment from daily styling while still being deeply rooted in a natural aesthetic.
Think about sitting by crystal clear waters on a white sand beach with the perfect temperature breeze and your favorite drink in hand— is there anything more idyllic? That feeling of peace and calm, a particular place that is peaceful, calm, and separate from the hustle, is what this style tries to capture. It's about that sense of freedom and ease that comes from being on an island, where the main island might cover a vast area, but the entire country is still distinct and beautiful. A group of islands, too, is called an archipelago, and your head full of these twists can feel like your own little beautiful collection, you know?
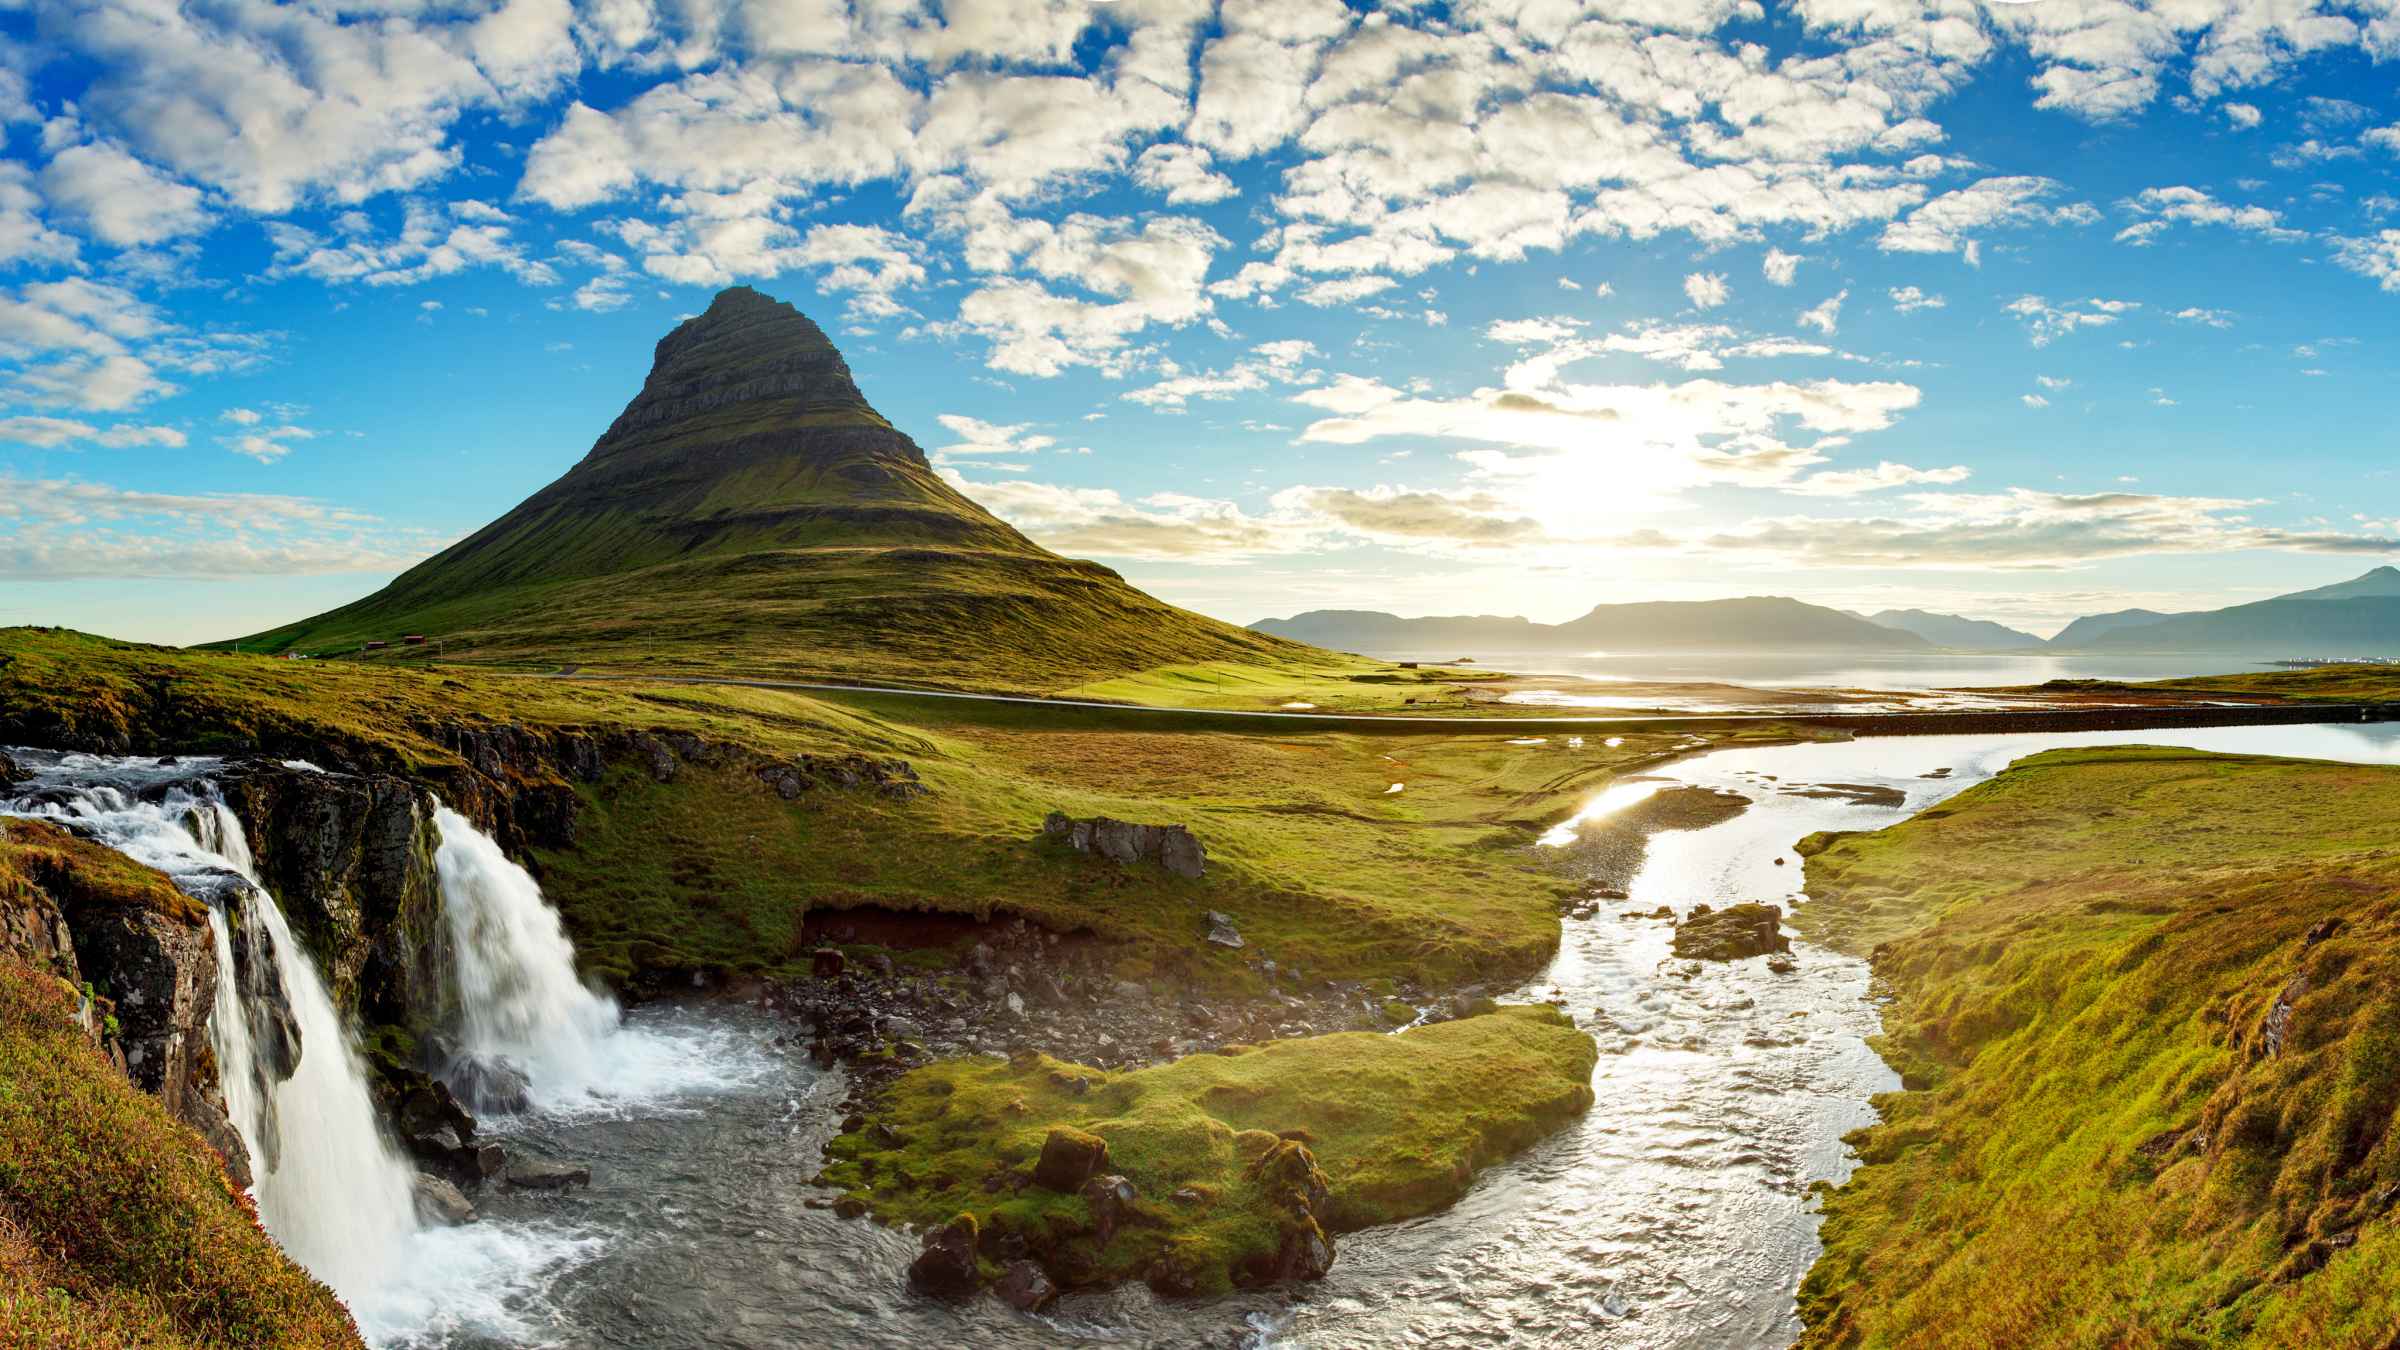
The very idea of an island, whether it occurs in oceans, seas, lakes, or rivers, suggests a place of retreat, a spot where you can unwind. This hairstyle, with its flowing, natural look, offers a similar kind of mental escape. It allows you to carry that relaxed, vacation-like feeling with you, no matter where you are. It’s a way to discover a bit of that island magic in your everyday life, which is pretty cool, honestly. Learn more about islands and their formation on our site, and you can also link to this page for more hairstyle ideas.
Frequently Asked Questions
Here are some common questions people often ask about island twists:
How long do island twists typically last?
Well, generally, island twists can last anywhere from four to eight weeks, depending on how well you care for them and how fast your natural hair grows. Regular maintenance, like moisturizing and wrapping your hair at night, really helps extend their life, you know?
Can island twists damage my natural hair?
No, not at all, if they are installed correctly and cared for properly. In fact, they are considered a protective style, meaning they help shield your natural hair from daily wear and tear. The key is to make sure they aren't installed too tightly at the roots, which is very important.
What kind of hair is best for island twists?
For that signature wavy, flowing look, water wave or deep wave braiding hair is usually the best choice. This type of hair naturally has that beautiful curl pattern at the ends, which saves you from having to create it yourself, which is quite convenient.
So, there you have it, a pretty good look at island twists and why they're such a wonderful choice for a protective and stylish hairdo. Giving them a try could be just the thing to refresh your look and bring a little bit of that peaceful island feeling into your everyday life. Why not consider trying them out and sharing your experience? It's a style that really brings joy, you know?
Detail Author:
- Name : Mylene Schumm
- Username : ludie72
- Email : monroe.batz@jacobi.org
- Birthdate : 1976-02-29
- Address : 440 Barrows Port West Dagmarhaven, NH 40648
- Phone : 1-907-588-9368
- Company : O'Reilly, Kunde and Pagac
- Job : Poultry Cutter
- Bio : Assumenda quia id debitis aut ea in. Ut assumenda sint quia eos ipsam eius. Et reprehenderit voluptas aut et et nesciunt. Enim saepe minima recusandae vel quis et.
Socials
tiktok:
- url : https://tiktok.com/@cwiza
- username : cwiza
- bio : Ex voluptas enim magnam velit vel optio quia.
- followers : 5319
- following : 1811
facebook:
- url : https://facebook.com/cwiza
- username : cwiza
- bio : Sed quia ea animi neque.
- followers : 338
- following : 2901
linkedin:
- url : https://linkedin.com/in/charlie_wiza
- username : charlie_wiza
- bio : Rem est aut a pariatur quibusdam dolorem autem.
- followers : 4413
- following : 1572
